
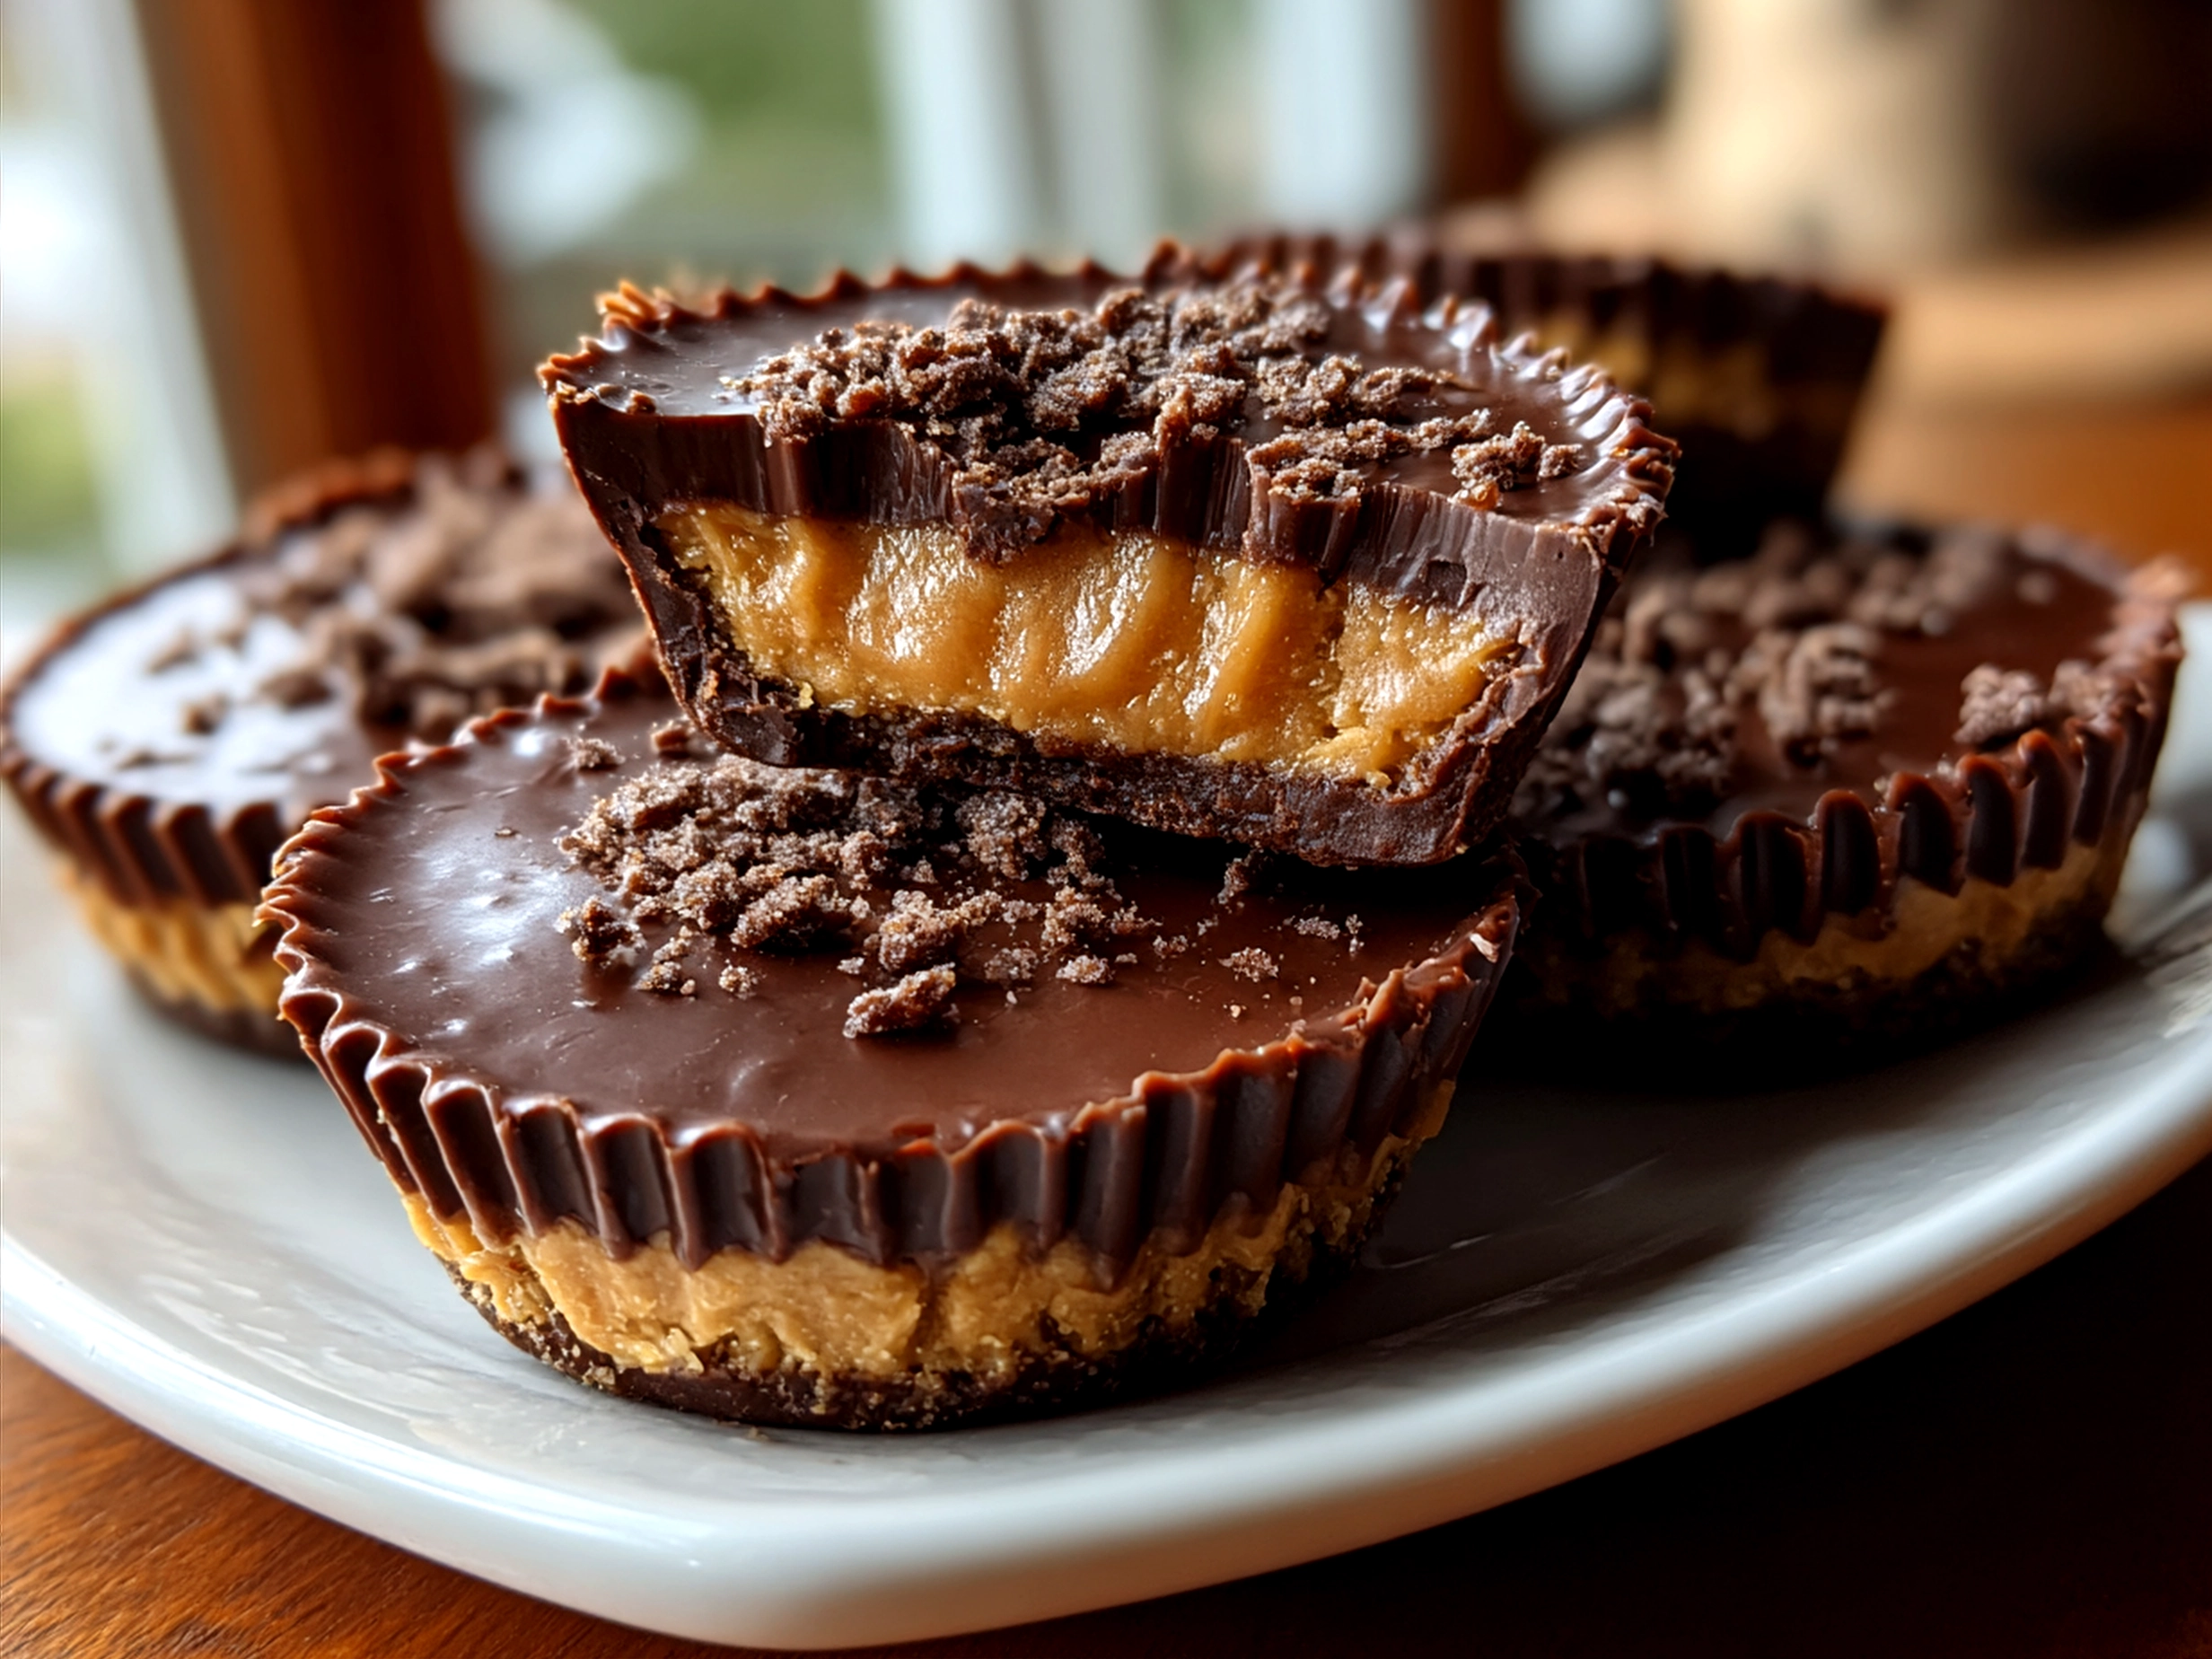
Pass me one of those peanut butter cups, will you? A warm, familiar voice breaks through the cozy afternoon haze, and suddenly, the rich aroma of chocolate mingled with roasted peanuts fills the room. That first bite – the smooth, creamy peanut butter tucked inside a crisp chocolate shell – dances on your tongue, whispers of comfort and indulgence wrapped in every bite. These are not just sweets; they are memories, smiles, and the simplest pleasure of home.
Reeses Peanut Butter Cups have long held a special place in both the candy aisle and the hearts of chocolate peanut butter candy lovers. But what makes them so magical? Is it the perfectly balanced peanut butter filling or the silky, melting chocolate coating? For many, it’s the nostalgic harmony of these two flavors—the classic peanut butter and chocolate combination that feels like an embrace in a cup.
If you’ve ever wondered how to capture that perfect recipe for homemade peanut butter cups, this guide is your warm invitation to a sweet kitchen adventure. We’ll delve into the ingredients that make those peanut butter cups legendary while giving you clear, tested steps to recreate the magic at home. With simple pantry staples and a little time, you’ll have a batch of these peanut butter chocolate snacks that bring that unmistakable Reese’s charm straight to your table.
From the smooth peanut butter texture that melts like silk on your tongue to the satisfying snap of chocolate when you bite in, every step in making your own Reeses Peanut Butter Cups unlocks new layers of flavor. It’s a recipe designed to bring the family together—whether for an afternoon treat, a gift to share, or just because some days deserve a little extra sweetness.
Let’s unwrap this classic together and explore every delightful detail, ingredient, and technique to make homemade peanut butter cups that taste every bit as indulgent as the store-bought Reeses Peanut Butter Cups you love.
Ingredients for Homemade Reeses Peanut Butter Cups
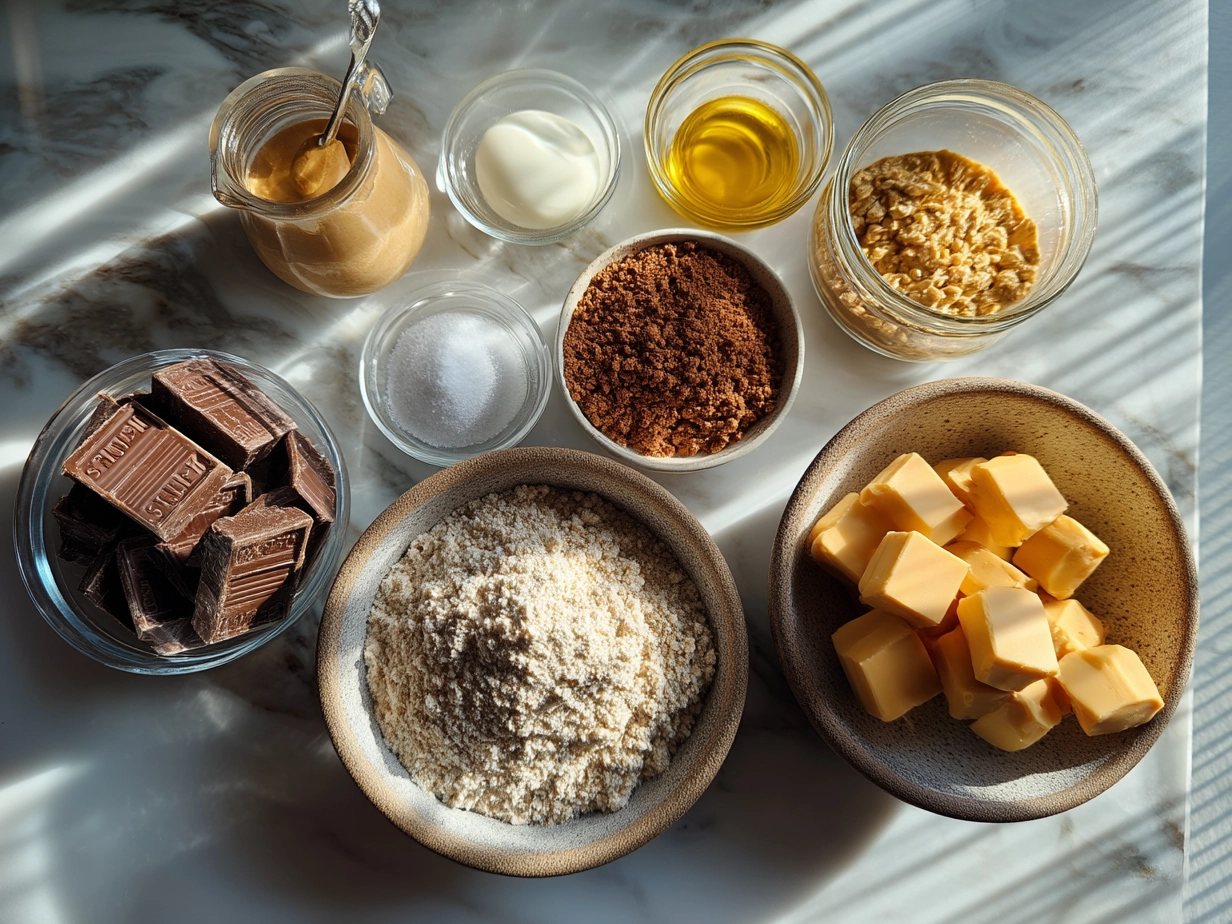
To make your own peanut butter chocolate snack that echoes the classic taste of Reeses, gather these kitchen essentials. Each ingredient plays a crucial role, and knowing good swaps or budget options can keep this treat both delicious and affordable.
- 1 cup creamy peanut butter (natural or smooth works best for that melt-in-mouth texture; for budget-friendly, store-brand peanut butter suffices)
- 1/4 cup unsalted butter (adds richness and smoothness; margarine can be substituted but slightly alters flavor and texture)
- 1 cup powdered sugar (for the perfect sweetness balance; sift before use to avoid lumps)
- 1 1/2 cups semi-sweet or milk chocolate chips (choose high-quality chocolate for a silky coating; budget options are fine but avoid compound chocolate which doesn’t melt properly)
- 1 teaspoon vanilla extract (enhances flavor depth; pure vanilla extract gives best results—imitation vanilla works if budget is tight)
- Pinch of salt (balances sweetness, especially important if using salt-free peanut butter)
Optional:
- Chopped peanuts (for added crunch)
- Sea salt flakes (to sprinkle on top for texture contrast and flavor boost)
Swaps and notes: If you prefer a twist, you can use white chocolate and peanut butter for a creamy contrast—see the recipe for white chocolate peanut butter cups. For a nut-free alternative, sunflower seed butter can be used, but skip the salted peanuts.
Step-by-Step Guide to Perfect Peanut Butter Cups
1. Prepare Your Molds:
Line a mini muffin tin with paper liners or use silicone molds. This keeps cleanup easy and supports the cup shape.
2. Melt the Chocolate:
Using a double boiler or microwave in 20-second bursts, gently melt the chocolate chips until smooth. Stir frequently to avoid overheating. Melted chocolate should be glossy and silky — no graininess.
3. Create the Chocolate Base:
Drop a spoonful of melted chocolate into each liner, spreading it evenly to form the bottom shell. Use the back of a spoon to smooth it, covering the base but not the sides too thickly. Place in the freezer for about 10 minutes until set.
4. Mix the Peanut Butter Filling:
While the chocolate sets, blend peanut butter, butter, powdered sugar, vanilla extract, and a pinch of salt in a bowl. The texture should be firm but pliable — similar to cake frosting. If too sticky, add a little more powdered sugar.
5. Shape the Filling:
Scoop about a teaspoon of the peanut butter mixture and roll into balls (or flatten slightly). This step controls size and ensures a consistent amount of filling.
6. Add the Filling:
Take the muffin tin from the freezer. Place one peanut butter ball onto each hardened chocolate base and gently press down to create a small well, about half the height of the cup.
7. Cover with Chocolate:
Spoon another layer of melted chocolate over each peanut butter center until the filling is fully sealed. Smooth tops with a spoon.
8. Chill and Set:
Return the tray to the refrigerator or freezer for at least 20 minutes, until completely firm. Avoid setting at room temperature as the chocolate may soften too much.
9. Final Touch:
Optional sprinkle with sea salt or chopped peanuts on top before chocolate fully hardens for extra flavor and texture.
Presenting Your Reeses Peanut Butter Cups
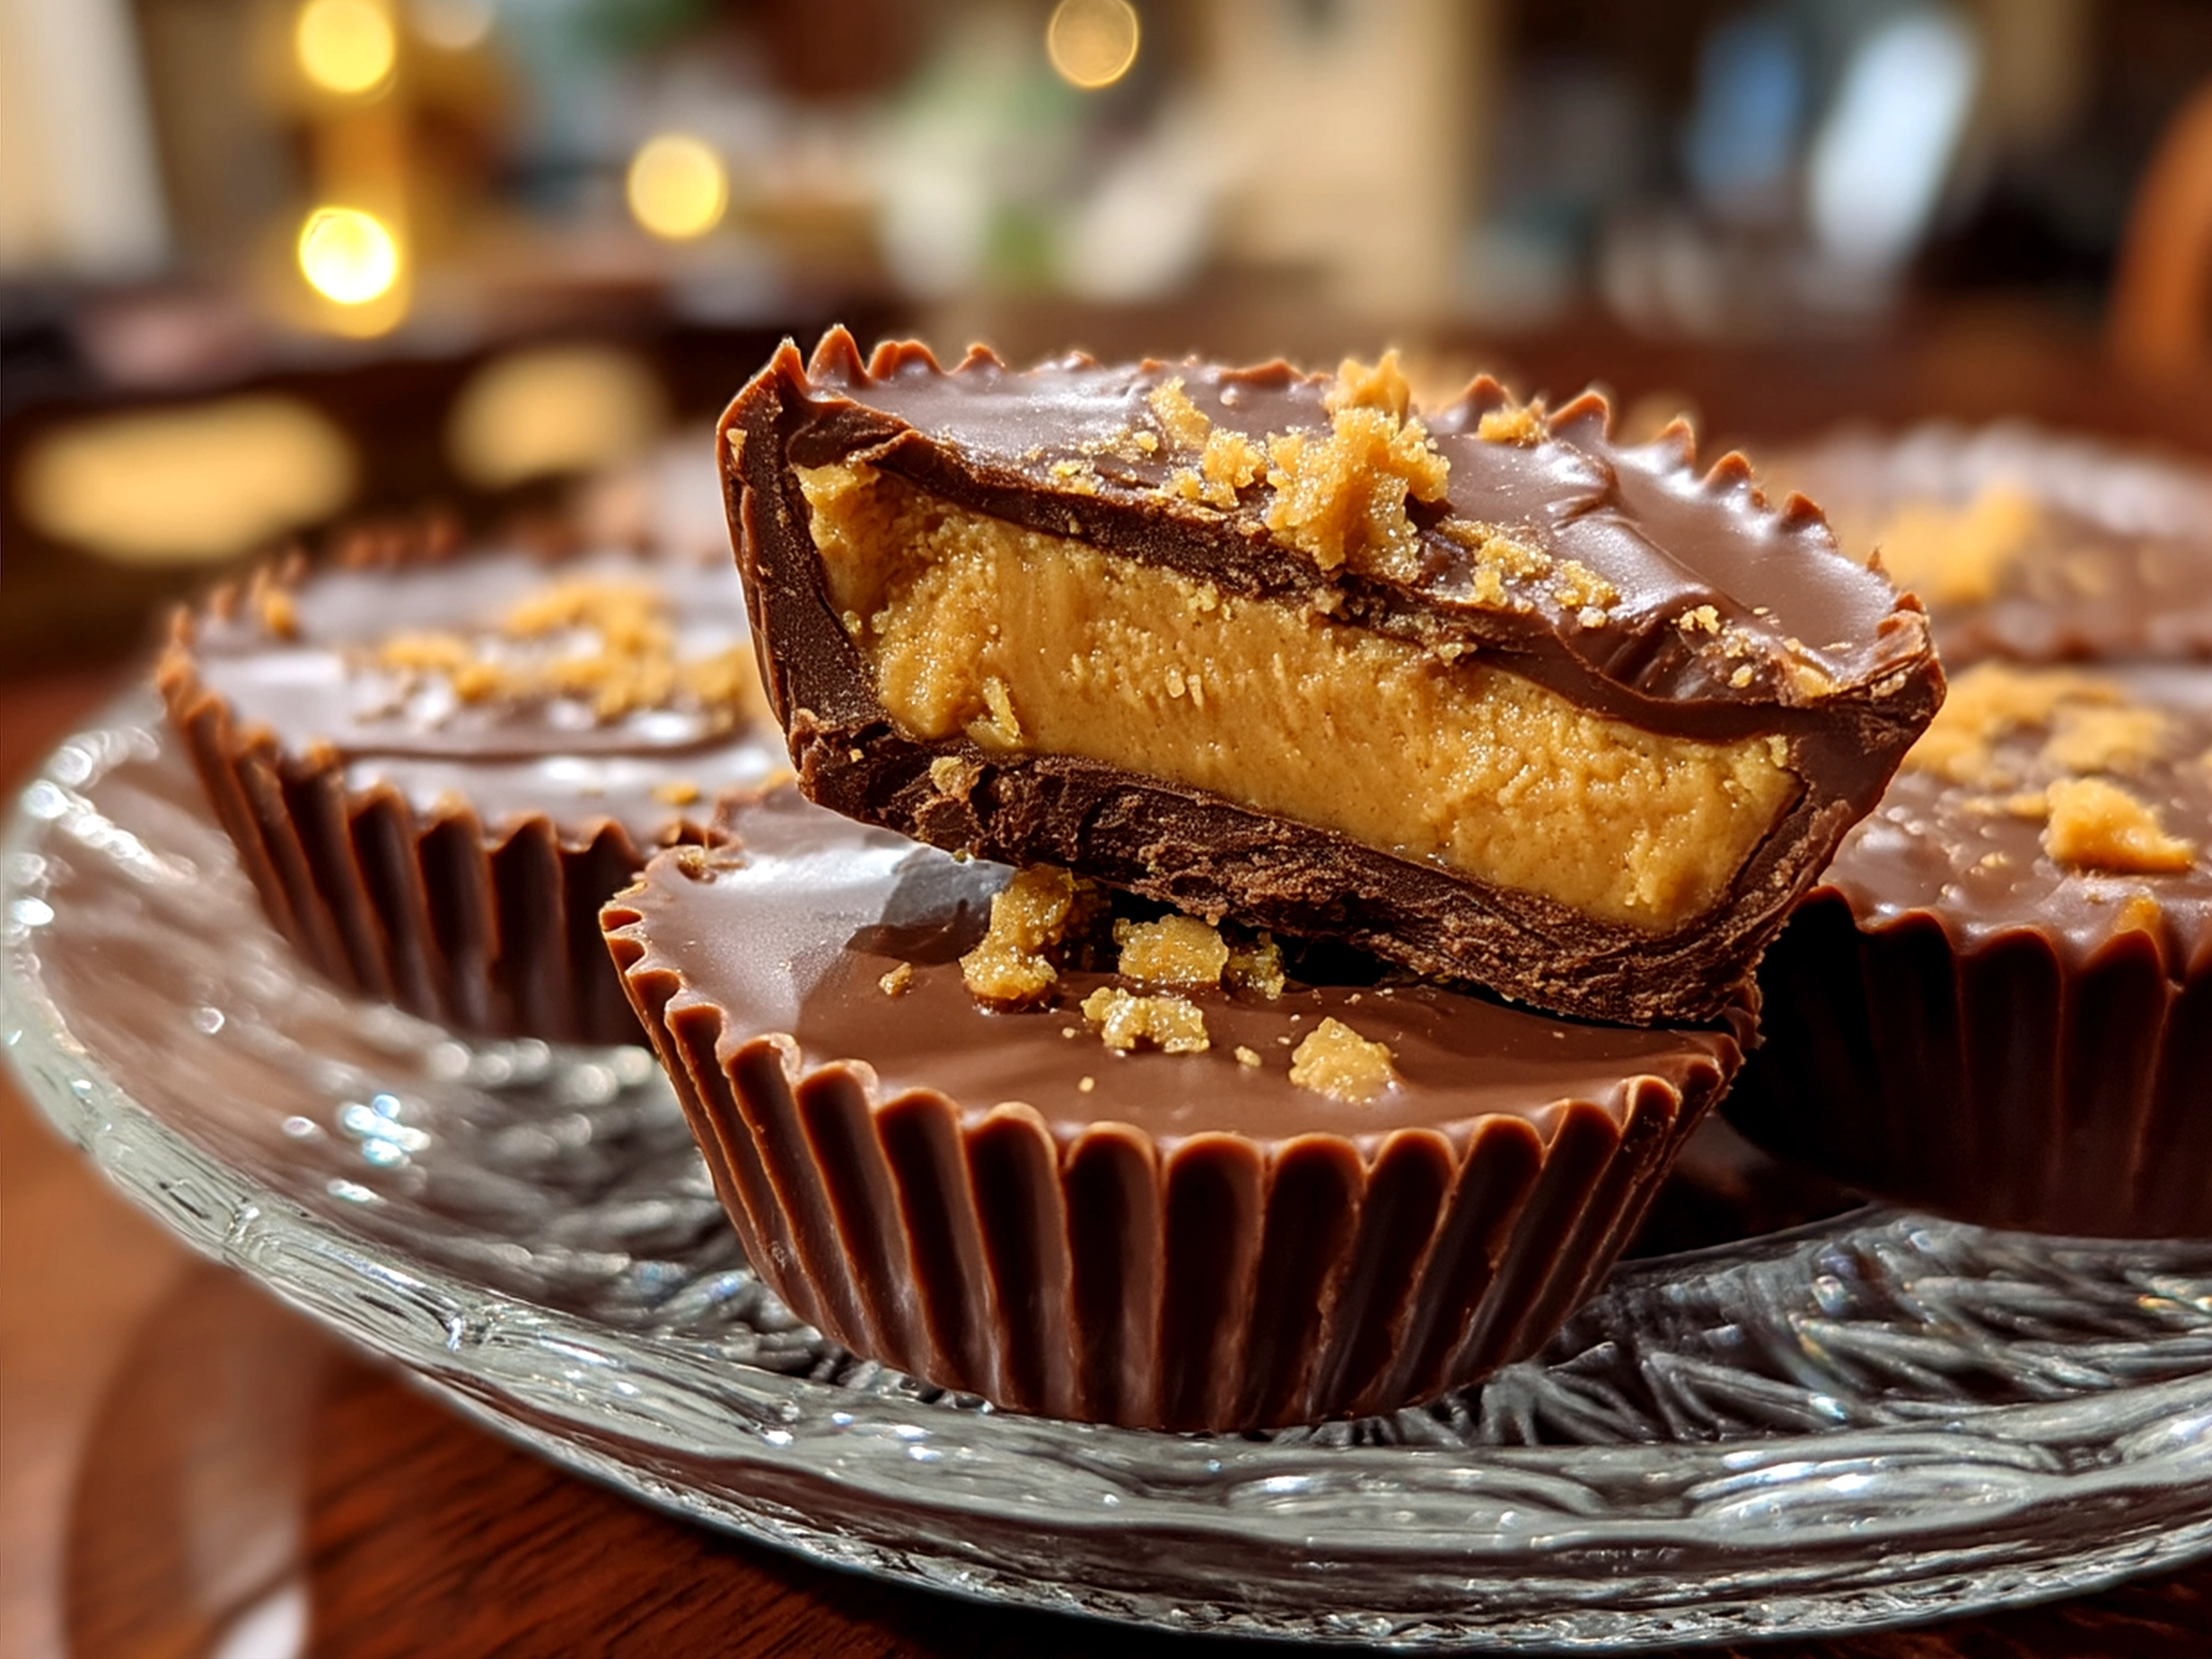
Peanut butter cups are the perfect treat to share, and how you present them makes a difference in the experience. Serving these homemade delights with care brings an added warmth to family gatherings or special moments.
Serve your peanut butter cups chilled on a decorative plate, dusted with a light sprinkle of cocoa powder or powdered sugar for an inviting look. Pair them with a cup of robust black coffee or creamy milk, which complements the rich peanut butter chocolate snack beautifully.
These treats also make charming gifts. Pack them in small boxes or wrap individually in parchment and tie with a rustic ribbon—ideal for holiday presents or a thoughtful surprise for friends. Their rich flavor and handmade charm make every bite feel special.
For occasions like birthdays, after-dinner indulgences, or an afternoon with loved ones, homemade peanut butter cups bring a nostalgic joy unmatched by store-bought sweets. Their melt-in-your-mouth balance of salty and sweet satisfies cravings and hearts alike.
FAQs on Making Homemade Reeses Peanut Butter Cups
Q1: Why is my melted chocolate grainy?
Grainy chocolate usually means it was overheated. Melt chocolate gently, stirring often. Use a double boiler or microwave in short bursts to prevent burning.
Q2: My peanut butter filling is too runny — how can I fix this?
Add more powdered sugar gradually until the mixture thickens to a moldable consistency, like frosting.
Q3: Can I use crunchy peanut butter instead of creamy?
Yes, though the texture will be chunkier. For an authentic smooth taste, creamy is best.
Q4: How long do homemade peanut butter cups last?
Stored in an airtight container in the fridge, they last about 1-2 weeks. They can also be frozen for up to 2 months.
Q5: Can I make these vegan?
Replace butter with coconut oil and use dairy-free chocolate chips. Check that powdered sugar is vegan.
Q6: My chocolate keeps melting at room temperature. Suggestions?
Keep peanut butter cups refrigerated until ready to serve. Use high-quality chocolate with a higher cocoa butter content for better setting.
Q7: How do I prevent the chocolate from separating from the peanut butter filling?
Ensure the peanut butter mixture is firm and the chocolate layers are fully set between adding layers. Chill well before adding the second chocolate layer.
Final Thoughts on Your Homemade Reeses Peanut Butter Cups
Making homemade Reeses Peanut Butter Cups is a rewarding way to bring that classic peanut butter chocolate snack into your kitchen with your own touch. Remember, the magic is in balancing the creamy peanut butter filling with a smooth chocolate shell—and allowing them to chill fully for that satisfying bite.
Try variations by adding a sprinkle of sea salt or a few chopped peanuts to the mix. For a twist, use dark chocolate for deeper flavors or swap in white chocolate as explored in our white chocolate peanut butter cups recipe.
Don’t be afraid to make mistakes—the more you practice, the better your cups will taste. These treats bring family and friends together, perfect for cozy evenings, gatherings, or just celebrating the simple joy of homemade sweets.
So, heat your chocolate, stir your peanut butter, and get ready to unwrap smiles with your own batch of Reeses Peanut Butter Cups.
If you loved this recipe, explore more peanut butter delights like our peanut butter cookies or classic peanut butter blossoms for even more comforting family treats.
To watch a simple method for making Reeses-style peanut butter cups, check out this helpful video on YouTube. For a convenient way to enjoy the original, you can find REESE’S Milk Chocolate Peanut Butter Cups available online as well.
Reeses Peanut Butter Cups

Deliciously creamy and crunchy homemade Reeses Peanut Butter Cups combining rich chocolate with smooth peanut butter for a perfect sweet treat.
- Prep Time: 15 minutes
- Cook Time: 5 minutes
- Total Time: 80 minutes
- Yield: 24 servings
- Category: Dessert
- Method: No-Cook
- Cuisine: American
Ingredients
- 1 cup creamy peanut butter
- 1/4 cup unsalted butter, softened
- 1/4 cup powdered sugar
- 1 1/2 cups semisweet chocolate chips
- 1 tablespoon vegetable oil
- Pinch of salt
Instructions
- Line a mini muffin tin with paper liners.
- In a medium bowl, mix peanut butter, softened butter, powdered sugar, and salt until smooth.
- Melt chocolate chips with vegetable oil in a microwave-safe bowl, stirring every 30 seconds until fully melted.
- Place a teaspoon of melted chocolate into each liner, spreading it slightly to cover the bottom.
- Add a teaspoon of the peanut butter mixture on top of the chocolate layer and gently press down.
- Cover peanut butter layer with another teaspoon of melted chocolate, making sure to seal the edges.
- Refrigerate the cups for at least 1 hour or until firm.
- Remove from muffin tin and enjoy.
Notes
For a crunchy twist, try adding chopped roasted peanuts to the peanut butter mixture before assembling.