
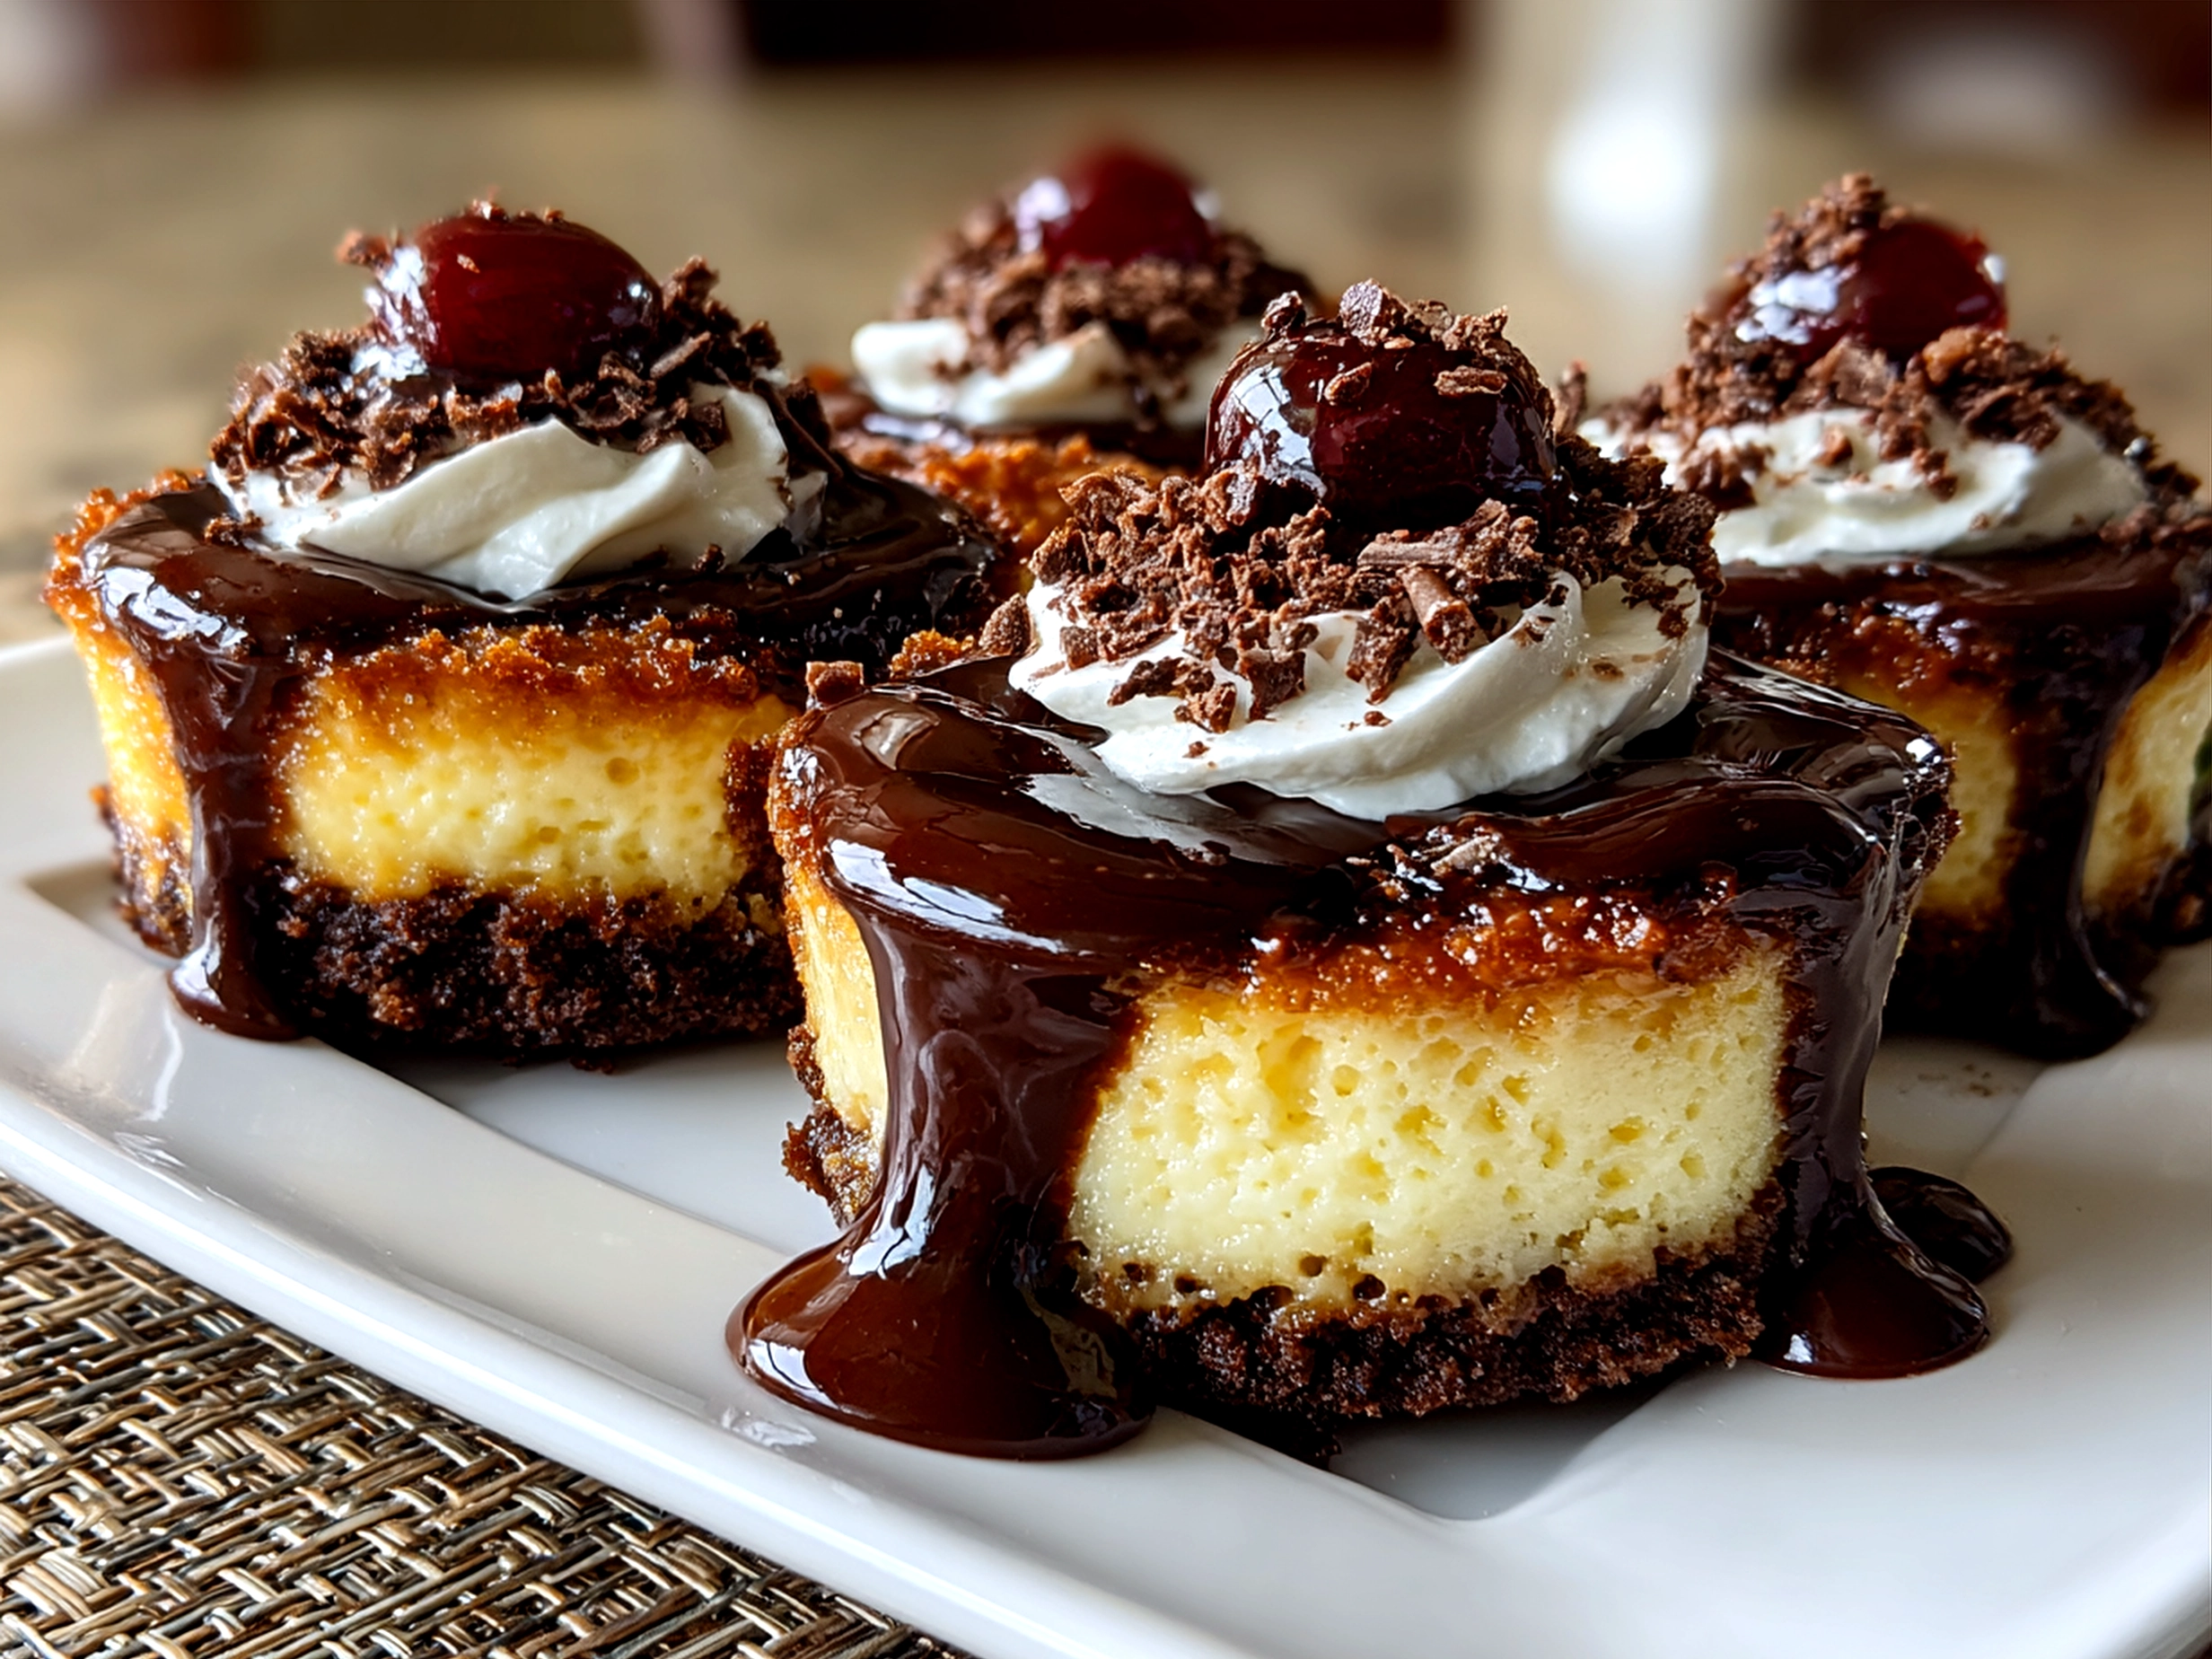
Have you ever seen a dessert so charming that you almost hate to eat it? my friend asked as she eyed the tiny, gnome-shaped treats perched delicately on the serving platter. It was Christmas morning, and the kitchen was filled with the heady scent of cocoa and vanilla. Those little wonders were Chocolate Gnome Cheesecakes—a delightful spin on mini chocolate cheesecakes that bring a merry magic to any holiday table.
If you’re on the hunt for a chocolate cheesecake recipe that combines festive fun with rich, creamy indulgence, these gnome shaped desserts will be your new favorite. From the buttery, chocolatey crust to the smooth, velvety cheesecake filling spiked gently with dark chocolate, they hit every note. You’ll love the way the gnome cake decoration—completed with a swipe of whipped cream beard and a red candy nose—turns playful imagination into edible art.
Making Chocolate Gnome Cheesecakes is a journey. You’ll learn the importance of chill time for perfect slicing and how to spot the telltale soft jiggle that means your cheesecakes are baked just right. The holiday themed cheesecakes don’t just wow your eyes—they enchant your palate. Imagine biting into creamy chocolate richness, a crumbly cocoa base giving just the right crunch, with festive touches that bring smiles all around.
Whether you’re prepping these for a cozy family gathering or a larger holiday feast, this recipe feels like tradition already made. I’ve crafted it to give clear directions from ingredients through presentation, so even if you’re new to mini cheesecakes or whimsical dessert decorating, you’ll succeed beautifully.
Ready to turn your kitchen into a chocolate gnome workshop? Let’s get started.
Ingredients for Chocolate Gnome Cheesecakes
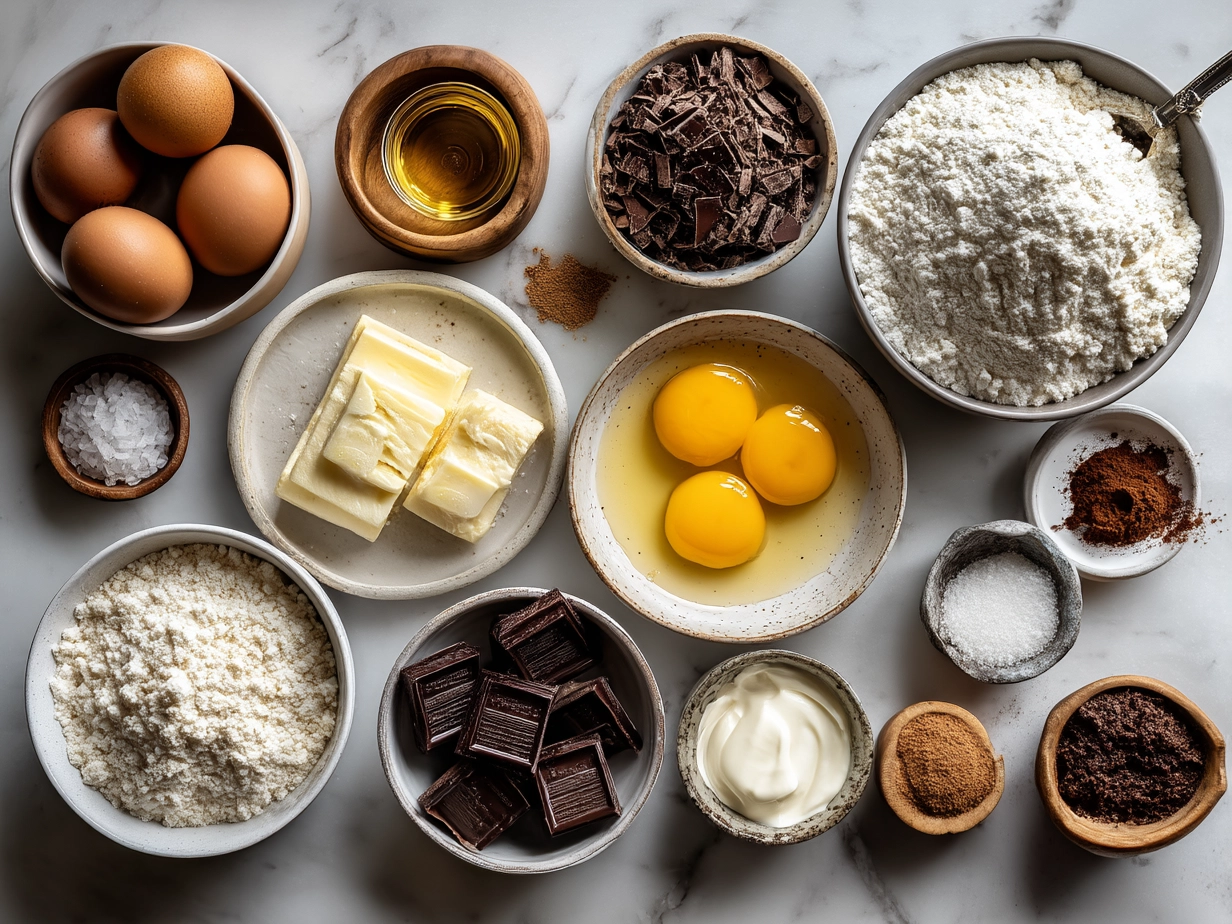
Making these enchanting mini chocolate cheesecakes starts with quality ingredients that balance richness and lightness:
- 8 ounces cream cheese, softened (use full-fat for best texture; light cream cheese can work but expect less creaminess)
- 1 cup granulated sugar (or swap with coconut sugar for a deeper caramel note)
- 2 large eggs, room temperature
- 1 teaspoon vanilla extract (pure vanilla extract is key for that warm aroma)
- 4 ounces bittersweet or semisweet chocolate, melted and slightly cooled (choose good quality bars, not chips, for smooth melt)
- 3/4 cup sour cream (adds tang and creamy texture; Greek yogurt is a budget-friendly substitute)
- 1 1/2 cups chocolate cookie crumbs (or graham cracker crumbs for a lighter base)
- 1/4 cup unsalted butter, melted (can swap with coconut oil to add a tropical hint)
For the gnome cake decoration:
- Whipped cream or frosting (for the beard)
- Small red candies or cherries (for the nose)
- Mini chocolate chips or edible eyes (optional for facial features)
Budget Tips: You can reduce cost by using homemade cookie crumbs from crushed store-bought chocolate cookies. Sour cream can be replaced with full-fat plain yogurt without sacrificing richness. Use chocolate chips if bars aren’t available, just melt carefully to avoid seizing.
Step-by-Step Guide to Making Chocolate Gnome Cheesecakes
1. Prepare the crust (10 minutes + chilling)
Begin by mixing your chocolate cookie crumbs with melted butter until it resembles damp sand. Press this mixture firmly into the base of mini muffin tins or silicone molds shaped like gnomes, about one tablespoon per mini cheesecake. A compact, even crust gives you that satisfying crunch beneath the creamy filling. Chill the crusts in the refrigerator while you make the filling—this helps them set firmly and prevents sogginess.
Cooking Tip: Use the back of a spoon or a small glass to press down crumbs firmly. If your crust feels loose, the cheesecakes can fall apart later.
2. Whisk the filling (15 minutes)
In a large bowl, beat softened cream cheese with sugar until smooth and creamy—no lumps. Add eggs one at a time, mixing gently after each to avoid incorporating too much air which can cause cracks. Stir in vanilla extract and sour cream. Slowly fold in your melted chocolate; it should be slightly warm, not hot, to avoid curdling the batter.
Sensory cue: The batter should be glossy and thick but pourable—like rich hot fudge.
3. Pour and bake (25-30 minutes)
Spoon the chocolate cheesecake filling on top of the chilled crusts, leaving a little room at the top to prevent overflow. Fill nearly to the top of each mold but not quite. Bake your mini cheesecakes in a preheated oven at 325°F (160°C). Check after 20 minutes; the centers should still jiggle gently when you shake the pan but the edges will be set.
Common mistake: Overbaking causes cracking and dryness. Watch the jiggle—once it’s gone, the texture changes.
4. Cool and chill (4 hours minimum)
Once out of the oven, leave your cheesecake molds on a wire rack until they reach room temperature. Then chill in the refrigerator for at least 4 hours or overnight. This cooling time is essential to firm up the creamy filling for clean removal and flawless shapes.
5. Decorate the gnomes (15 minutes)
When ready to serve, lift each mini cheesecake gently from the mold. Use a piping bag or spoon to add fluffy whipped cream for the beard and place a red candy for the nose right in the center. Tiny chocolate chips or edible eyes add character if you like.
Presentation Pro tip: Work chilled cheesecakes so that the cream holds its shape better on the cold surface.
Presenting Your Chocolate Gnome Cheesecakes
These holiday themed cheesecakes are as much about joy in presentation as taste. Display them on a rustic wooden board lined with fresh pine sprigs for a festive vibe. Arrange with extra red candies or miniature candy canes around the edges for color contrast.
Pair your chocolate gnome cheesecakes with mulled wine or spiced hot chocolate to echo the warm, cozy flavors. For a fun family dessert, let the kids decorate their own gnome faces with various candies.
They suit every occasion from holiday parties and Christmas brunches to cozy winter family dinners. Their individual size makes portion control effortless while still giving everyone a taste of rich chocolate indulgence.
The contrast of smooth, dense chocolate, crumbly crust, and light whipped cream brings instant smiles. Plus, these mini chocolate cheesecakes feel like a special gift, small enough to share but impressive enough to remember.
Frequently Asked Questions About Chocolate Gnome Cheesecakes
1. Can I make these cheesecakes dairy-free?
Yes! Swap cream cheese and sour cream for plant-based alternatives like cashew cream or coconut yogurt, and use vegan chocolate. Texture will be slightly different but still delicious.
2. How do I prevent cracks in my cheesecakes?
Avoid overmixing to limit air bubbles, bake at a low temperature, and don’t overbake. Water baths help in larger cheesecakes, but mini ones usually don’t need that step.
3. Can I freeze the cheesecakes?
Absolutely! Freeze fully cooled and decorated cheesecakes in airtight containers. Thaw overnight in the fridge before serving.
4. What’s the best mold for shaping the gnomes?
Silicone molds shaped like gnomes or mushrooms work well. Non-stick mini muffin tins also do the trick if you use your gnome decorations creatively.
5. How do I melt chocolate without it seizing?
Use gentle heat—double boiler or short bursts in a microwave, stirring often. Make sure no water contacts the chocolate.
6. Can I prepare the cheesecakes in advance?
Yes, make and decorate up to two days ahead to save time. Keep refrigerated and covered.
7. What if I don’t have piping bags for the whipped cream beard?
Use a spoon or a small zip-top bag with a corner cut off as a DIY piping bag.
Wrapping Up: Your Chocolate Gnome Cheesecakes
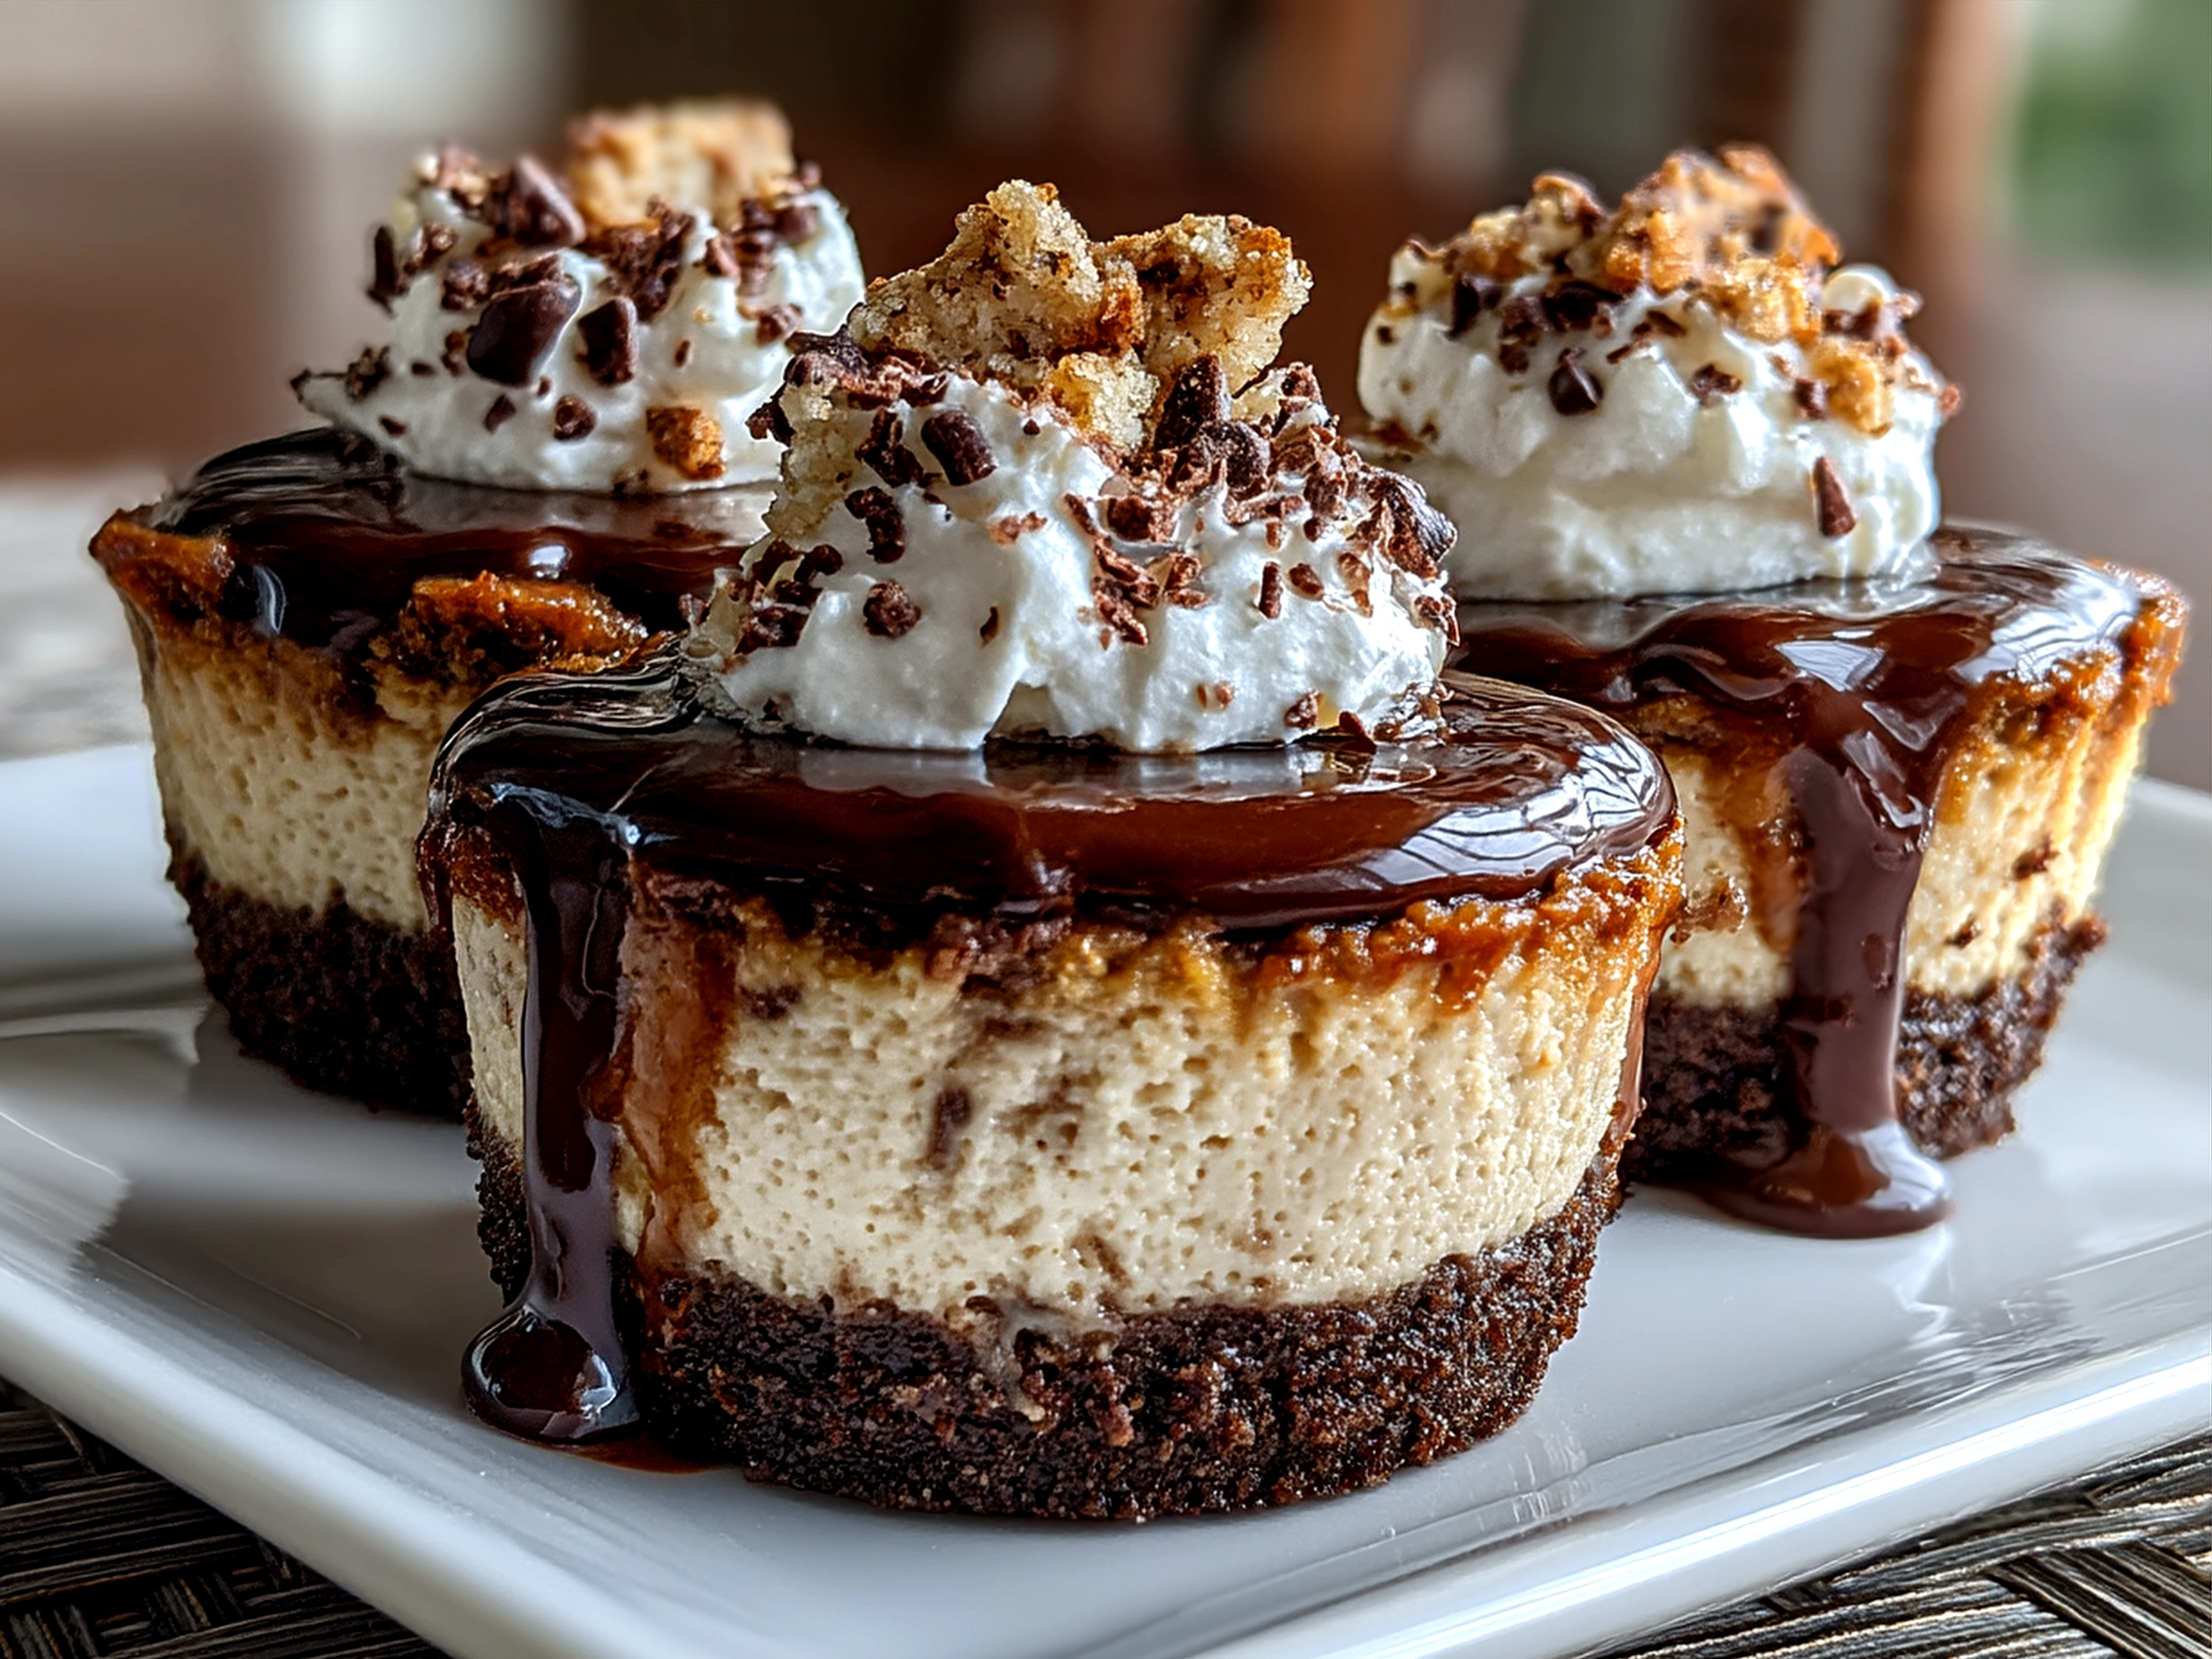
This chocolate cheesecake recipe turns the simple joy of mini cheesecakes into a holiday celebration with those unmistakable gnome shaped desserts. Touch the soft jiggle of the baked filling, taste the bittersweet cocoa richness balanced by a crisp crumbly crust, and delight in decorating each gnome with a whimsical beard and candy nose. These holiday themed cheesecakes hold the magic of tradition and creativity in every bite.
Try swapping sour cream for yogurt or experimenting with white chocolate for an unexpected twist. Don’t hesitate to customize your gnome decorations to fit your family’s festive style. Once you bring these to the table, you’ll see how a simple dessert can sparkle with personality and love.
So grab your mixing bowl and molds, and make these mini chocolate cheesecakes that are truly more than a dessert—they’re a merry moment to share.
For other chocolate treats that warm the heart, check out our Heart-Shaped Chocolate Chip Cookies, Hidden Heart Chocolate Loaf Cake, or the delightful Chocolate Mint Crinkles.
Discover more about Chocolate Gnome Cheesecakes – Fun Family Holiday Dessert, check the detailed Chocolate Gnome Cheesecakes Ingredients, or try the creative OREO No Bake Cheesecake Gnomes for more inspiration.
Chocolate Gnome Cheesecakes
Indulge in these whimsical Chocolate Gnome Cheesecakes, a rich and creamy dessert combining smooth chocolate with a buttery crust, perfect for festive occasions or everyday treats.
- Prep Time: 15 minutes
- Cook Time: 20 minutes
- Total Time: 2 hours 35 minutes
- Yield: 12 servings
- Category: Dessert
- Method: Baked
- Cuisine: American
Ingredients
- 1 cup chocolate cookie crumbs
- 3 tablespoons unsalted butter, melted
- 16 oz cream cheese, softened
- 2/3 cup granulated sugar
- 2 large eggs
- 1 teaspoon vanilla extract
- 1/2 cup sour cream
- 1 cup semi-sweet chocolate chips, melted
- Optional: Gnome-themed edible decorations or chocolate shavings
Instructions
- Preheat the oven to 325°F (163°C) and line a muffin tin with paper liners.
- In a medium bowl, combine chocolate cookie crumbs and melted butter; press the mixture firmly into the bottom of each liner to form crusts.
- In a large bowl, beat the cream cheese and sugar until smooth and creamy.
- Add eggs one at a time, blending well after each addition.
- Mix in vanilla extract and sour cream until fully incorporated.
- Fold in the melted chocolate chips gently until the batter is evenly chocolatey.
- Pour the batter over the crusts in each muffin cup, filling nearly to the top.
- Bake for 18-22 minutes or until the centers are set but still slightly jiggly.
- Remove from oven and let cool to room temperature, then refrigerate for at least 2 hours.
- Decorate with gnome-themed edible decorations or chocolate shavings before serving.
Notes
For extra flair, serve chilled with a dollop of whipped cream or fresh berries to complement the rich chocolate flavor.