
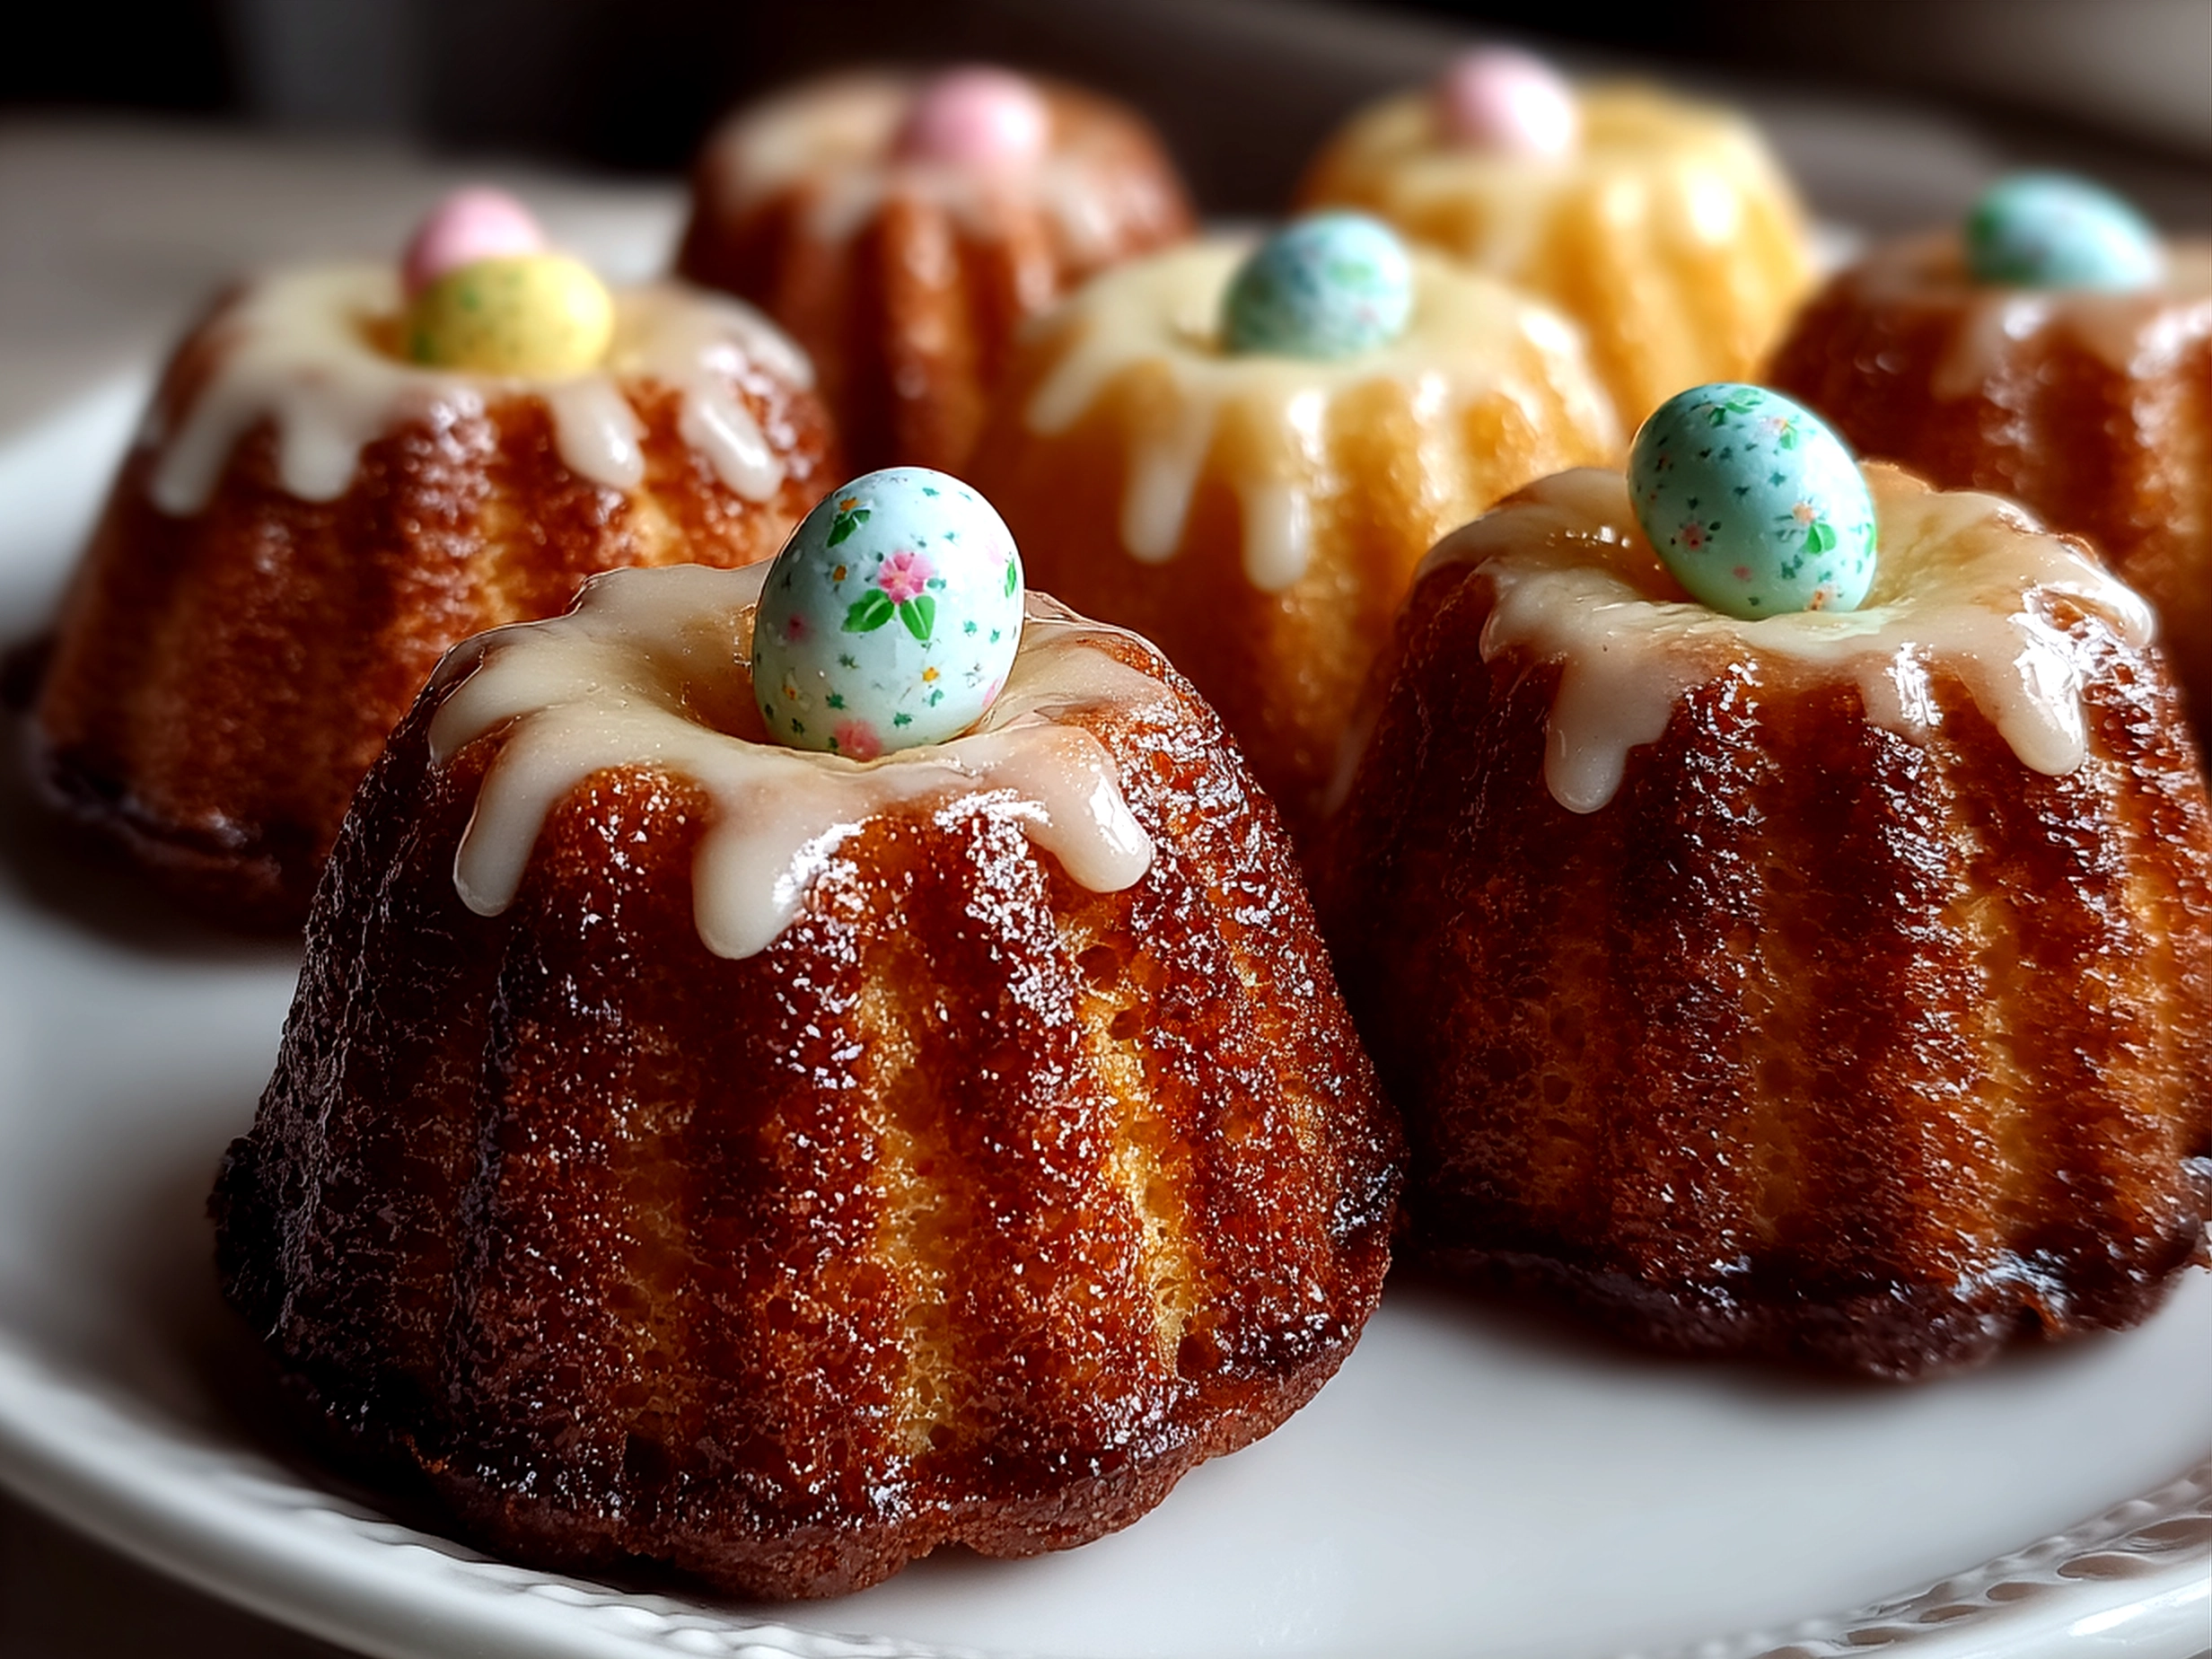
Look at these little beauties! I heard my niece say, holding up an Easter Egg Mini Snack Cake with a grin so wide it nearly cracked her cheeks. You know that moment when the kitchen fills with the sweet scent of vanilla and butter, and everything just feels right? That’s exactly what these mini cakes bring—a slice of springtime magic in every bite. Welcome to the world of Easter Egg Mini Snack Cakes, where tiny, festive snacks burst with flavor and charm, perfect for sharing around the family table.
Imagine soft, moist mini cakes baked to golden perfection, each topped with a swirl of creamy frosting and an adorable, colorful Easter egg nestled on top. These bite-sized cakes are more than just sweets—they’re joyous little celebrations of spring, the kids’ favorite Easter treats, and a splendid centerpiece for any festive gathering. The beauty of these mini cakes lies in their versatility; they can be dressed up with pastel sprinkles for a traditional Easter vibe or dusted with edible glitter for an extra sparkle.
Creating these Easter Egg Mini Snack Cakes is as rewarding as enjoying them. From mixing simple ingredients that fill your kitchen with a warm, inviting aroma to the delicate joy of decorating each miniature masterpiece, every step is a chance to connect with your cooking roots and family traditions. And don’t worry—you don’t need to be a pro baker! I’ll walk you through every step with real, reliable tips that help you avoid common pitfalls like dry crumbs or frosting that’s too stiff.
Let’s dive in and bring these festive snacks to life, transforming your Easter celebrations with homemade mini cakes that taste as wonderful as they look. Ready your mixing bowls because these Easter treats will become your new favorite spring desserts, a delicious way to delight everyone from toddlers to grandparents.
Ingredients for Easter Egg Mini Snack Cakes
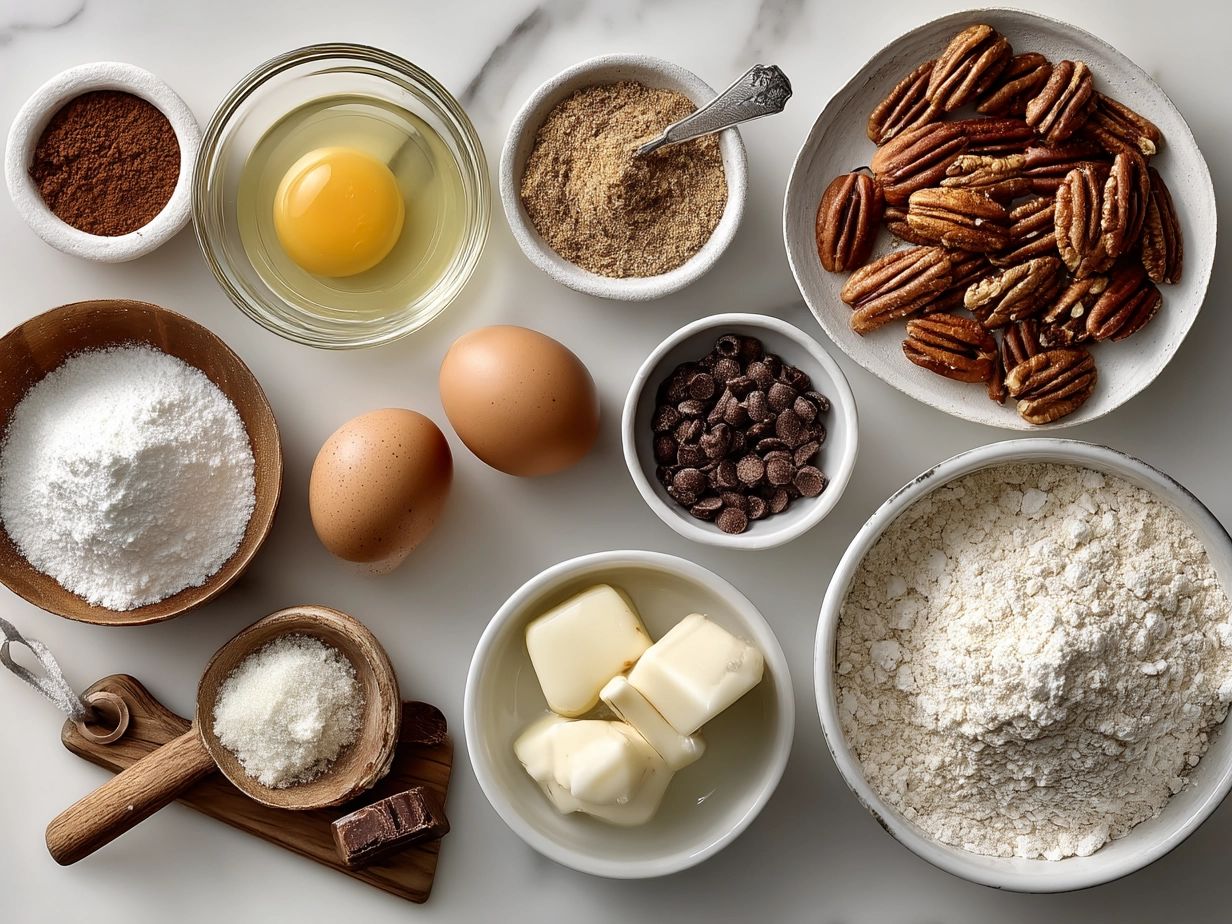
- 1 ½ cups all-purpose flour (swap: whole wheat pastry flour for a nuttier taste and extra fiber)
- 1 teaspoon baking powder
- ½ teaspoon baking soda
- ¼ teaspoon salt
- ½ cup unsalted butter, softened (budget tip: use margarine, but avoid salted varieties)
- 3/4 cup granulated sugar (swap: coconut sugar for a richer caramel note)
- 2 large eggs
- 2 teaspoons pure vanilla extract
- ½ cup buttermilk (or ½ cup milk mixed with 1 teaspoon lemon juice, let sit for 5 minutes)
- 1 cup powdered sugar (for frosting)
- 3 tablespoons unsalted butter, softened (for frosting)
- 1–2 tablespoons milk (for frosting)
- Food coloring (pastel shades)
- Mini chocolate or candy Easter eggs (for decoration, optional)
These ingredients make about 12 mini cakes. For larger batches, just double up! Swapping out buttermilk for that quick milk-lemon juice mix works like a charm if you want to keep costs down but still get tender crumb texture. Using coconut sugar slightly changes the flavor—giving your cakes a deep, slightly molasses-like undertone that’s lovely with vanilla frosting.
Steps to Bake Easter Egg Mini Snack Cakes
- Preheat and Prep (10 minutes)
Begin by preheating your oven to 350°F (175°C). Line a mini muffin tin with paper liners or lightly grease it to prevent sticking. This is crucial—greasy pans can cause cakes to collapse or bake unevenly. - Mix Dry Ingredients (5 minutes)
In a medium bowl, sift together flour, baking powder, baking soda, and salt. Sifting ensures even rise and a light crumb. Set aside. - Cream Butter and Sugar (5 minutes)
In a large bowl, beat softened butter and sugar until pale and fluffy. This step traps air—key for tender cakes. You’ll notice the mixture lightens in color and texture. - Add Eggs and Vanilla (3 minutes)
Beat in the eggs, one at a time, ensuring each is fully incorporated before the next. Stir in vanilla extract. The batter will look smooth but slightly loose. - Alternate Dry and Wet (5-7 minutes)
Add the dry ingredients in three batches, alternating with buttermilk. Start and end with dry ingredients. Mix gently—overmixing can make cakes tough. Stop mixing once you can see no streaks of flour. - Fill the Mini Tins (5 minutes)
Spoon the batter into your mini muffin cups, filling each about ¾ full to allow room for rising. If the batter is too thick, a quick stir with a teaspoon will smooth it out. - Bake (15-18 minutes)
Bake until the tops spring back when lightly pressed and a toothpick inserted in the center comes out clean. Keep a close eye from the 15-minute mark; overbaking dries the cakes out quickly. - Cool Completely (20 minutes)
Let the cakes cool in the tin for 5 minutes, then transfer onto a wire rack. Cooling is critical before frosting to avoid melting the icing. Touch the cake lightly on top—when cool, it should feel firm but springy. - Make Frosting (7 minutes)
Beat butter until creamy, then gradually add powdered sugar with milk. Adjust thickness to a spreadable consistency. Tint with a few drops of food coloring for that festive pastel look. - Decorate (10 minutes)
Spread or pipe frosting atop each mini cake and adorn with a mini chocolate or candy Easter egg. Store in an airtight container once decorated.
Presentation Tips for Easter Egg Mini Snack Cakes
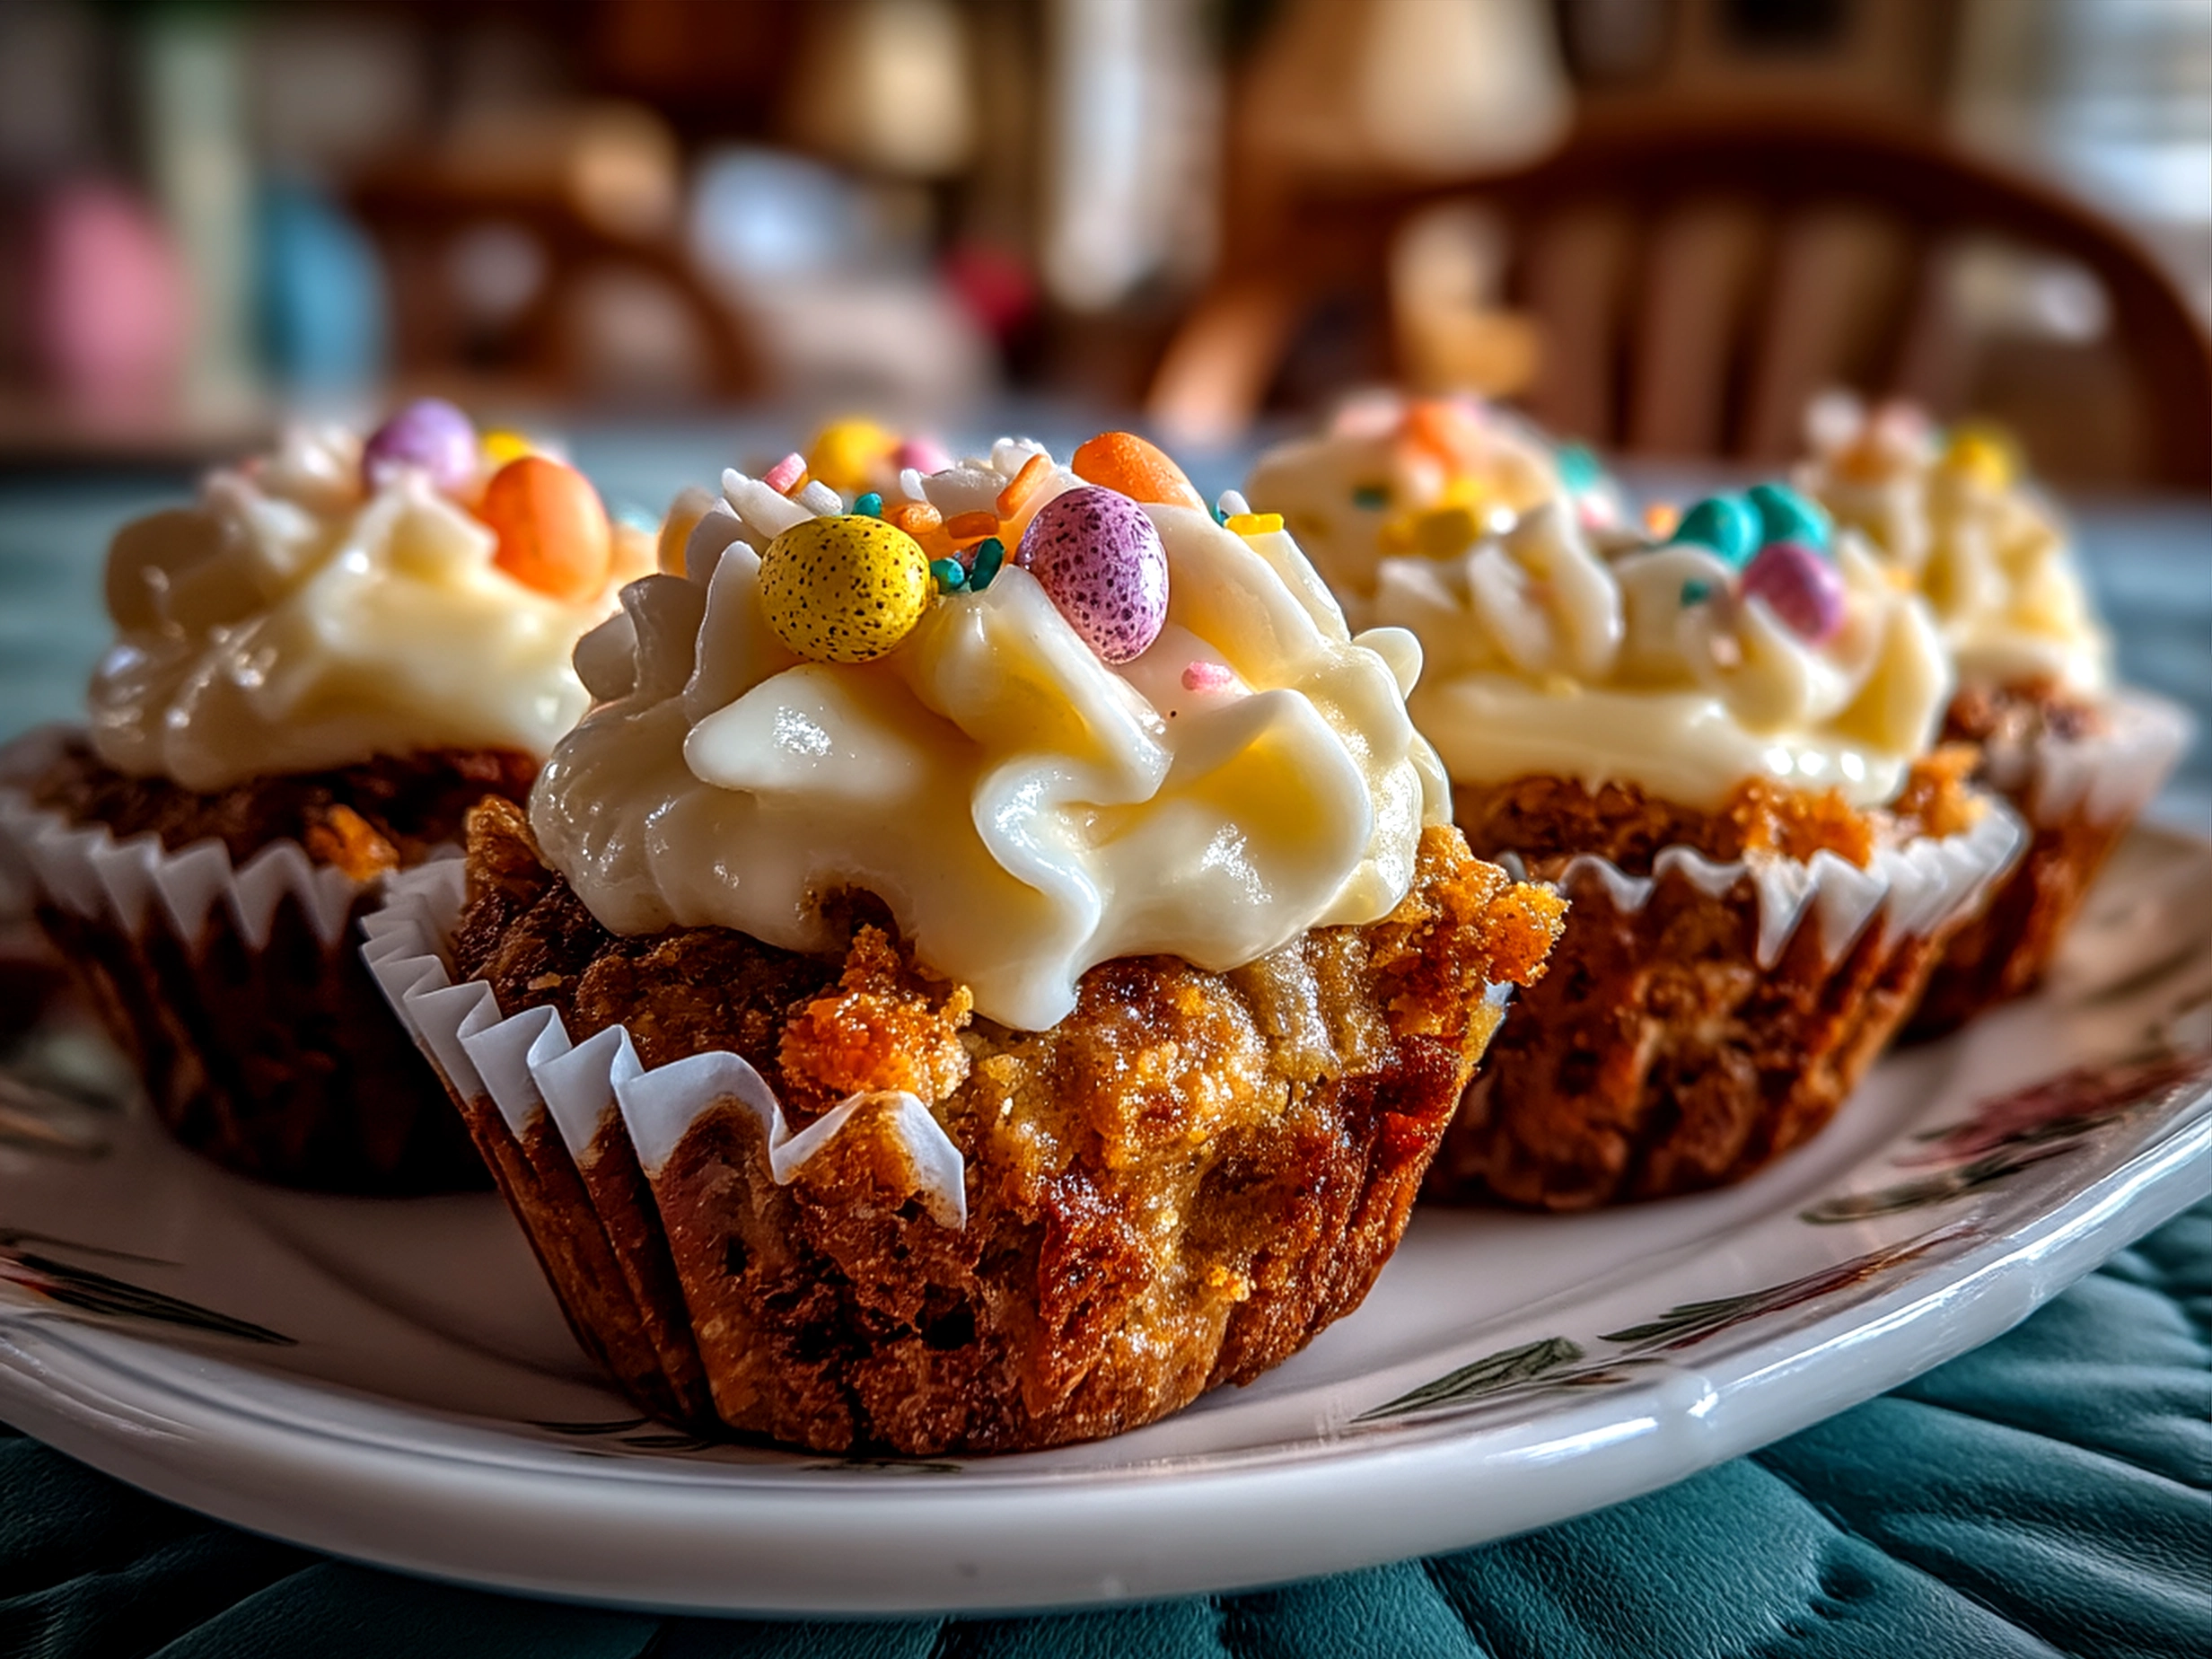
Easter Egg Mini Snack Cakes are the perfect showstoppers for your spring gatherings. To make them pop visually, arrange your mini cakes on a rustic wooden board surrounded by fresh flowers like daffodils and tulips. The natural colors complement the pastel frosting beautifully.
For family brunch or a picnic, pack these bite-sized cakes in colorful cupcake liners and place them in a pretty tin or box. Kids love unwrapping them like little treasures! These mini cakes also pair well with a pot of strong tea, fresh berries, or a light sparkling lemonade for a well-rounded festive snack.
Celebrate the occasion by placing a single cake on a small plate with a fresh mint leaf or edible flower next to it. The floral note lifts the sweet richness and makes a charming touch for more formal gatherings with aunties, uncles, or neighbors.
Because the cakes are small, they’re ideal for sharing—a few on a plate alongside other Easter treats create a festive spread that’s as much about variety as it is about flavor. Whether an afternoon tea or Easter Sunday dessert, these snacks bring warmth, joy, and that signature home-cooked comfort that everyone cherishes.
FAQs about Easter Egg Mini Snack Cakes
- Can I make these cakes gluten-free?
Absolutely! Swap the all-purpose flour for a 1:1 gluten-free baking flour. You may want to add an extra 1/4 teaspoon of baking powder for extra lift. - How do I avoid dry mini cakes?
Don’t overbake! Check from 15 minutes onward. Also, ensure your butter and eggs are fresh and avoid overmixing the batter; gentle folding keeps the crumb moist. - Can I prepare the cakes ahead of time?
Yes, bake and cool the cakes, then freeze them unfrosted in an airtight container. Defrost overnight before frosting. - How can I make frosting less sweet?
Use cream cheese frosting instead of buttercream, or reduce powdered sugar by 1/4 cup and add a pinch of salt. - What’s the best way to color the frosting?
Gel food coloring is best as it won’t thin your frosting. Add drops gradually to reach your desired color. - Can I replace the candy Easter eggs?
Feel free! Think mini jellybeans, edible flowers, or a drizzle of melted chocolate for a personal touch. - How do I store leftover mini cakes?
Keep them in an airtight container at room temperature for up to 3 days or in the fridge for 5 days.
Embrace the Joy of Easter Egg Mini Snack Cakes
Making Easter Egg Mini Snack Cakes is more than a recipe—it’s a chance to share love through food, fill your home with mouthwatering aromas, and make memories around the table. Try variations by adding lemon zest to your batter or swirling in a bit of raspberry jam before baking for an extra burst of spring flavor.
Don’t hesitate to adapt the decoration to your family’s tastes—whether it’s vibrant shades or simple, natural toppings. These mini cakes are forgiving and inviting, making them ideal for home cooks of all skill levels.
So, grab your ingredients, channel that warm family spirit, and let these Easter treats become your new signature spring dessert. Celebrate the season with sweet bites bursting with festive joy—your family will thank you, and your kitchen will never smell sweeter.
For more festive mini cake ideas, check out Festive Mini Christmas Cakes with Ganache and Andes Mint Mini Cheesecakes. You might also enjoy exploring these Easter Egg Mini Snack Cakes recipes, Simple Easter Egg Nest Cakes, and Mini Easter Egg Cakes for more inspiration.
Easter Egg Mini Snack Cakes

Delight in these festive Easter Egg Mini Snack Cakes, perfect for a sweet holiday treat with a moist, fluffy texture and colorful decoration that captures the spirit of spring.
- Prep Time: 10 minutes
- Cook Time: 15 minutes
- Total Time: 25 minutes
- Yield: 24 mini cakes
- Category: Snack
- Method: Baked
- Cuisine: American
Ingredients
- 1 cup all-purpose flour
- 1/2 cup granulated sugar
- 1/2 teaspoon baking powder
- 1/4 teaspoon baking soda
- 1/4 teaspoon salt
- 1/2 cup buttermilk
- 1 large egg
- 1/4 cup unsalted butter, melted
- 1 teaspoon vanilla extract
- 1/4 cup rainbow sprinkles
- 1/2 cup cream cheese frosting
- Food coloring (optional, assorted colors)
- Mini chocolate chips or candy eyes for decoration
Instructions
- Preheat the oven to 350°F (175°C) and grease a mini muffin tin.
- In a bowl, whisk together flour, sugar, baking powder, baking soda, and salt.
- In another bowl, mix buttermilk, egg, melted butter, and vanilla extract until combined.
- Pour the wet ingredients into the dry ingredients and stir until just combined. Fold in the rainbow sprinkles gently.
- Fill each mini muffin cup about 3/4 full with batter.
- Bake for 12-15 minutes or until a toothpick inserted in the center comes out clean.
- Allow cakes to cool completely on a wire rack.
- If desired, divide the cream cheese frosting into bowls and tint with food coloring. Pipe or spread the frosting onto each mini cake.
- Decorate with mini chocolate chips or candy eyes to resemble Easter eggs.
- Serve and enjoy your festive mini snack cakes!
Notes
For a fun variation, try adding a drop of your favorite fruit jam in the center before baking for a surprise filling.