
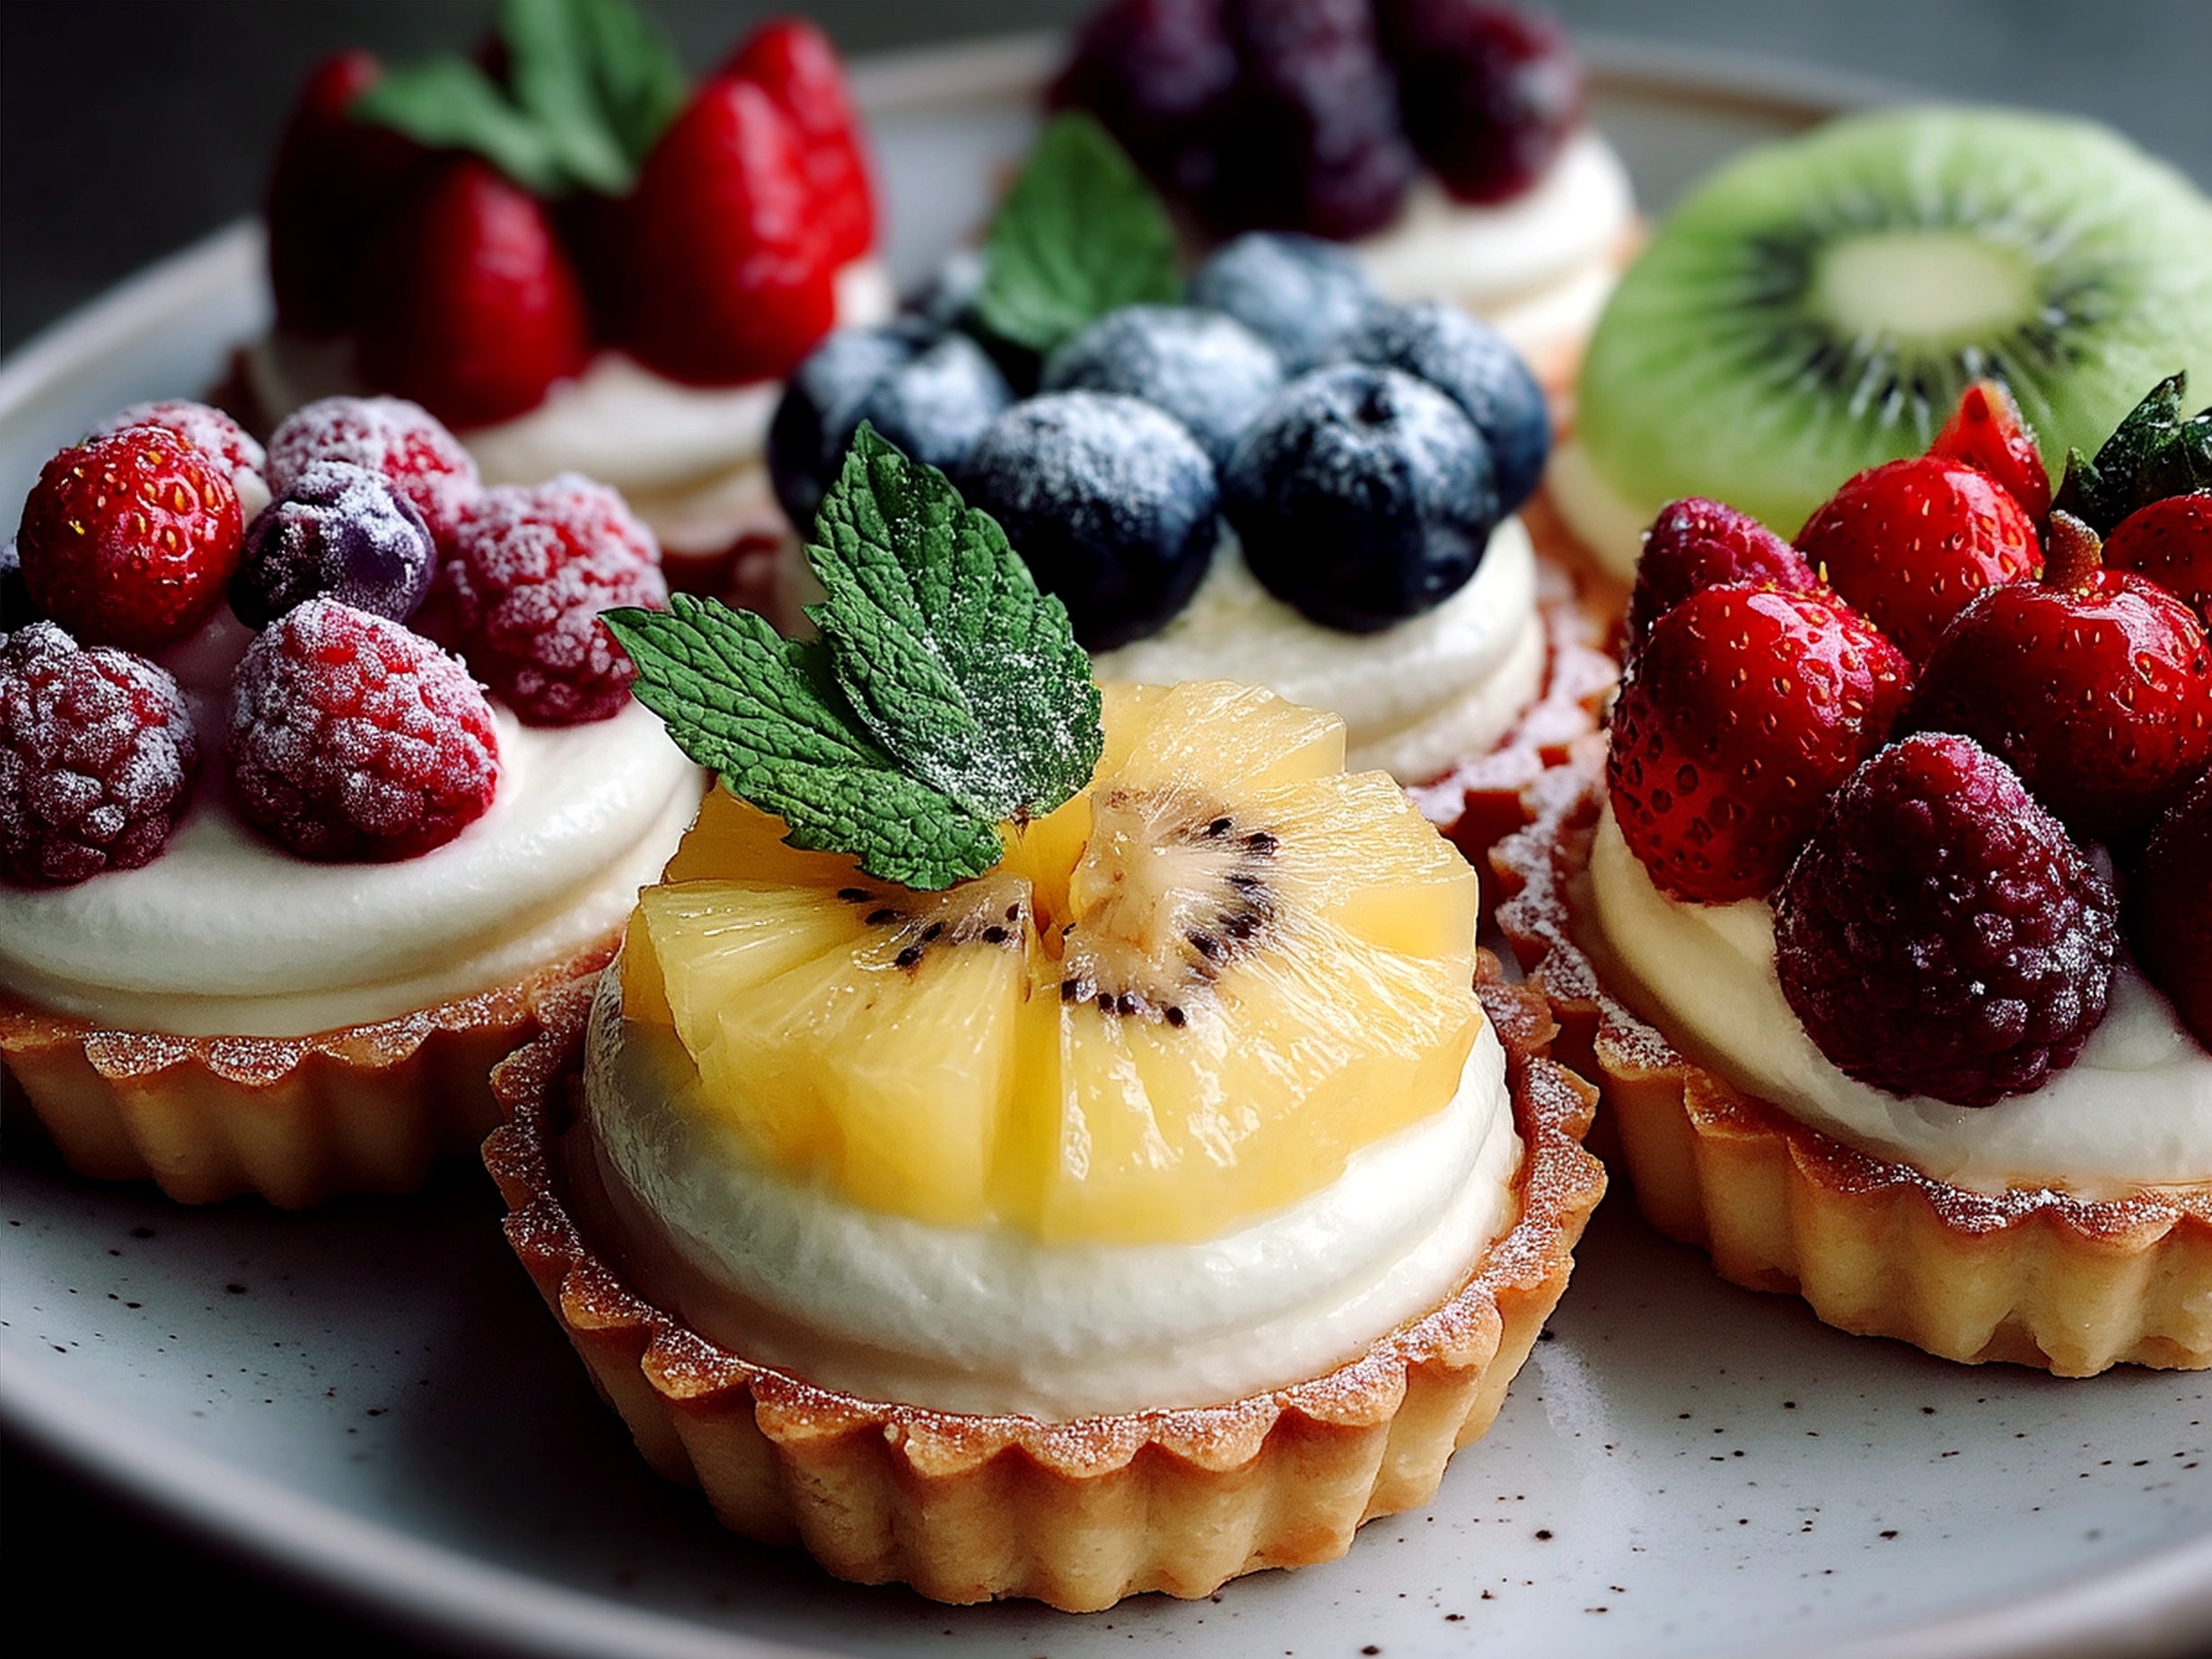
Have you ever watched a graduation party unfold and wondered how to make your celebration truly unforgettable? Imagine this: the laughter of family and friends echoing through the room, the proud graduate glowing with joy, and right at the heart of it all, a stunning graduation dessert table brimming with sweet delights. Creating a graduation dessert table isn’t just about placing a cake on a table; it’s about crafting an experience, a sensory journey that celebrates achievement and the journey ahead. Whether you’re throwing a small family gathering or a lively party, these dessert table ideas can transform your space into a festive haven where every bite sparks joy.
I remember my niece’s graduation party last spring. The dessert table was the centerpiece, decorated with vibrant colors matching her school, and bursting with an array of treats – from rich chocolate cupcakes topped with tiny edible diplomas to fresh fruit tarts that sang with tartness. Guests didn’t just eat; they savored moments, sharing stories over bites of celebration cake and sweets that were almost too beautiful to eat. This celebration dessert buffet brought everyone closer, turning the party dessert display into a space of warmth and connection.
For home cooks, stepping into this role can feel overwhelming. The good news? With a little planning and heart, you can set up a dessert table that feels warm, inviting, and delightfully delicious. In this guide, I’ll lead you through the process: from selecting ingredients to finishing touches that dazzle the eye and palate alike. Let’s dive in and craft a sensational graduation dessert table that honors your graduate and leaves your guests talking long after the last crumb is gone.
Ingredients for a Dream Graduation Dessert Table
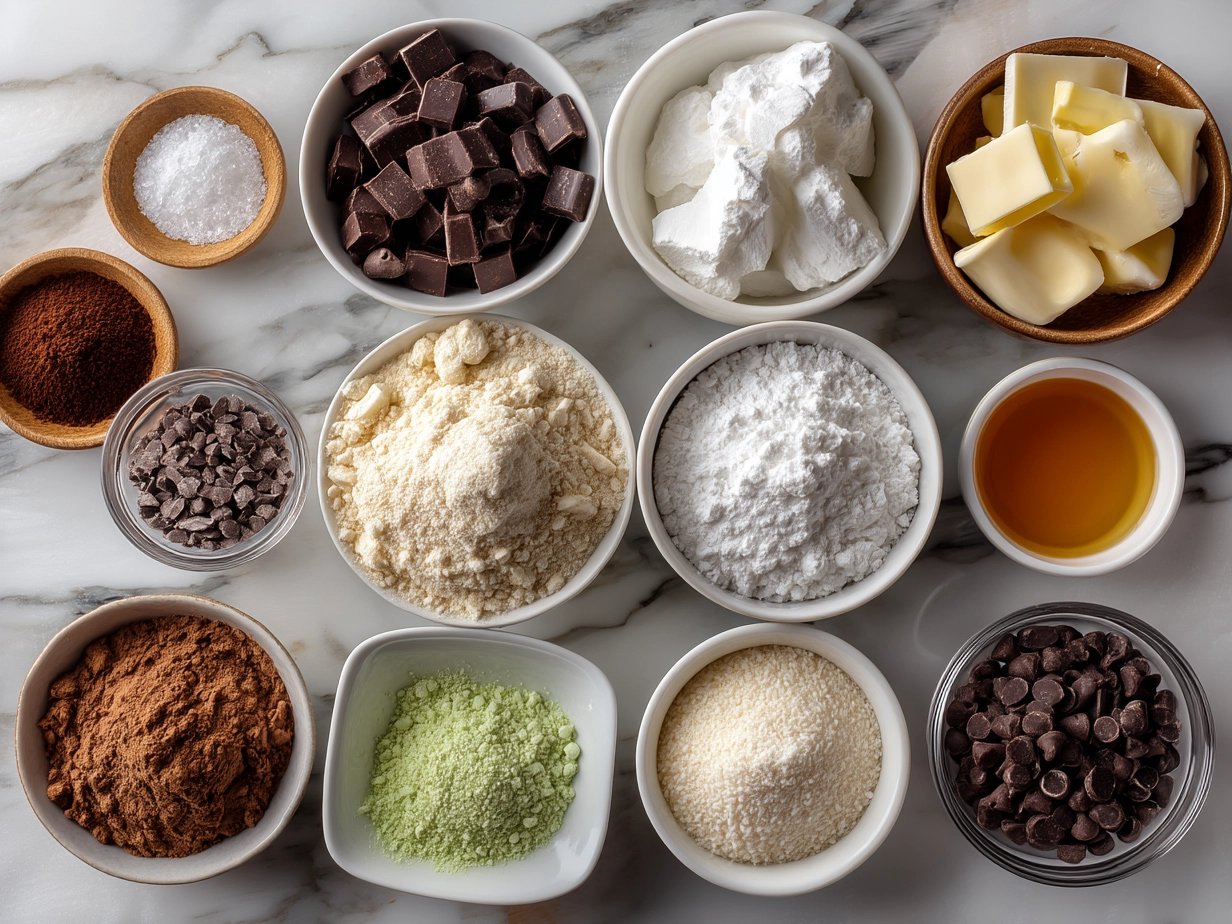
To whip together a celebration dessert buffet that feels festive and varied, here’s a thoughtful ingredient list. These choices balance flavor, texture, and ease, perfect for home cooks looking to impress without stress.
- All-purpose flour – 3 cups (swap with gluten-free flour blend for gluten-sensitive guests)
- Granulated sugar – 2 ½ cups (can reduce to 2 cups for a less sweet table)
- Unsalted butter – 1 ½ cups (room temperature; substitute with coconut oil for dairy-free options)
- Eggs – 4 large (use flax eggs for vegan twist: 1 tbsp flaxseed meal + 2.5 tbsp water per egg)
- Whole milk – 1 cup (use almond or oat milk for dairy-free)
- Baking powder – 2 ½ teaspoons
- Vanilla extract – 2 teaspoons (real vanilla adds warmth)
- Cocoa powder – ¾ cup (for chocolate elements on the table)
- Cream cheese – 8 oz (for frosting and creamy fillings; vegan cream cheese available for substitutes)
- Powdered sugar – 3 cups (for topping and frosting)
- Fresh fruit – strawberries, blueberries, raspberries (for tarts or decoration)
- Dark chocolate chips – 1 cup (melting for drizzle or chocolate bark)
- Sprinkles and edible glitter – graduation-themed colors (gold, black, white for sparkle and fun)
- Assorted nuts – chopped pistachios, walnuts (adds texture; skip for allergies)
- Marshmallows – 2 cups (optional, for quick treats or decorating)
- Honey or maple syrup – ¼ cup (natural sweetener alternative)
- Lemon zest and juice – 1 lemon (brightens flavors in cakes or fruit dishes)
For budget-friendly swaps, consider homemade whipped cream instead of store-bought frosting, or simple sugar cookies dressed up with colorful icing and sprinkles instead of elaborate pastries. Use what’s fresh and available; the key is variety and heart, not perfection.
Step-by-Step: Crafting Your Graduation Dessert Table
1. Plan your menu and theme (30 minutes):
Decide on a color palette that suits the graduate’s school or personal tastes—classic black and gold or something bold like blue and silver. Jot down the types of desserts you want: cake, cupcakes, cookies, fruit tarts, and maybe a chocolate bark. The variety ensures there’s something for everyone.
2. Bake the cake base (1.5 hours including cooling):
Choose a moist vanilla or chocolate cake as your centerpiece. Mix flour, sugar, butter, eggs, milk, baking powder, and vanilla according to your chosen recipe. Watch the batter’s texture switch from thick to smooth—it’s a good sign your flour is well incorporated. Bake at 350°F (175°C) until a toothpick comes out clean. Let it cool completely before frosting to avoid melting.
3. Prepare frosting and toppings (45 minutes):
Make a cream cheese or buttercream frosting. Whip softened butter and cream cheese with powdered sugar and vanilla until fluffy—light and airy frosting makes spreading easier and tastes heavenly. Add food coloring if you want matching hues. Prepare fresh fruit and melt chocolate as needed for garnishes.
4. Decorate cupcakes and cookies (1 hour):
Bake cupcakes and sugar cookies in advance, then frost and decorate. Use piping bags for pretty swirls and scatter edible glitter or sprinkles to add festive charm. Look for visual balance: taller cupcakes on cake stands and flat cookies on plates keep the display dynamic.
5. Assemble additional treats (30 minutes):
Create chocolate bark by melting chocolate chips and mixing in nuts or dried fruit, then setting it in the fridge. Arrange fruit tarts using prepared tart shells filled with custard or cream and top with vibrant berries for a pop of color and tartness.
6. Set up the dessert table (1 hour):
Use tiered trays and colorful platters. Place the cake centrally, surround it with cupcakes and cookies, then fill the gaps with smaller treats. Make sure decorations evoke celebration: banners, candles, or themed confetti bring zest. Serve with napkins and dessert forks ready—presentation is as vital as taste.
Mistakes to Avoid:
Don’t frost a warm cake; it ruins the texture and look.
Avoid overcrowding the table; let each dessert shine with space.
Over-baking cupcakes makes them dry, so check timely.
Presenting Your Graduation Dessert Table
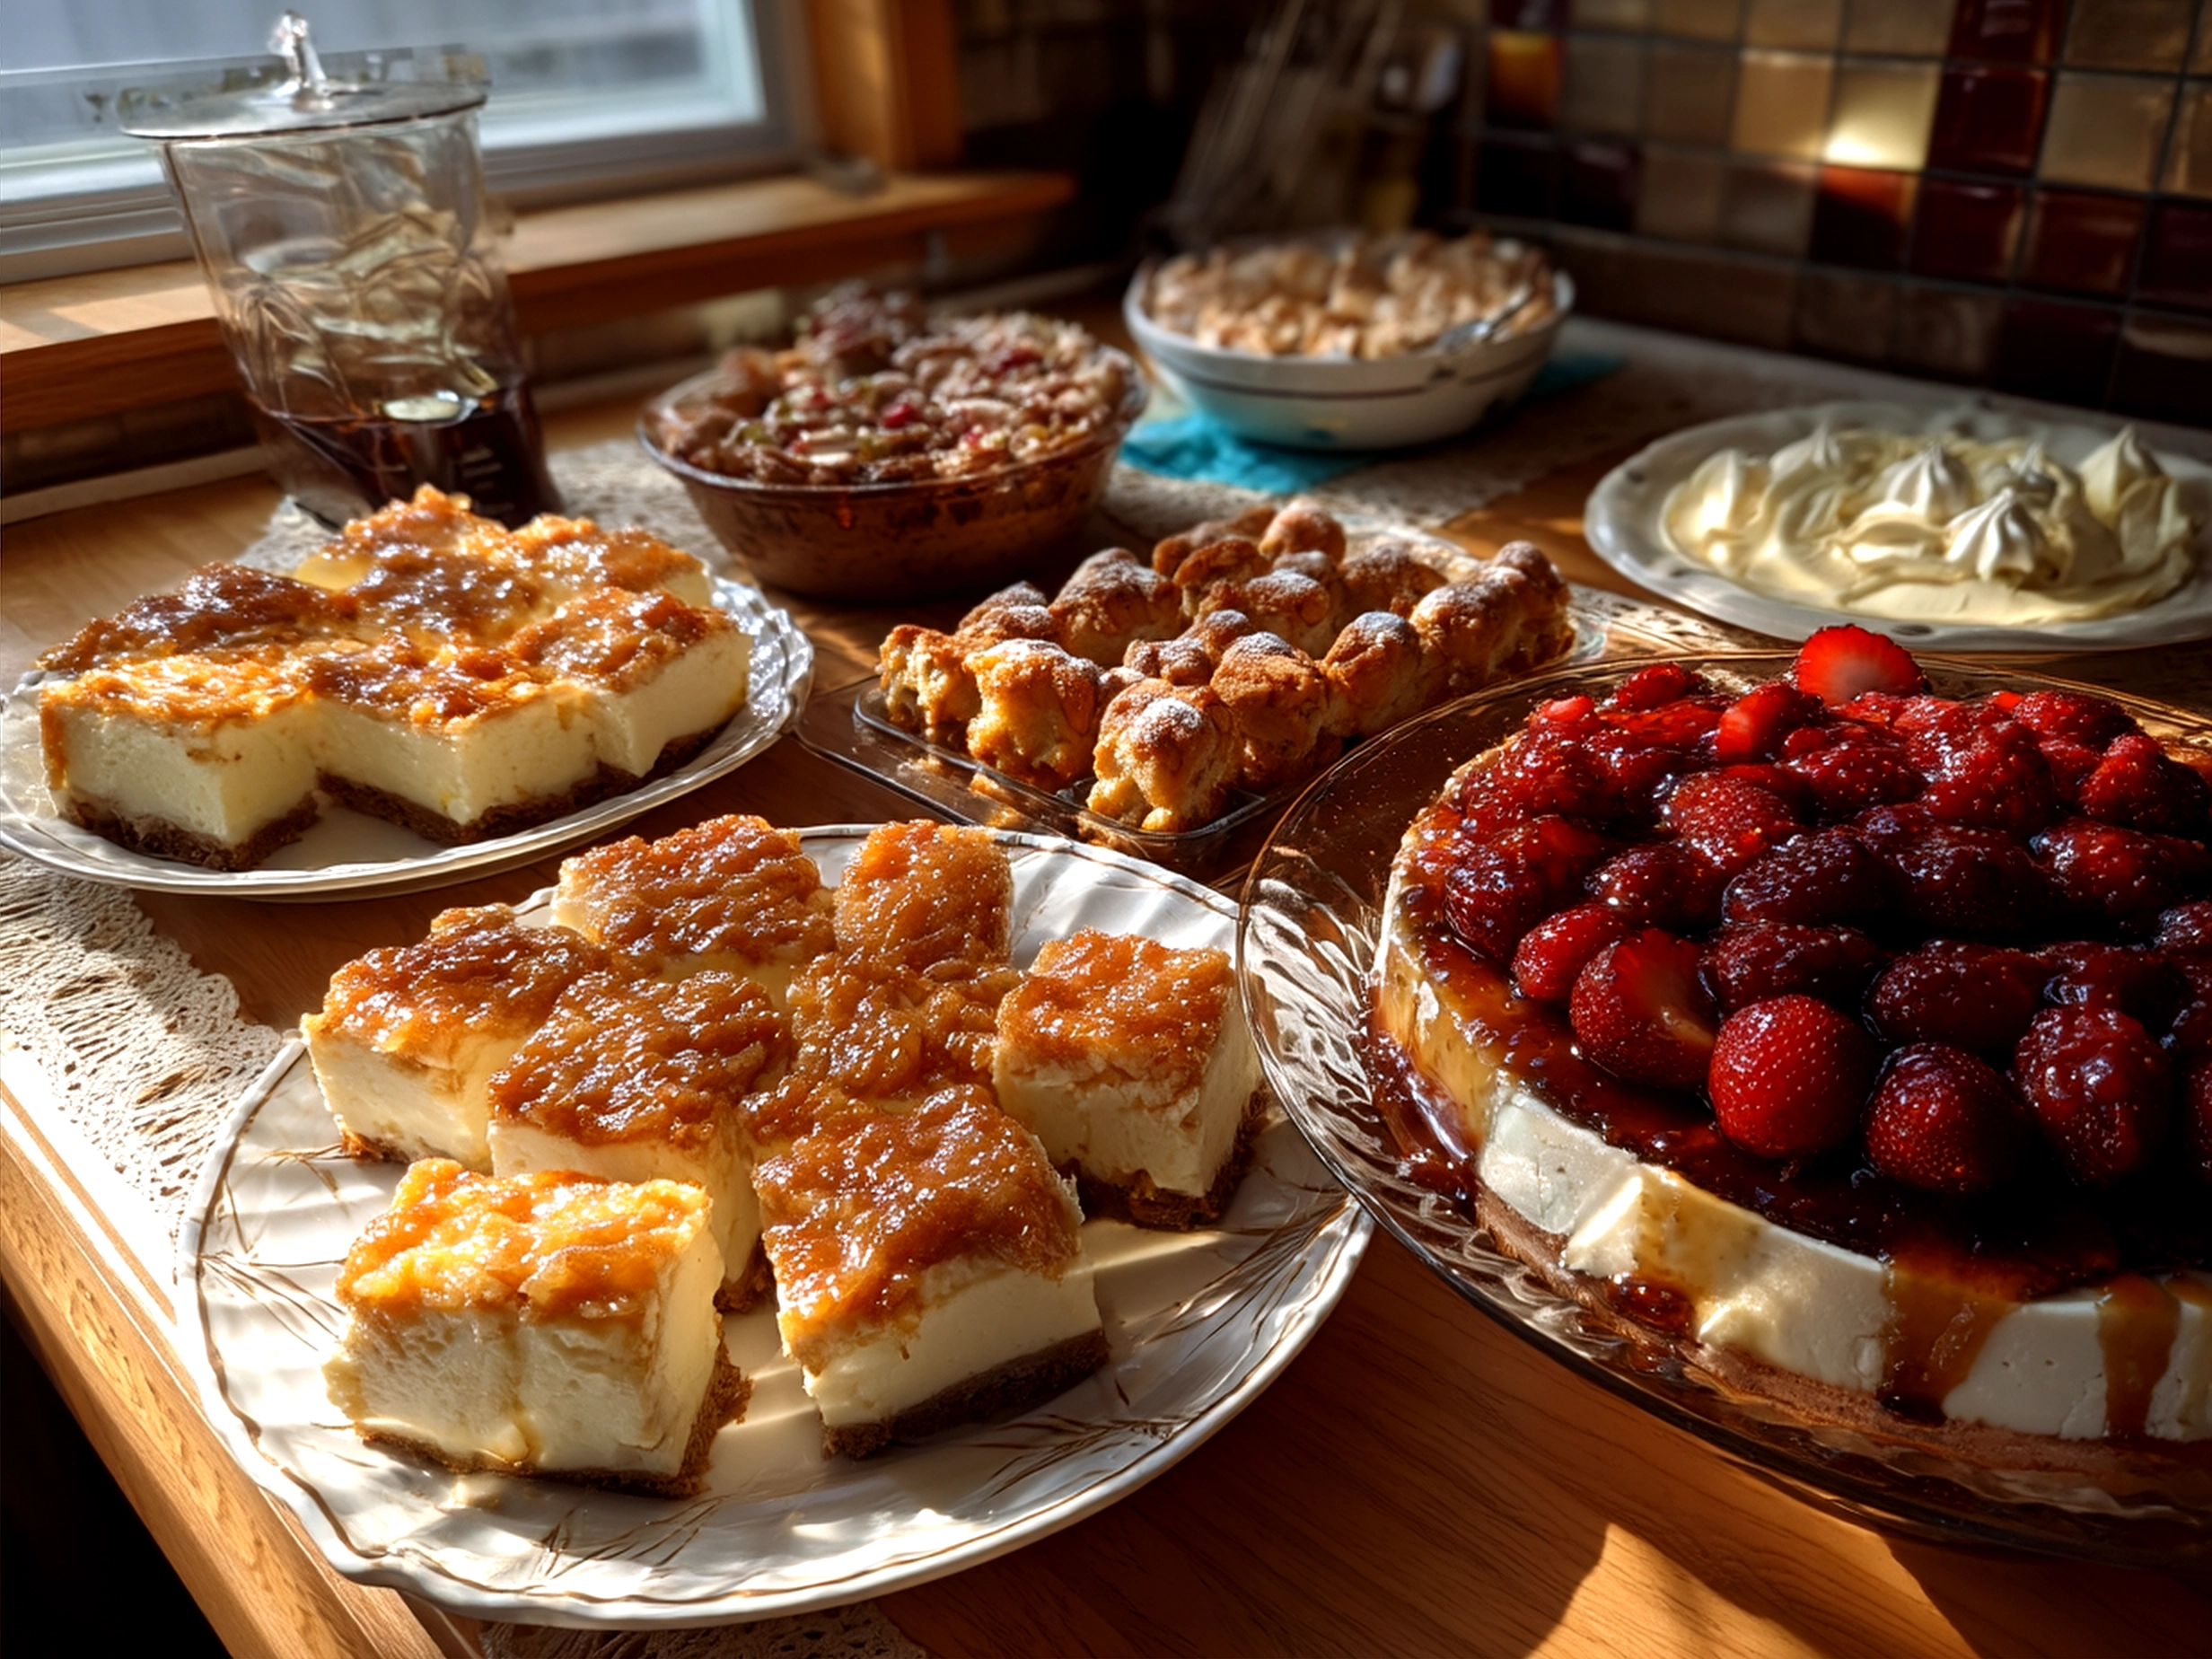
Picture a table dressed with a crisp white cloth, twinkling fairy lights strung above, and dessert trays arranged to lead eyes from one sweet indulgence to the next. Craft layers for height—stack cupcakes on tiered stands, while flat trays showcase decorated cookies and fruit tarts like edible jewels.
Pair your graduation cake and sweets with light refreshments—fresh lemonade, sparkling water with mint, or a fruity punch keeps guests refreshed. Consider presenting each dessert with a small label that notes flavor or special ingredients, adding a thoughtful touch that engages guests.
This dessert table isn’t just for graduation parties. It shines at milestone birthdays, anniversaries, baby showers, or any celebration calling for a sweet centerpiece. The mix of textures—from creamy frosting to crisp cookies and juicy berries—invites everyone to explore and relish each bite. Your warm, welcoming setup becomes a conversation starter, where smiles and shared memories bloom alongside the sweets.
FAQs About Graduation Dessert Tables
Q1: How far ahead can I prepare desserts for the table?
You can bake cakes and cookies up to three days in advance, storing them in airtight containers. Assemble frosting and fresh fruit toppings on the party day to keep flavors bright and textures fresh.
Q2: What if I’m short on time?
Focus on simple but stunning desserts: cupcakes with pre-made frosting and a fruit tart. Add purchased decorative elements like sprinkles or edible glitter for flair without extra baking.
Q3: How do I accommodate dietary restrictions?
Offer at least one vegan or gluten-free option. Swapping ingredients like using almond milk, coconut oil, or gluten-free flour ensures inclusivity without sacrificing flavor.
Q4: Can I make the dessert table kid-friendly?
Absolutely! Include mini cupcakes, colorful cookies, and marshmallow pops. Serve smaller portions and use mild sweetness.
Q5: What are some decoration ideas for the dessert table?
Think banners with the graduate’s name, themed cupcake toppers, and coordinating table runners. Fresh flowers or greenery add natural charm.
Q6: How many desserts should I prepare per guest?
Plan for 2–3 items per person, considering size and variety. It’s better to have a bit extra than to run out!
Q7: What’s the easiest way to create a festive atmosphere?
Lighting is key—string lights, candles (battery-operated for safety), and colorful tablecloths instantly lift the mood.
Wrapping It Up: Creating Your Graduation Dessert Table Magic
A graduation dessert table is more than a collection of sweets; it’s a heartfelt celebration of dreams achieved and future paths. With planning, a touch of creativity, and love, you can build a stunning party dessert display that sings with tradition and warmth. Experiment with flavors your family adores—perhaps a classic chocolate cake infused with coffee, or a pistachio lush dessert for something unexpected. Don’t hesitate to combine homemade treats with selected store-bought items to ease prep without losing the personal touch.
Remember, the joy is in sharing these sweet moments. Encourage guests to mingle, savor, and celebrate together around the dessert table. It’s your chance to honor hard work, family ties, and new beginnings with flavor and style. So grab your apron, fire up that oven, and let’s make your graduation party desserts shine as brightly as the graduate themselves.
For more inspiration on delicious, show-stopping desserts that complement your celebration, check out my Italian Love Cake and Pistachio Lush Dessert recipes on Aunty Spices. Here’s to sweet success and joyous memories!
Helpful Links:
Graduation Dessert Table

Celebrate your graduation with an elegant dessert table featuring a variety of sweet treats that are perfect for sharing and impressing your guests.
- Prep Time: 20 minutes
- Cook Time: 30 minutes
- Total Time: 50 minutes
- Yield: 12 servings
- Category: Dessert
- Method: Baked
- Cuisine: American
Ingredients
- 2 cups all-purpose flour
- 1 ½ cups granulated sugar
- 1 cup unsalted butter, softened
- 4 large eggs
- 1 cup whole milk
- 2 teaspoons baking powder
- 1 teaspoon vanilla extract
- 1 cup fresh strawberries, sliced
- 1 cup blueberries
- 1 cup heavy cream
- ½ cup powdered sugar
- Assorted chocolate truffles
- Colorful sprinkles for decoration
- Fresh mint leaves for garnish
Instructions
- Preheat the oven to 350°F (175°C). Grease and flour two 9-inch round cake pans.
- In a large bowl, cream the butter and granulated sugar together until light and fluffy.
- Add eggs one at a time, beating well after each addition.
- Mix in vanilla extract.
- In a separate bowl, sift together flour and baking powder.
- Alternately add the dry ingredients and milk to the butter mixture, starting and ending with the dry ingredients. Mix until just combined.
- Divide batter evenly between the prepared pans and bake for 25-30 minutes or until a toothpick inserted in the center comes out clean.
- Allow cakes to cool completely on wire racks.
- Whip heavy cream with powdered sugar until stiff peaks form to make whipped cream.
- Assemble the dessert table by slicing the cakes and displaying them on platters alongside fresh strawberries, blueberries, whipped cream, chocolate truffles, and sprinkles.
- Garnish with fresh mint leaves for a touch of color and freshness.
Notes
For a personalized touch, add edible graduation cap toppers or use school colors in your sprinkles and decorations.