
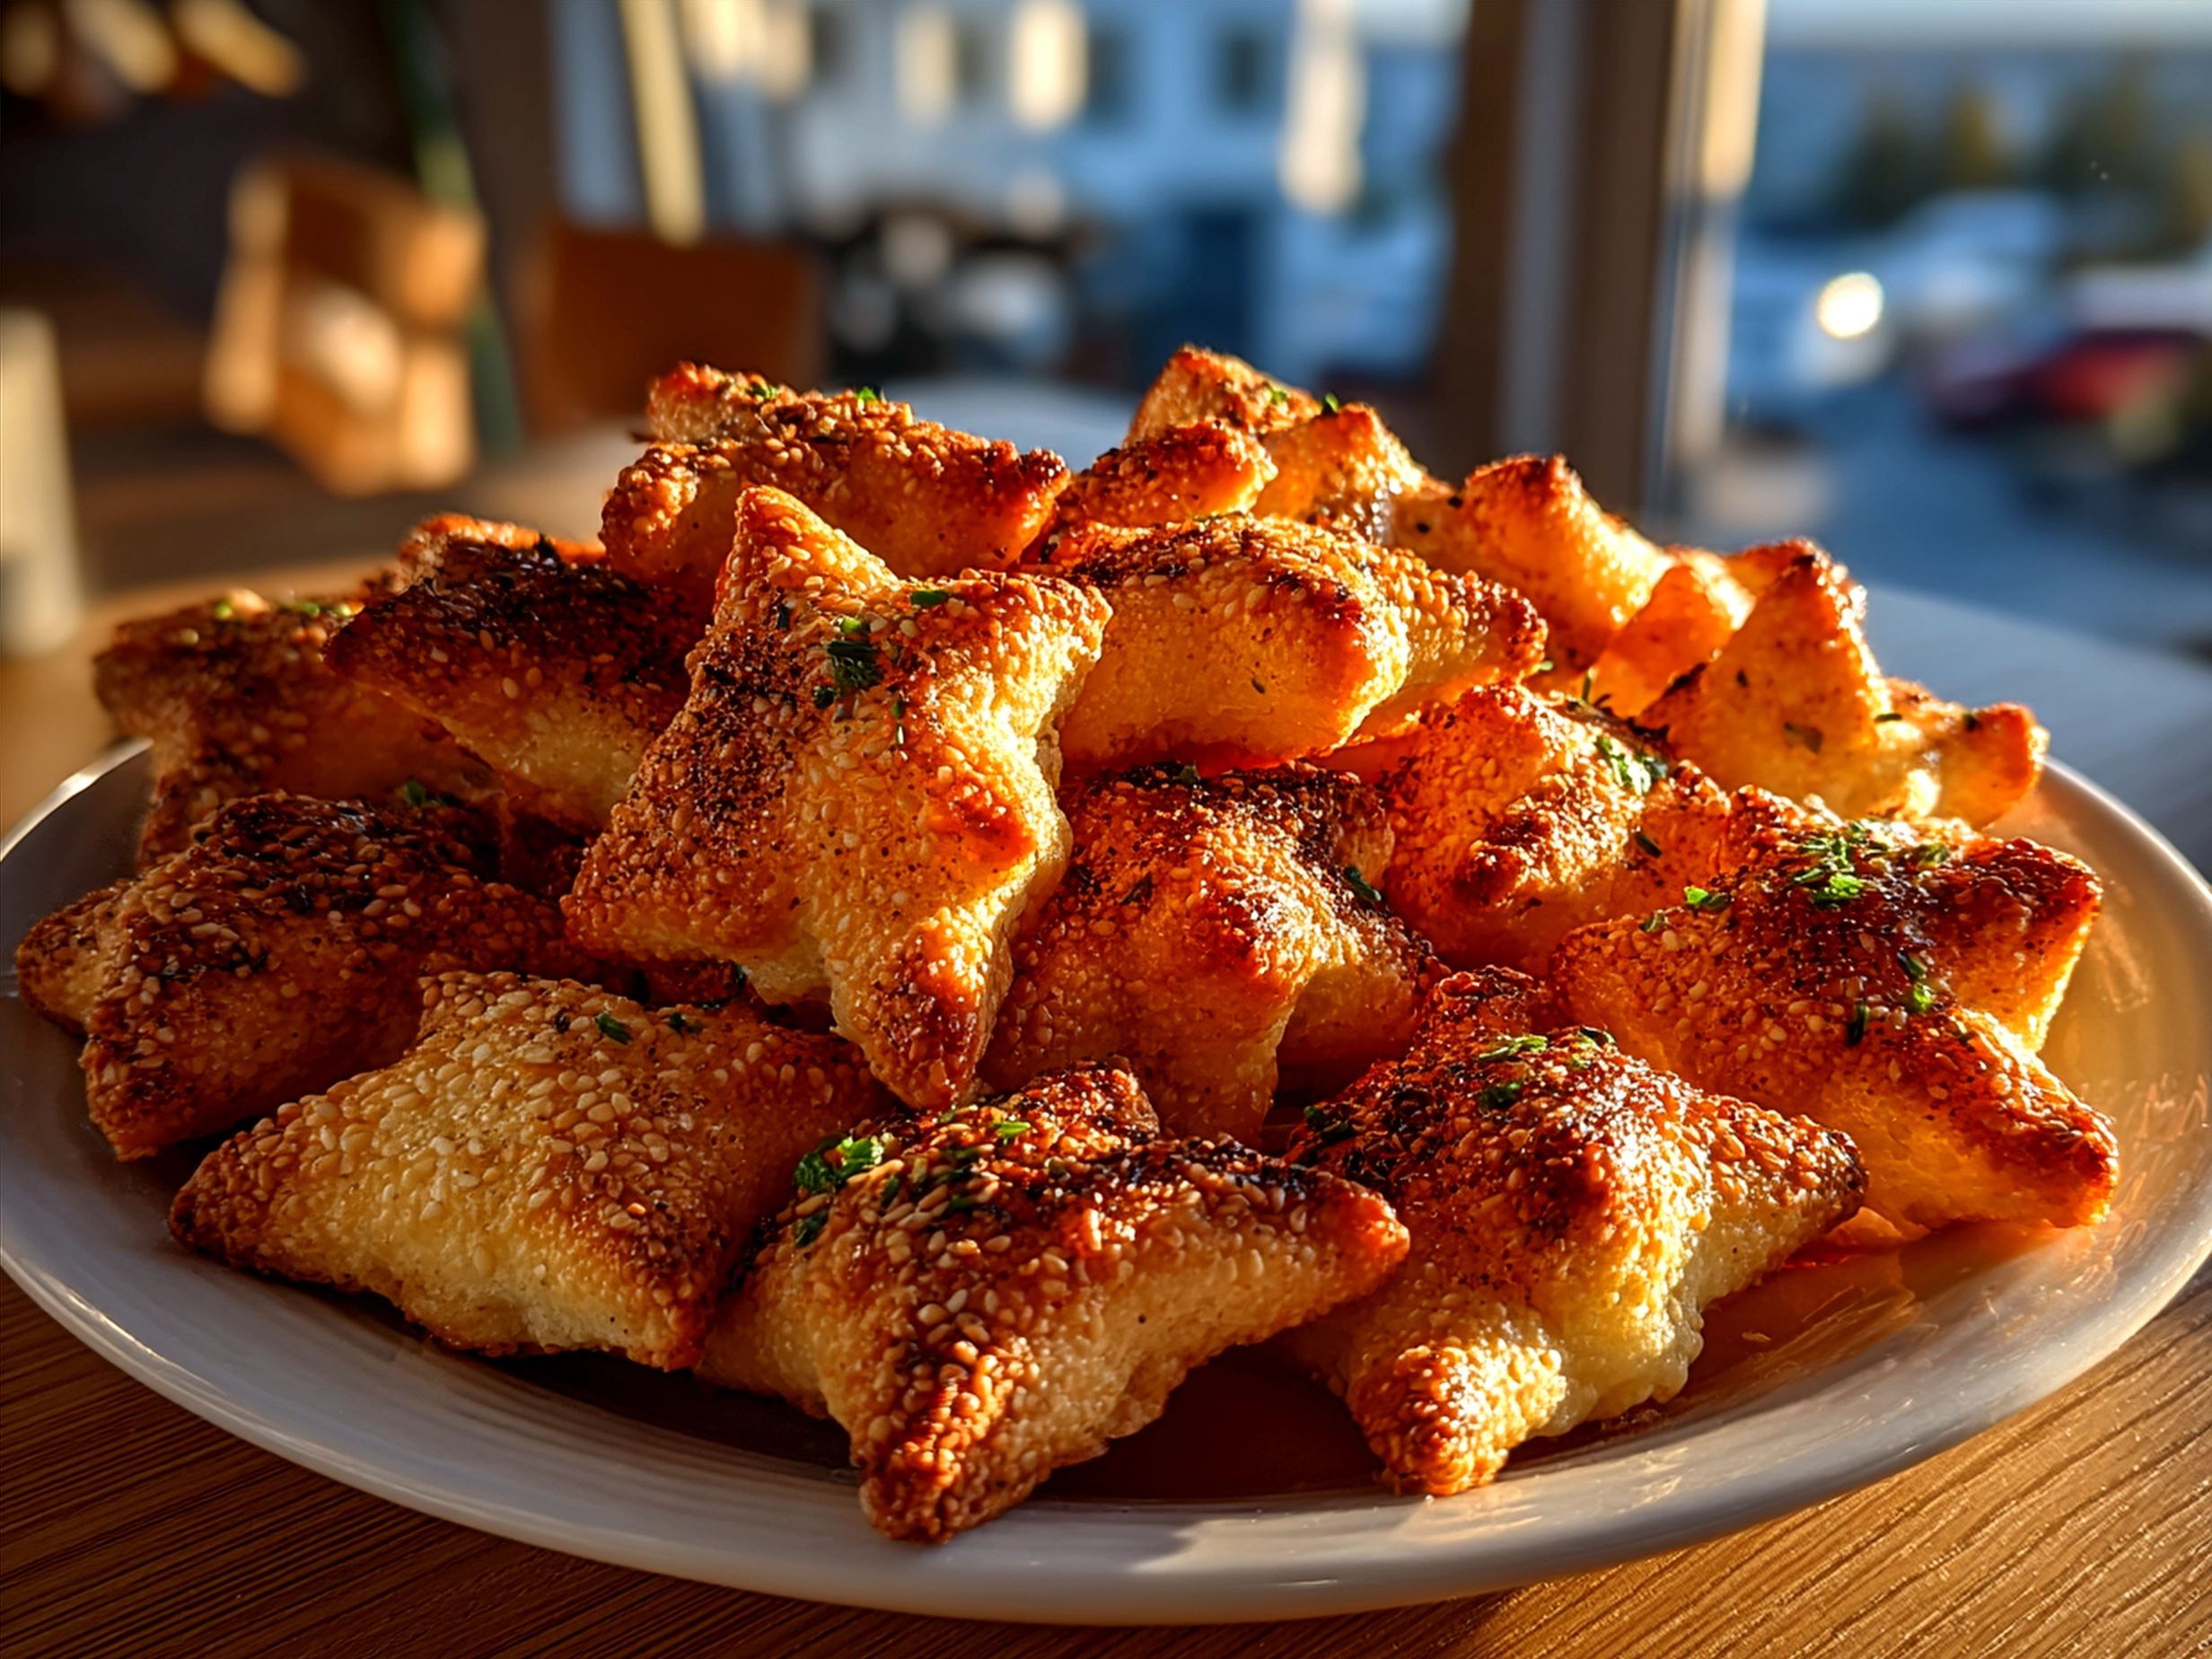
Did you ever think cookies could capture a moment? My niece asked me as I rolled out dough on a sunlit kitchen counter, the scent of vanilla and butter thick in the air. Her eyes were wide with curiosity, and I smiled warmly. “Not just cookies, love—these are memories baked with love.” That’s the beauty of a Graduation Cookie Tutorial: a sweet treat that tells a story, celebrates triumph, and adds a sprinkle of joy to any graduation party.
Ingredients for Your Graduation Cookie Tutorial
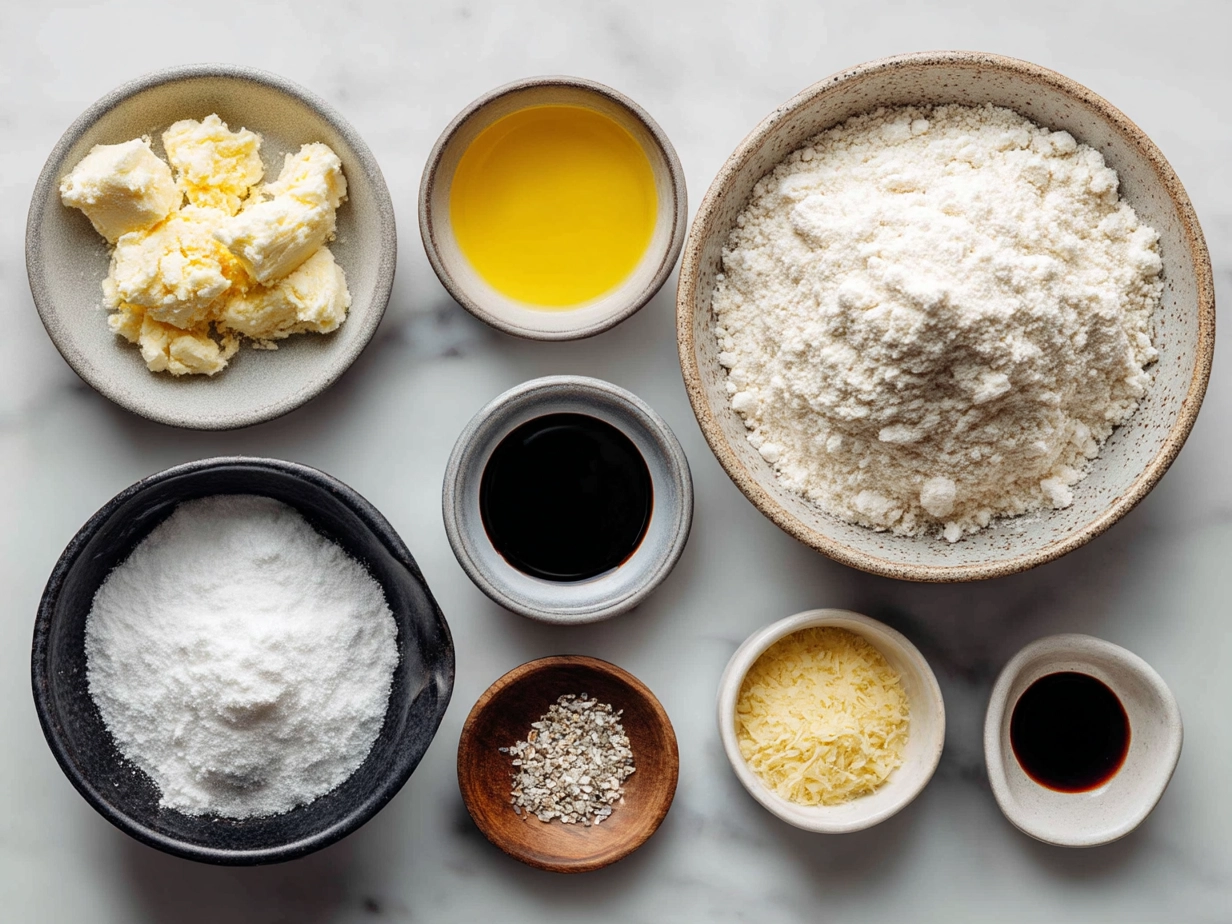
For these sugar cookie graduation delights, here’s what you’ll need. Each ingredient matters for that perfect texture, flavor, and decorating surface.
- 2 ¾ cups (345g) all-purpose flour
Swap: For a budget alternative, use half all-purpose and half cake flour for a tender crumb. - 1 teaspoon baking powder
Tip: Ensures a light cookie that holds its shape well for decorating. - ½ teaspoon salt
- 1 cup (226g) unsalted butter, softened
Swap: Margarine works but may affect flavor and texture. - 1 ½ cups (300g) granulated sugar
- 1 large egg
- 2 teaspoons pure vanilla extract
Alternative: Almond extract for a subtle nutty hint. - 2 tablespoons heavy cream
Swap: Whole milk is fine in a pinch, but cream gives richer dough.
For Royal Icing:
- 4 cups (480g) powdered sugar, sifted
- 3 tablespoons meringue powder
- 5-6 tablespoons warm water
- Gel food coloring in school colors
This recipe yields about 24 medium-sized cookies, perfect for a small gathering or classroom treat. If budget’s tight, remember you can reduce sugar slightly or substitute some butter with oil—but results will shift slightly. The key is a dough that’s firm yet pliable, so your decorated cookies come out looking impeccable.
Steps for a Fantastic Graduation Cookie Tutorial
1. Make the Dough – Cream softened butter and sugar together until light and fluffy—about 3-5 minutes. You want it airy to create tender cookies. Add the egg, vanilla, and cream; beat to combine. Slowly incorporate dry ingredients until just mixed.
2. Chill the Dough – Wrap the dough in plastic and refrigerate for at least 1 hour. This step’s crucial for easier rolling and crisper edges. Don’t rush it!
3. Roll and Cut – On a lightly floured surface, roll dough to ¼-inch thickness. Use graduation-themed cookie cutters—mortarboards, diplomas, stars—to cut out shapes. Transfer carefully to a parchment-lined baking sheet.
4. Bake – Bake at 350°F (175°C) for 8-10 minutes. You’re looking for pale golden edges, not brown. Overbaking leads to hard cookies that are tough to decorate.
5. Cool Completely – Let cookies rest for 15 minutes on the sheet, then cool entirely on a wire rack. Decorating warm cookies melts icing, so patience here pays off!
6. Prepare Royal Icing – Combine meringue powder, powdered sugar, and water. Beat until stiff peaks form. Divide and tint with gel colors. Keep icing covered with a damp cloth when not in use to avoid drying.
7. Outline and Flood – Use a piping bag with a small round tip to outline cookie edges. Let set 10 minutes. Thin remaining icing with water to flood cookie spaces. Use a toothpick to spread smoothly.
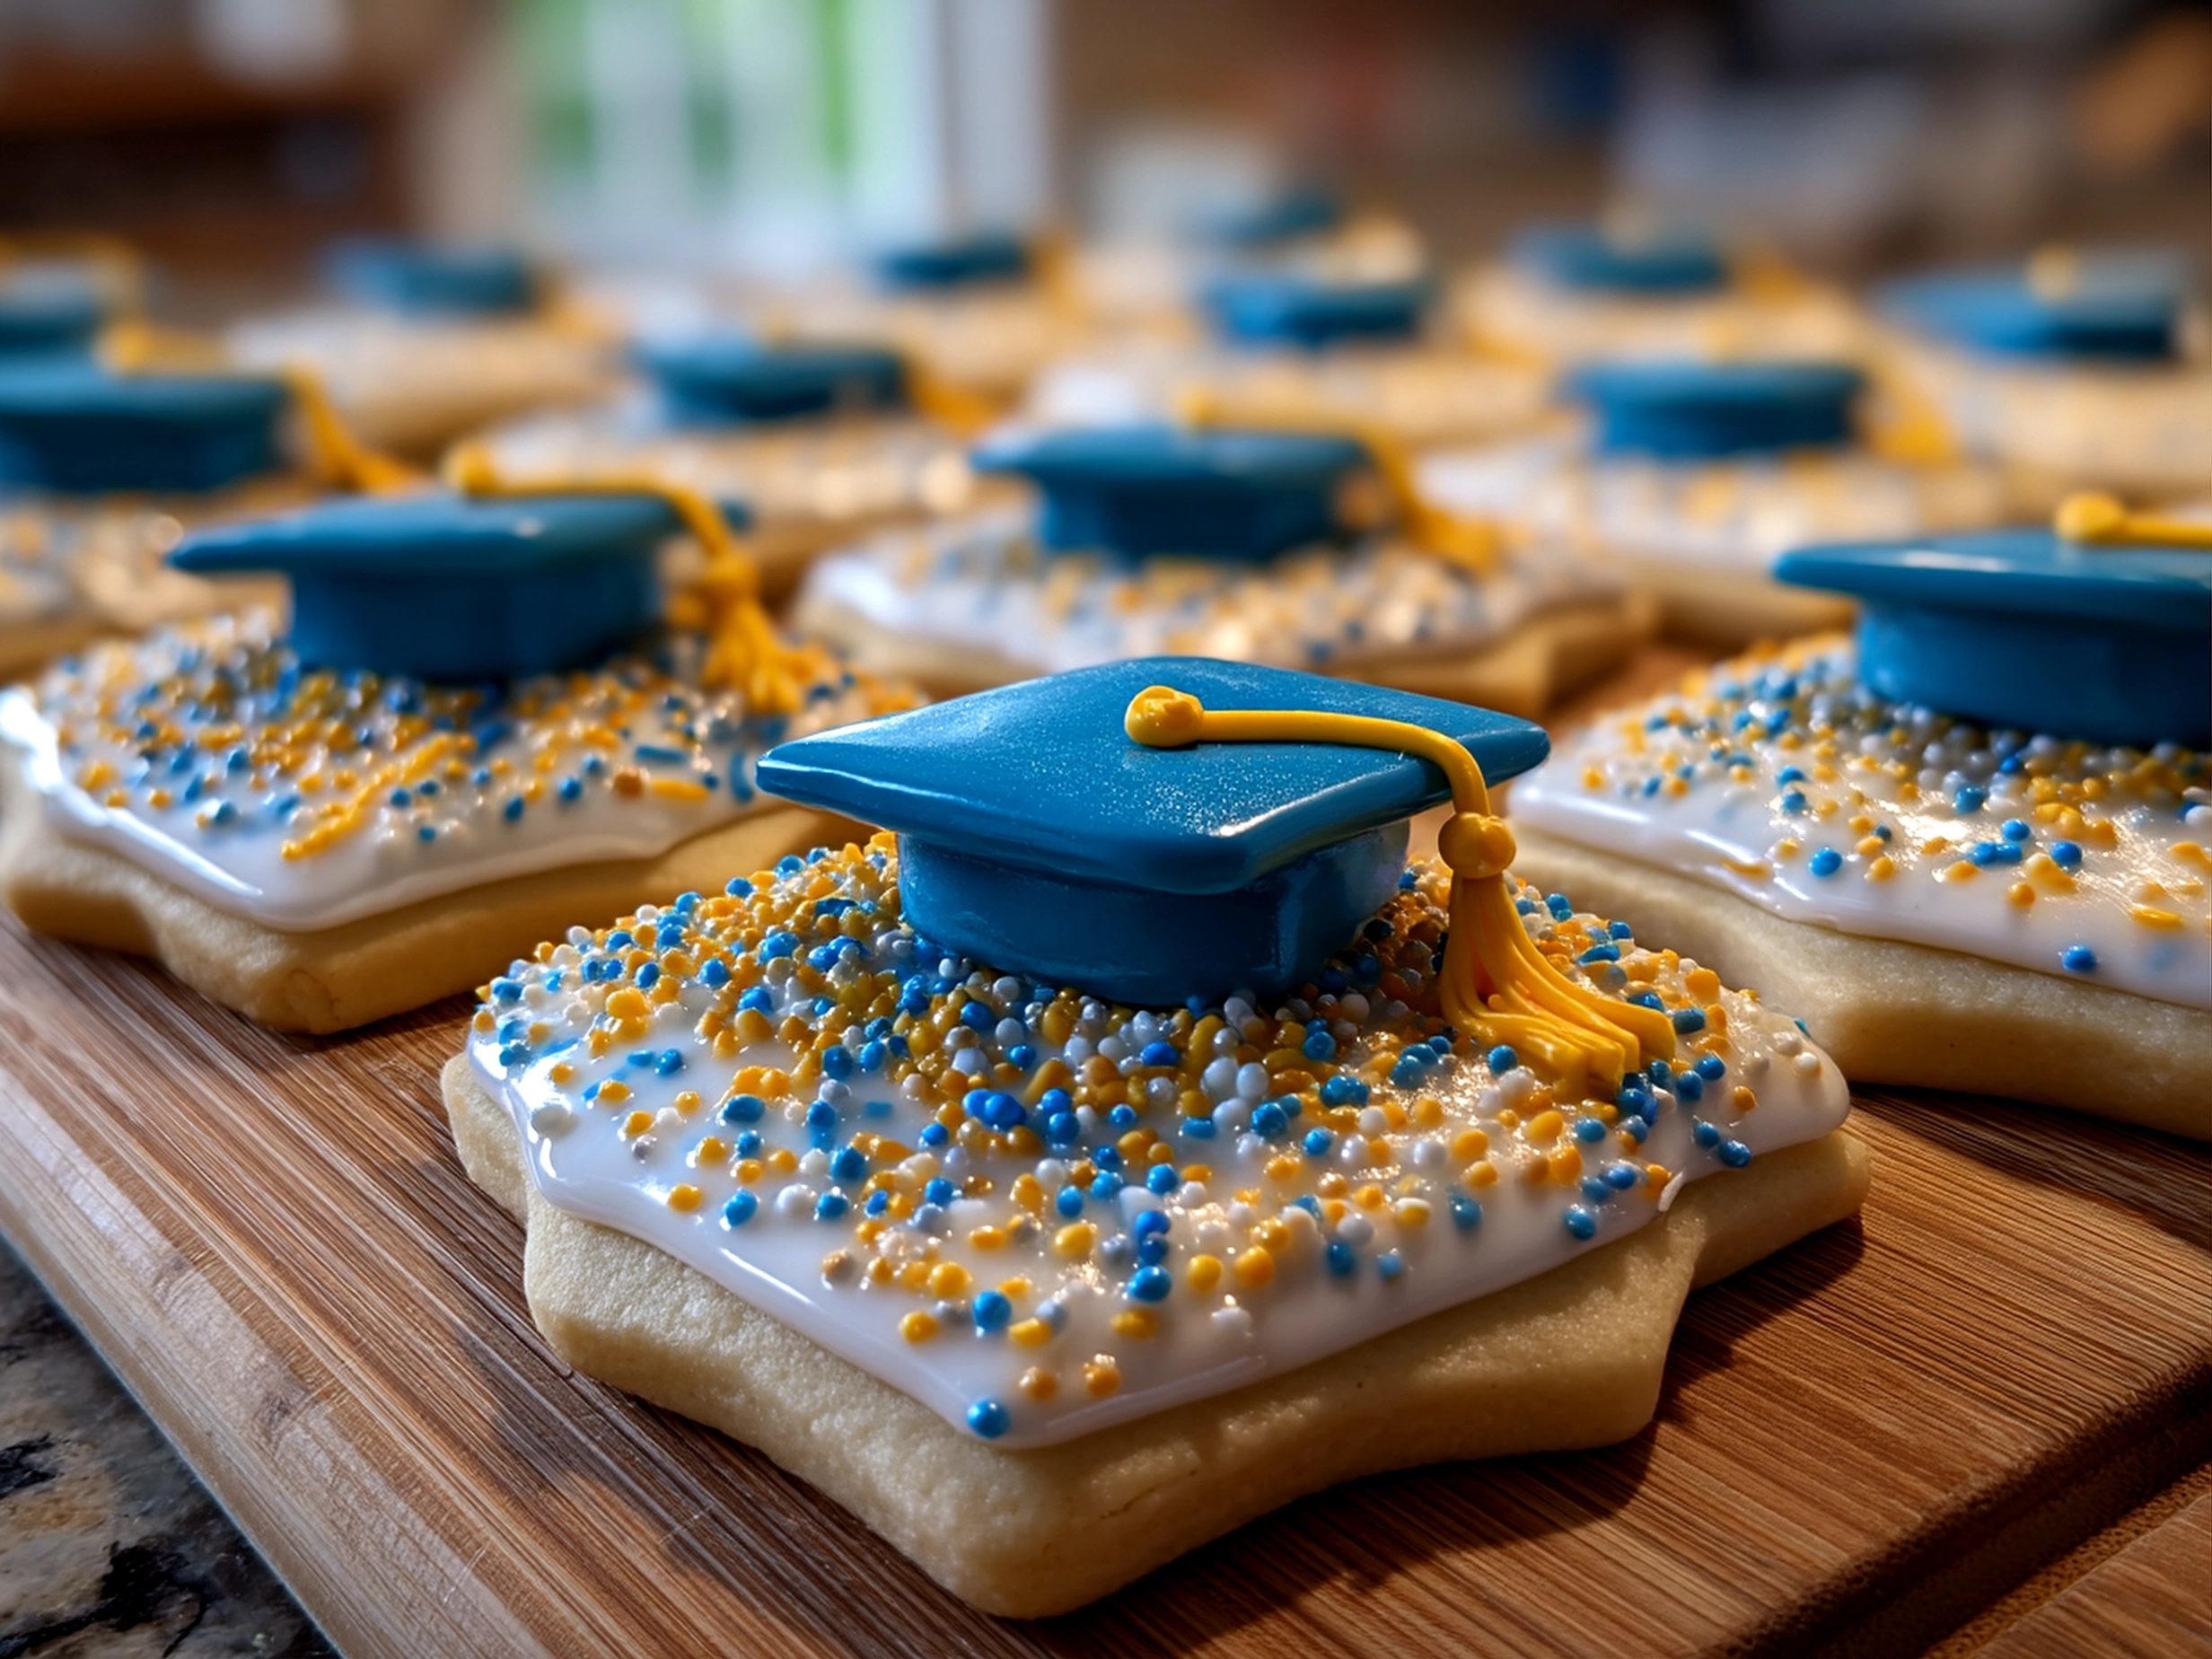
8. Add Details – After the base dries (1-2 hours), pipe on caps, tassels, diplomas, or messages. Use contrasting colors for impact. Pro tip: steady your hand by resting your elbow on the table.
9. Drying Time – Leave decorated cookies uncovered overnight to harden the icing fully for stacking and packaging.
Common mistakes include rolling dough too thin (cookies break easily) or too thick (they lose crispness), icing that’s too runny flooding out of edges, and rushing drying—the secret to neat finished cookies. The sensory joy here is incredible—the feel of smooth dough, the aroma of warm sugar, and the sight of vibrant, glossy finish!
Presentation: Elevate Your Graduation Party Cookies
Serving graduation party cookies is about more than the plate—they’re conversation starters and colorful celebration icons. Arrange these sugar cookie graduation designs on a tiered cake stand, spacing each mortarboard and diploma for an inviting display.
Pair them with a bright punch or homemade lemonade in matching hues. Cookie boxes tied with ribbon make charming take-home favors, extending the celebration’s sweetness. Consider little bags tagged with names and cute graduation-themed stickers.
These cookies shine at family gatherings and school events, even a cozy coffee table celebration. Fresh flowers or confetti sprinkled around your cookie tray bring that festive spark. For a unique twist, pair with iced coffee or spiced tea to balance the sweetness.
And remember, these decorated cookies don’t have to be flawless—they’re tokens of pride and joy, each cookie telling a chapter of accomplishment. The crisp bite, the smooth icing, the pops of color—all come together to create an edible keepsake that guests will cherish.
FAQs About the Graduation Cookie Tutorial
Q1: How do I prevent my cookies from spreading during baking?
Make sure your dough is well chilled before cutting and baking. Avoid overmixing the dough once flour is added. Also, use parchment paper or silicone mats, and keep the oven temperature steady.
Q2: Can I make these cookies gluten-free?
Yes! Substitute all-purpose flour with a 1:1 gluten-free blend. Note that the texture might be a bit more delicate, and chilling the dough is even more important.
Q3: What’s the easiest way to get smooth royal icing?
Sift your powdered sugar carefully and find the right water consistency—too much water makes it runny, too little makes it thick. Beat with an electric mixer until stiff peaks form.
Q4: How long do decorated graduation cookies keep?
Stored in an airtight container at room temperature, they stay fresh for up to a week. For longer storage, freeze undecorated cookies before icing.
Q5: Can I use store-bought dough instead?
Yes, but homemade dough gives better flavor and structure for decorating.
Q6: How do I fix cracked dough?
Warm the dough slightly in your hands and knead gently or add a teaspoon of cream to moisten if too dry.
Q7: Any tips for piping neat lines?
Use a small piping tip and steady your hand by resting your pinky on the work surface. Practice on parchment first to build confidence.
Conclusion: Your Graduation Cookie Tutorial Journey
Baking graduation cookies is a heartfelt way to celebrate milestones—each cookie a little masterpiece brimming with meaning. The blend of buttery dough, the vibrant icing, and those special shapes all come together for a celebration on your tongue and in your heart.
Try variations like adding edible glitter for sparkle or swapping vanilla for lemon zest in the dough to brighten flavors. Don’t shy from trying new decorations or even combining cookie types from this tutorial with Aunty Spices’ chocolate chip cookies for grandma’s favorites at your party.
Remember, the joy is as much in the baking and decorating process as in sharing the cookies. So grab your rolling pin, embrace the frosting, and make those graduation party cookies shine—because these little sweet moments are stories worth savoring.
Ready for more cookie magic? Check out this decorated cookies tutorial on graduation caps and get inspired!
Also explore related recipes like frosted heart sugar cookies and chocolate cut out heart cookies to add more love to your baking repertoire. For additional inspiration, visit How to Decorate Graduation Cap Star Cookies – Haniela’s.
Graduation Cookie Tutorial

Celebrate your graduate with these festive, buttery sugar cookies decorated with vibrant royal icing in cap and diploma designs—perfect for any graduation party.
- Prep Time: 20 minutes
- Cook Time: 10 minutes
- Total Time: 30 minutes
- Yield: 24 cookies
- Category: Dessert
- Method: Baked
- Cuisine: American
Ingredients
- 2 ¾ cups all-purpose flour
- 1 teaspoon baking soda
- ½ teaspoon baking powder
- 1 cup unsalted butter, softened
- 1 ½ cups white sugar
- 1 egg
- 1 teaspoon vanilla extract
- ½ teaspoon almond extract
- 3 tablespoons milk
- Royal icing (for decorating)
- Food coloring (black, blue, yellow).
- Edible glitter or sprinkles (optional)
Instructions
- Preheat your oven to 375°F (190°C) and line baking sheets with parchment paper.
- In a medium bowl, whisk together flour, baking soda, and baking powder. Set aside.
- In a large bowl, cream together the butter and sugar until smooth and fluffy.
- Beat in the egg, vanilla extract, and almond extract until combined.
- Gradually blend in the dry ingredients alternately with milk, mixing just until incorporated.
- Roll out the dough on a floured surface to about ¼ inch thickness.
- Use graduation-themed cookie cutters (caps, diplomas) to cut shapes and place them 1 inch apart on baking sheets.
- Bake for 8 to 10 minutes or until the edges are golden.
- Allow cookies to cool on baking sheets for 5 minutes before transferring to wire racks to cool completely.
- Decorate cooled cookies with royal icing and food coloring to create graduation caps, tassels, and diploma details. Let icing dry completely before serving.
Notes
For a fun twist, add a sprinkle of edible glitter for a celebratory sparkle, or package cookies in clear bags tied with ribbon for party favors.