
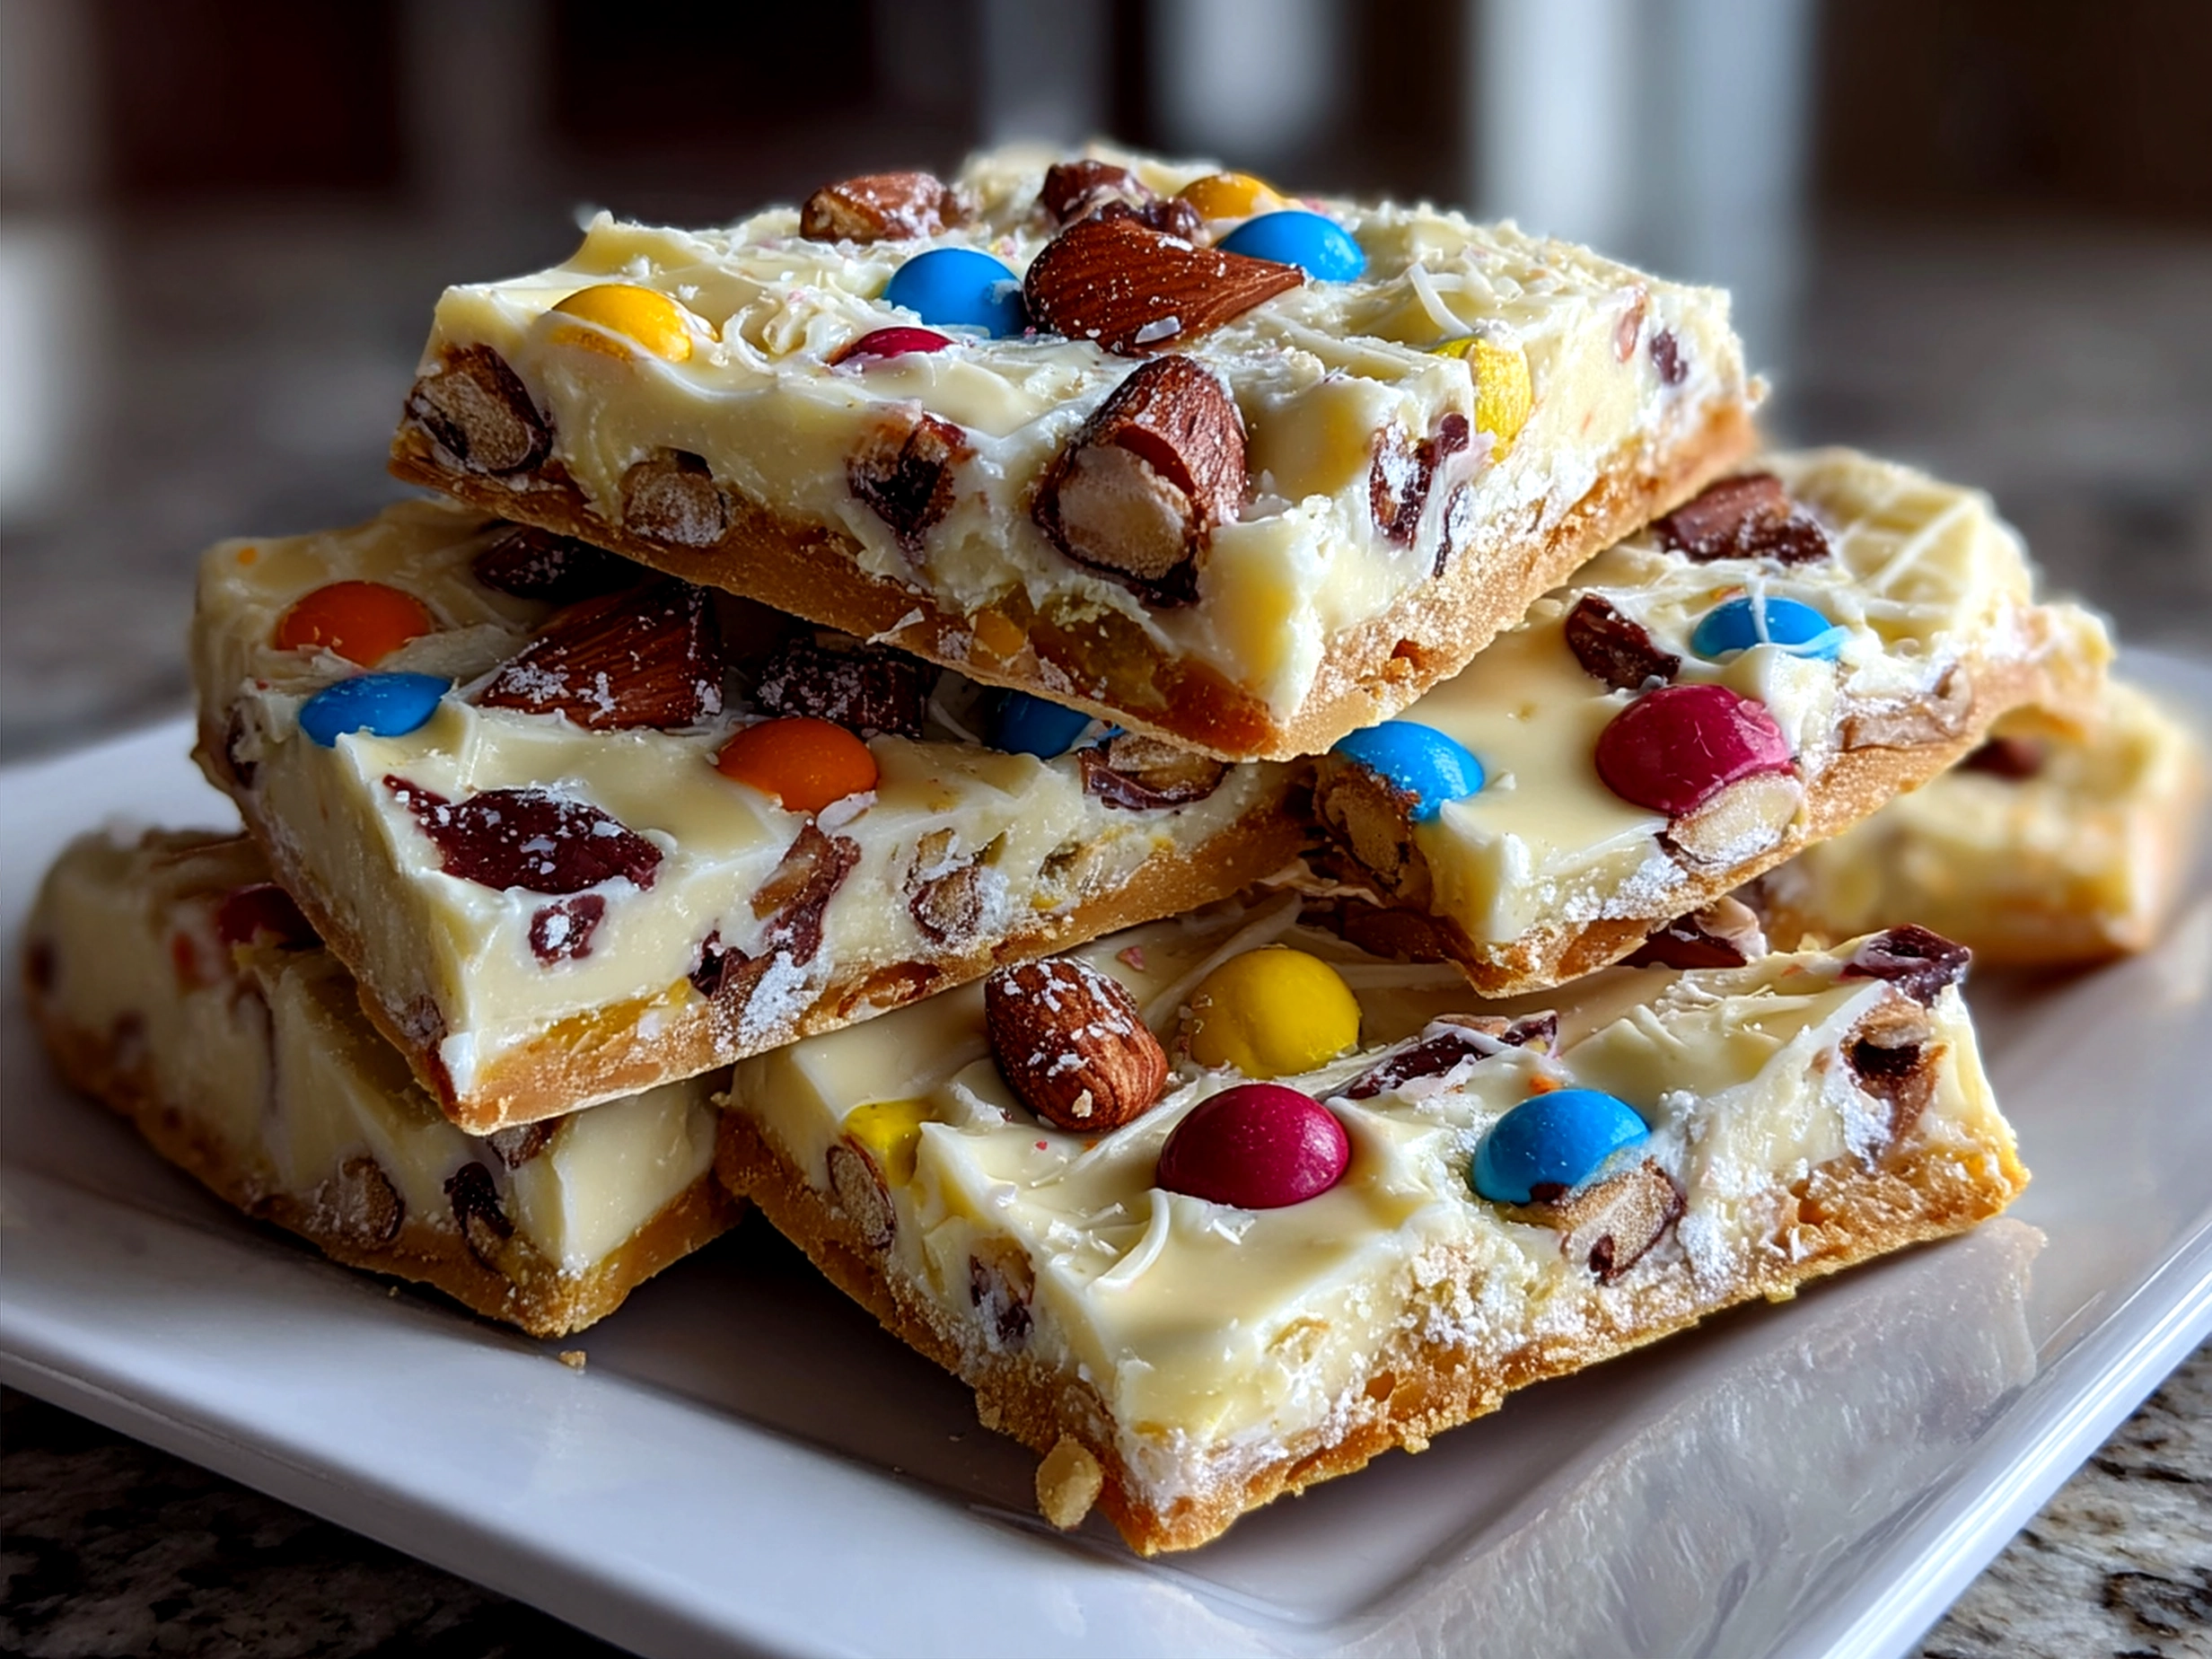
Have you ever bitten into a piece of candy that crackled softly, then melted luxuriously on your tongue while beads of colorful sprinkle danced on your lips? That’s the magic of a well-made Graduation Candy Bark—a dessert that’s as joyful and vibrant as the milestone it celebrates. When the season of caps and gowns approaches, you want something sweet, festive, and effortless to whip up for your graduation party treats. This chocolate bark dessert delivers all that and more, wrapping family and friends in layers of flavor and nostalgia with each crunchy, creamy bite.
Imagine a glossy sheet of chocolate, thick enough to satisfy your craving yet light enough to savor, artfully speckled with holiday candy bark toppers like mini M&Ms, crushed candy canes, or chopped nuts, mirroring your graduate’s school colors or favorite candies. It’s this delicious blend of textures and colors that gives Graduation Candy Bark its irresistible charm—a simple, easy candy bark recipe that feels homemade but looks professional. The smells alone—the rich cocoa mingling with sweet or salty toppings—bring excitement to every gathering. If you’ve ever wondered how to infuse your celebration with a heartfelt treat, this candy bark is where tradition meets innovation, a joy to make and to share.
This recipe isn’t just candy; it’s a conversation starter, a tradition heavier than any graduation cap and lighter than any diploma. Best of all, it requires little hands and a lot of love, making it the perfect project for family memories and neighborhood parties alike. So if you want a dazzling sweet that’s festive, flavorful, and full of soul, keep reading. You’re just a few steps away from mastering the festive candy topping and transforming a simple dish into an unforgettable graduation party treat.
Ingredients for Graduation Candy Bark
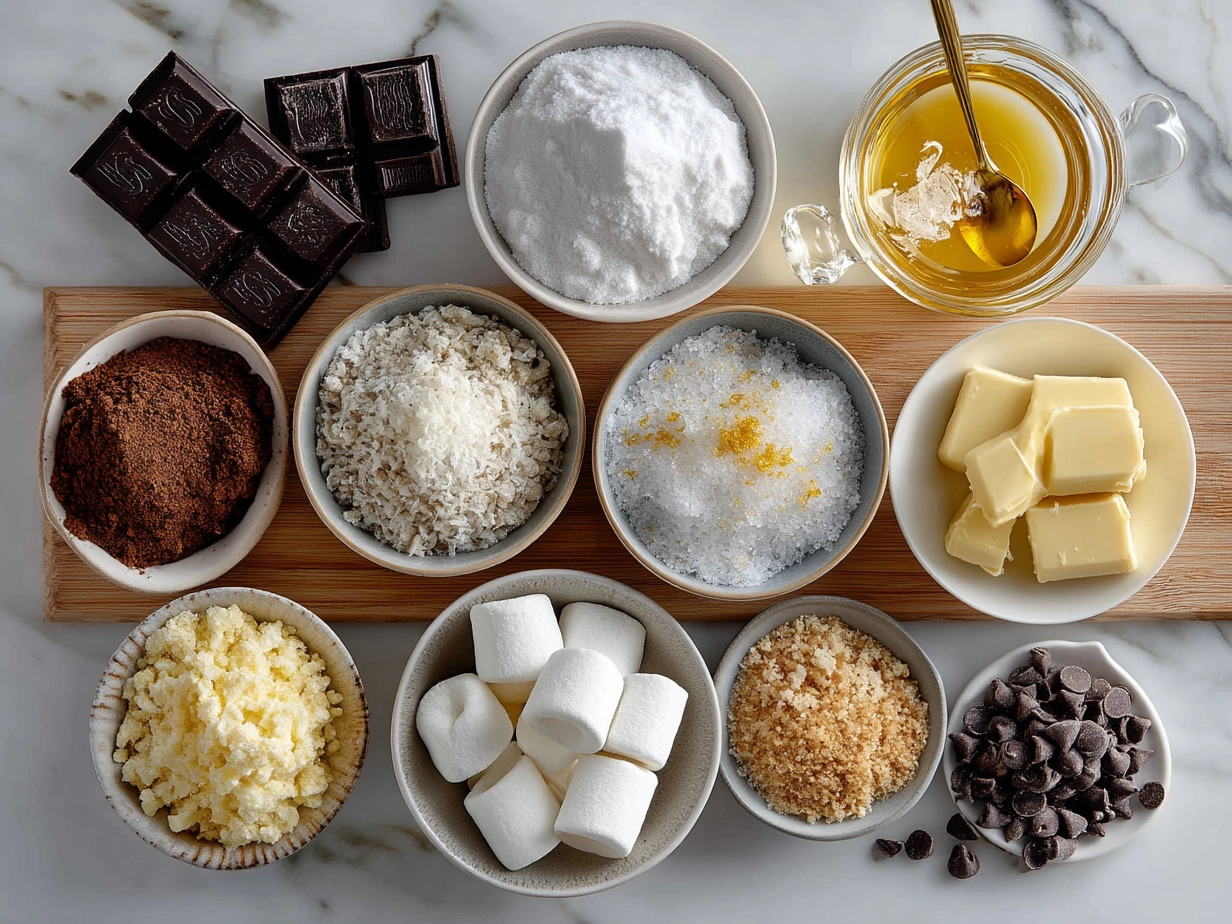
12 oz high-quality semi-sweet chocolate chips (budget option: store-brand chocolate chips)
6 oz white chocolate chips (swap for almond bark for easier melting)
1/2 cup festive candy toppings, such as:
- Mini M&Ms or school-colored chocolate candies
- Chopped pretzels (for crunch and salty contrast)
- Crushed peppermint or candy canes (for holiday vibes)
- Edible glitter or colored sugar sprinkles (for sparkle)
1/4 cup chopped roasted almonds or pecans (optional, adds nutty texture)
1 tsp coconut oil or vegetable shortening (helps smooth melting)
Swaps & Budget Tips:
Use milk chocolate chips if you prefer sweeter bark.
Substitute nuts with sunflower seeds or skip them to avoid allergies.
If fresh candy toppings aren’t available, chopped candy bars or toffee bits work beautifully.
Use parchment paper for easy cleanup and to avoid sticking.
Step-by-Step Process for Perfect Graduation Candy Bark
1. Prepare your workstation: Line a baking sheet with parchment paper and clear a flat surface to cool the bark. Pre-chill if possible to speed up setting.
2. Melt the semi-sweet chocolate: In a microwave-safe bowl, combine chocolate chips and 1 tsp coconut oil. Microwave in 30-second intervals, stirring gently after each, until smooth and glossy. Avoid overheating to keep chocolate silky, not grainy (about 1.5-2 minutes total depending on microwave).
3. Spread the base: Pour melted chocolate onto the prepared sheet and spread evenly with a spatula to about 1/4-inch thickness. You want enough thickness to snap but not so thick it feels heavy.
4. Add toppings: While the base chocolate is still warm and soft, sprinkle the festive candy toppings evenly. Press slightly to embed toppings but don’t press too hard or the bark will become uneven.
5. Melt white chocolate: Repeat the melting process with white chocolate chips. For a marbled effect, drizzle over the bark and swirl lightly with a toothpick or skewer. This keeps the bark visually festive and fun.
6. Chill the bark: Refrigerate the sheet for at least 30 minutes until completely set and firm to the touch. This prevents toppings from sliding off or melting in your hands.
7. Break into pieces: Once set, lift parchment from sheet and break bark into irregular shards or nice squares. Use your hands—this fosters tactile connection and the bark will crack beautifully.
8. Store properly: Keep bark in an airtight container at room temperature for up to a week, or refrigerate in warmer climates to maintain crispness.
Common mistakes to avoid: overheating chocolate (causes clumping), pressing toppings too hard (results in uneven bark), and not chilling long enough (leading to sticky toppings). Look for a glossy, smooth finish and a firm but snap-worthy bite. If you want detailed guidance, check out these mom-friendly tips on making chocolate bark or a helpful Chocolate Bark guide.
Presenting Your Graduation Candy Bark with Style
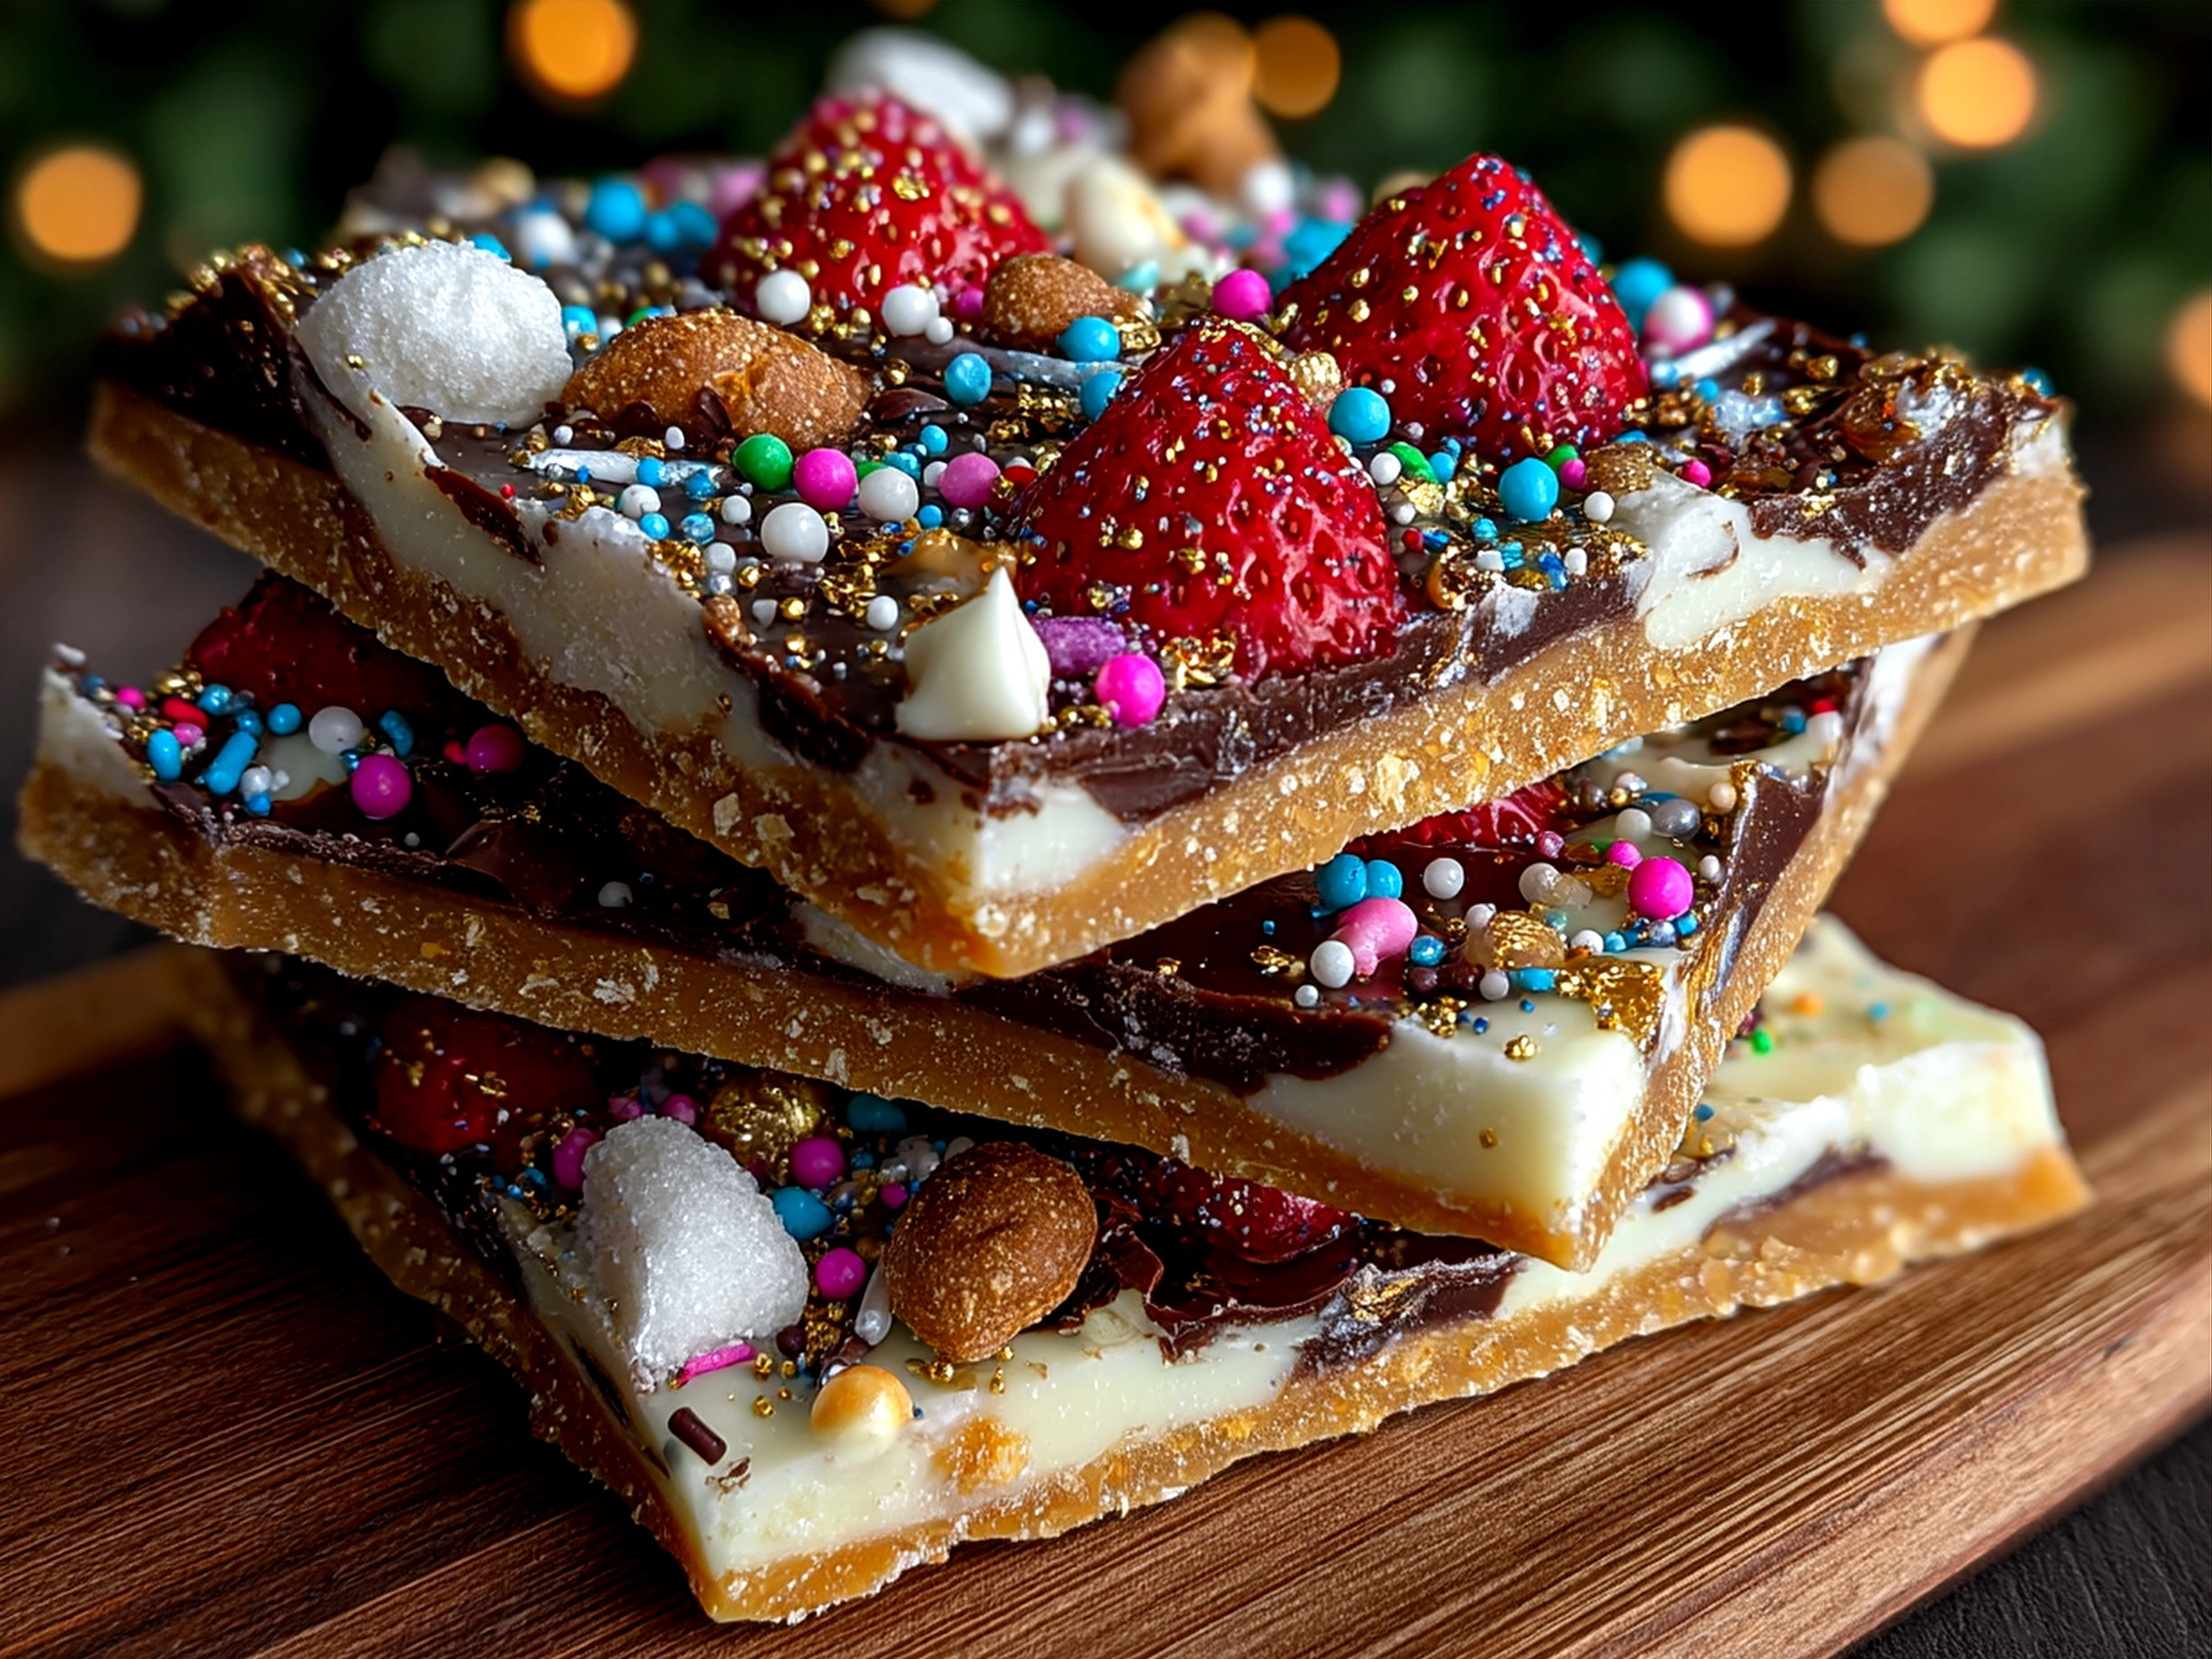
Graduation Candy Bark shines brightest when the presentation mirrors the celebration’s excitement. Arrange shards on festive platters or inside clear cellophane bags tied with ribbons in your school colors. For a bold effect, layer the bark in apothecary jars or place in a tiered dessert stand alongside other graduation party treats like cupcakes and cookies.
Pair this chocolate bark dessert with refreshing beverages such as iced tea, sparkling lemonade, or a rich coffee to balance sweetness with refreshment. If aiming for a gift, consider packaging smaller portions in decorated mason jars or vintage tins, making your graduation candy bark a memorable take-home treat for guests.
This bark works perfectly for both intimate gatherings and large celebrations. On sunny days, keep it cool in shaded areas to prevent melting; on chillier evenings, pair it with warm mugs of cocoa for a comforting family moment. The blend of textures—from crunchy nuts and candy to smooth chocolate—creates a joyful sensory dance, enhancing any festive mood.
FAQs: Troubleshooting Graduation Candy Bark
1. Why is my chocolate bark sticky after chilling?
This usually happens if chilled too quickly or in a humid environment. Try chilling in a dry, cool spot or extending the chill time to 40-45 minutes.
2. How do I avoid chocolate seizing during melting?
Chocolate seizes when water gets in. Ensure all utensils and bowls are dry, and melt slowly in short bursts, stirring gently.
3. Can I make candy bark without nuts?
Absolutely! Just omit nuts or swap for seeds or extra candy toppings.
4. Why did my toppings sink into the chocolate?
Wait for the chocolate to cool slightly but still be pliable before adding toppings. If too hot, toppings will sink; if too cool, they won’t stick.
5. Can I store candy bark in the freezer?
Freezing can cause condensation and dull the chocolate’s shine. Store in the fridge or airtight container at room temperature if possible.
6. How can I make the bark colorful for my school?
Choose candies and sprinkles that match school colors. You can also dye white chocolate with oil-based food coloring.
7. What if my bark is too thick or thin?
For thickness, spread a uniform 1/4 inch layer. Thin bark will be brittle and difficult to break; too thick may be heavy and harder to enjoy.
Wrapping Up: Your Go-To Graduation Candy Bark Recipe
Graduation Candy Bark is your sweet canvas to celebrate milestones with flavors that tell stories. Its mix of easy candy bark recipe simplicity and festive candy topping creativity makes it perfect for every home cook aiming to impress and indulge their family. Whether you stick to classic semi-sweet chocolate or customize with your graduate’s favorite candies, the process is as rewarding as the result.
Don’t shy away from variations: try salted caramel drizzle, chopped dried fruit, or even a sprinkle of espresso powder for a grown-up twist. Share the making with family to turn baking into bonding, and let this Graduation Candy Bark become a delicious tradition in your celebrations. Ready your spatula and let’s make those moments sweeter, one colorful shard at a time.
Dive deeper and customize your recipe with tips at Aunty Spices Graduation School Colors Bark or explore festive sweets like the Cotton Candy Swiss Cake Roll exclusively for celebration vibes. For a smoky twist, see how S’mores Bark brings campground warmth indoors.
Happy celebrating, and may your Graduation Candy Bark be the sweetest send-off yet! For more inspiration and a variety of takes on this festive treat, check out this mom-friendly Graduation Candy Bark recipe to spark your creativity.
Graduation Candy Bark
Celebrate graduation with this colorful and festive Graduation Candy Bark, featuring a delightful mix of melted chocolate and assorted candies perfect for sharing.
- Prep Time: 15 minutes
- Cook Time: 10 minutes
- Total Time: 1 hour 25 minutes
- Yield: 12 servings
- Category: Dessert
- Method: No-Cook
- Cuisine: American
Ingredients
- 12 oz white chocolate chips
- 12 oz dark or milk chocolate chips
- 1 cup mini M&M’s
- 1/2 cup rainbow sprinkles
- 1/2 cup crushed pretzels
- 1/2 cup candy-coated chocolate graduation cap candies
- 1/4 cup edible gold stars or edible glitter (optional)
Instructions
- Line a baking sheet with parchment paper.
- Melt the white chocolate chips in a microwave-safe bowl in 30-second intervals, stirring until smooth.
- Pour the melted white chocolate onto the prepared baking sheet and spread evenly.
- Melt the dark or milk chocolate chips similarly and drizzle over the white chocolate layer.
- Using a knife or skewer, gently swirl the two chocolates together for a marbled effect.
- Sprinkle the mini M&M’s, rainbow sprinkles, crushed pretzels, and graduation cap candies evenly over the chocolate.
- If using, sprinkle edible gold stars or glitter on top for extra celebration flair.
- Refrigerate the bark for at least 1 hour, or until set and firm.
- Break into pieces and serve.
Notes
For a gluten-free version, substitute pretzels with gluten-free crackers or omit completely. Store candy bark in an airtight container at room temperature for up to 2 weeks.