
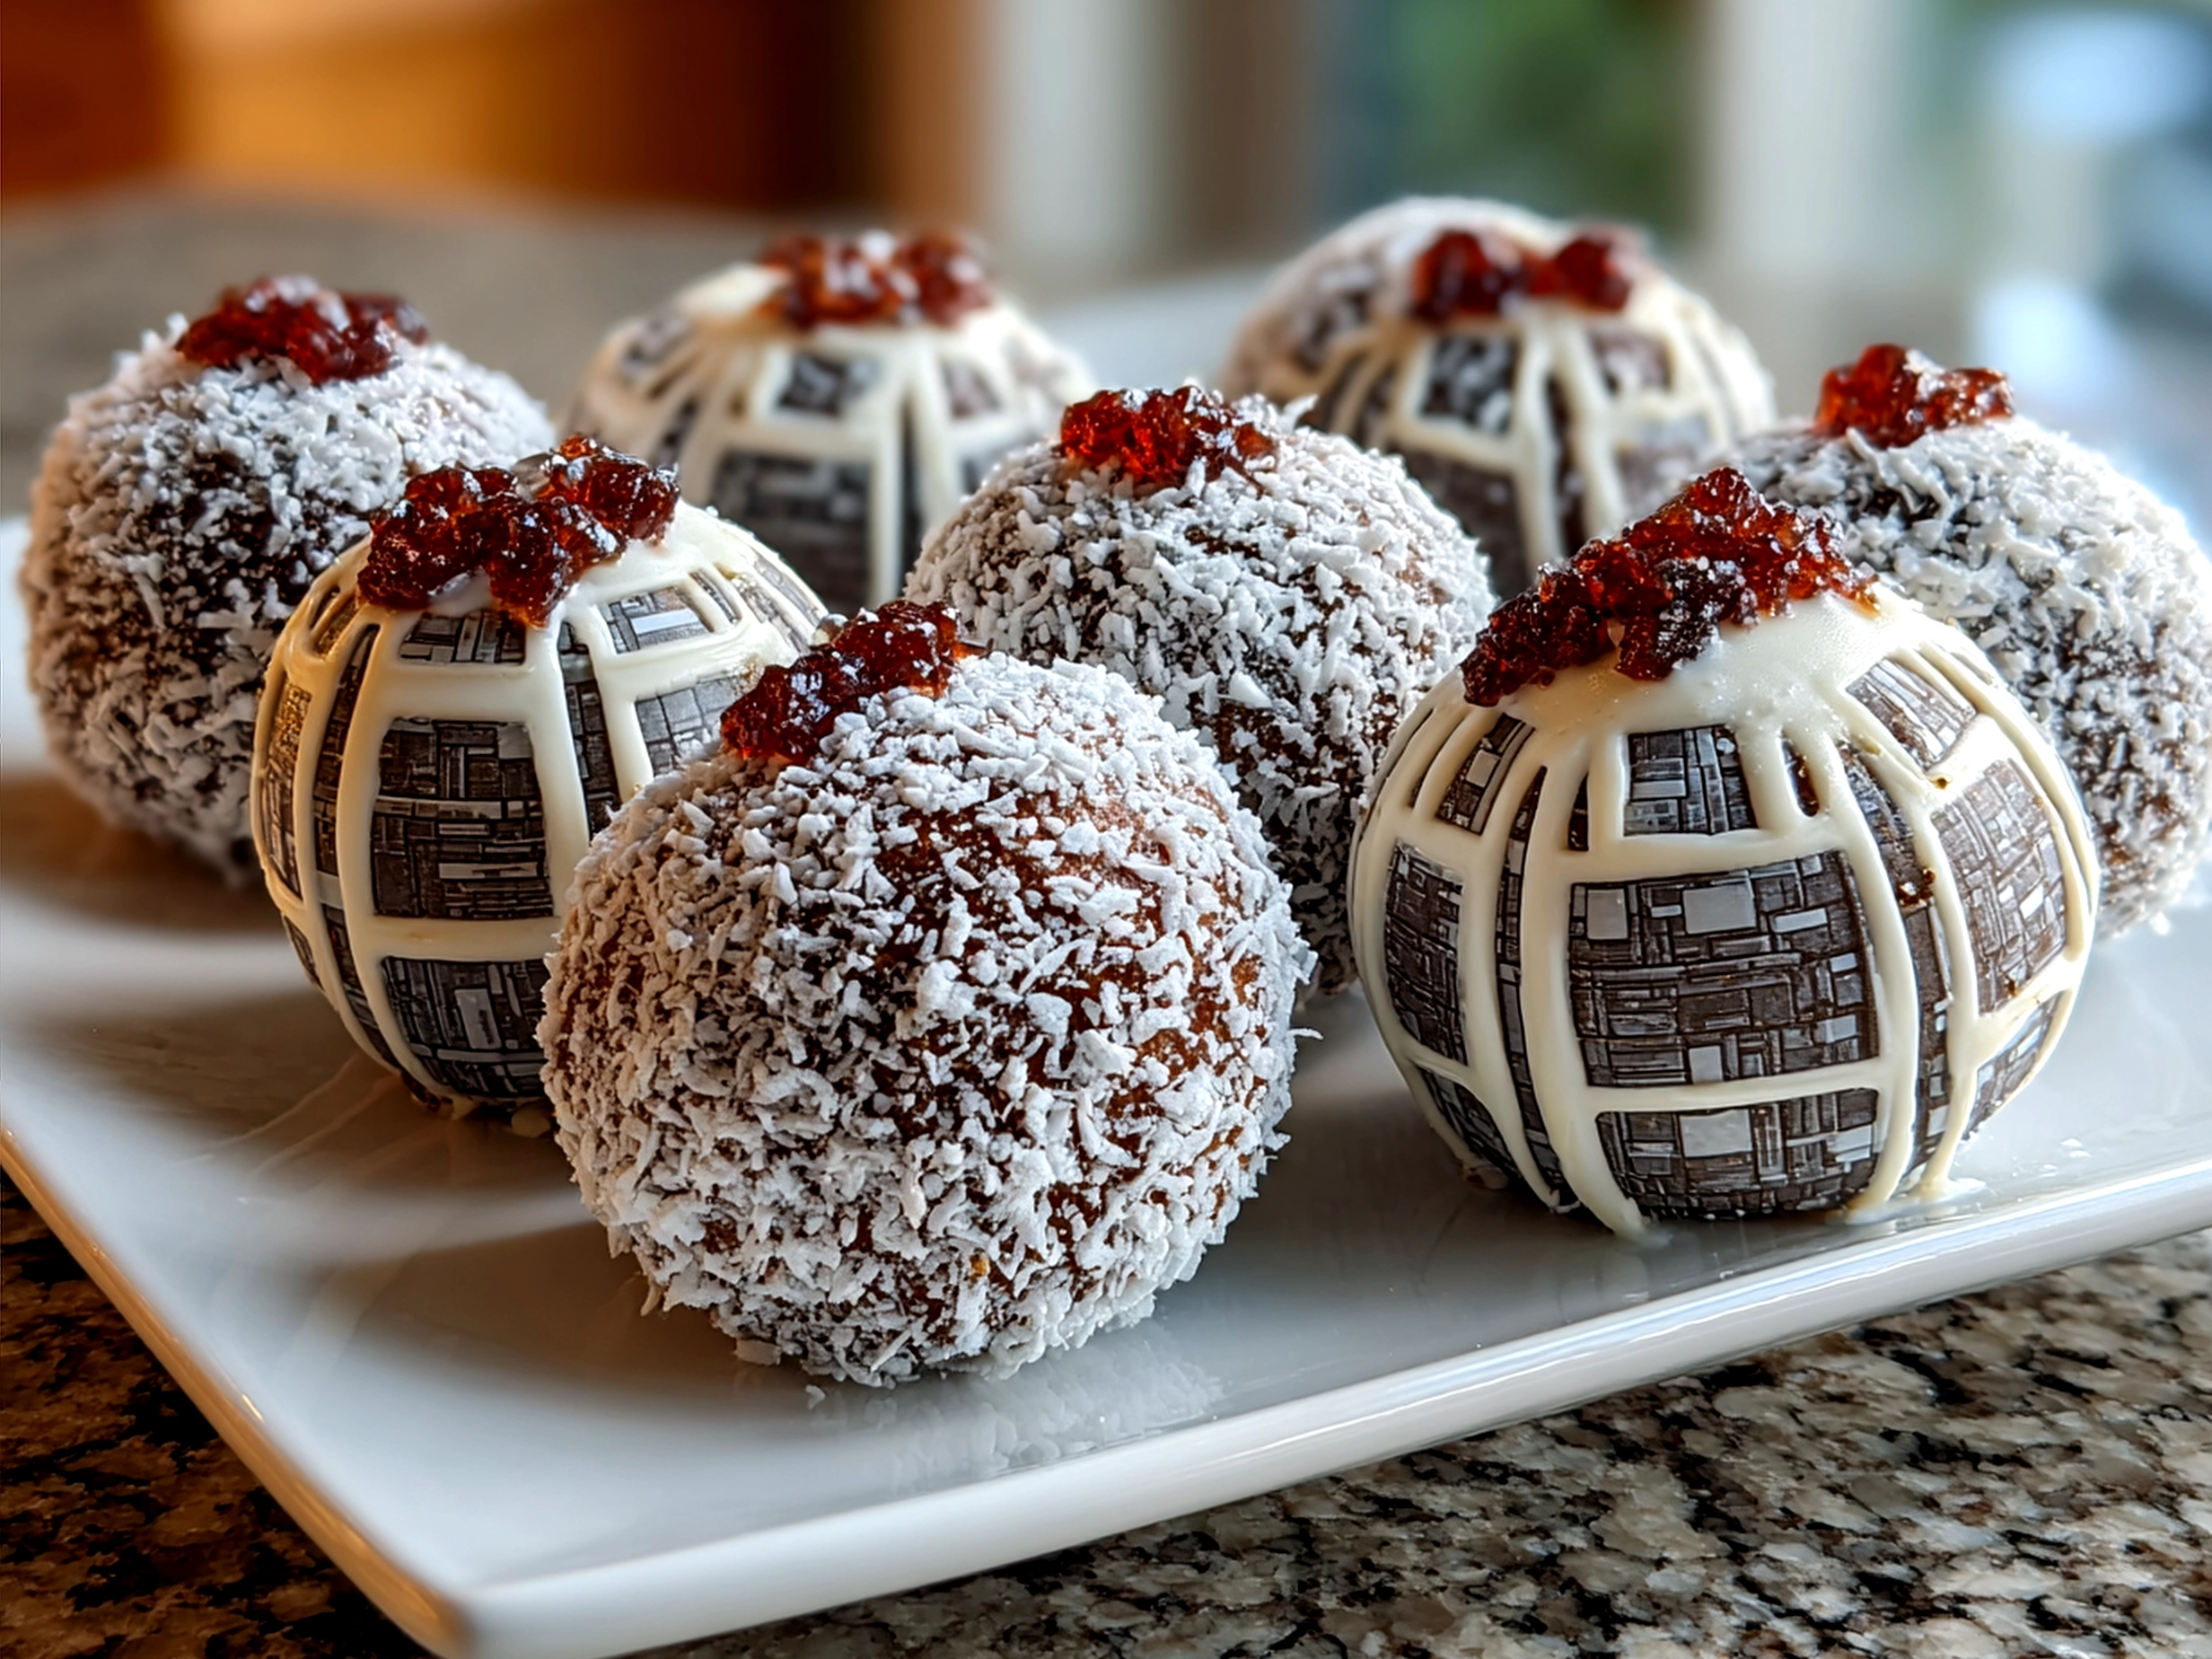
Ever dreamed of bringing a galaxy far, far away right to your kitchen? What if your next Star Wars celebration had desserts that not only dazzled the eyes but delighted the taste buds too? These Star Wars Death Star Cake Pops are exactly what you need to turn your galaxy party desserts into an unforgettable, out-of-this-world experience. From their iconic shape to the rich, moist cake inside, they offer so much more than just a sweet treat—they’re edible storytelling, capturing the sci-fi magic with every bite.
Crafting the perfect Death Star cake ball recipe might sound tricky, but trust me, with the right guidance and a bit of love, you’ll be transporting your guests straight to the heart of the Star Wars universe. Imagine sinking your teeth into a pop where the moist cake meets a creamy coating, finished with details that make the Death Star instantly recognizable. As you roll, shape, and decorate each piece, you’ll feel that warm, nostalgic joy—like sharing a family meal filled with your favorite stories and flavors.
Whether you’re hosting a themed birthday party or just want to surprise your crew with some iconic Star Wars dessert treats, these cake pops combine fun and flavor beautifully. They offer a fantastic project for home cooks who love traditional baking with a twist. So, gear up your mixing bowls and lightsabers because we are about to create some of the most impressive, deliciously classic Star Wars Death Star Cake Pops ever made!
Ingredients for Star Wars Death Star Cake Pops
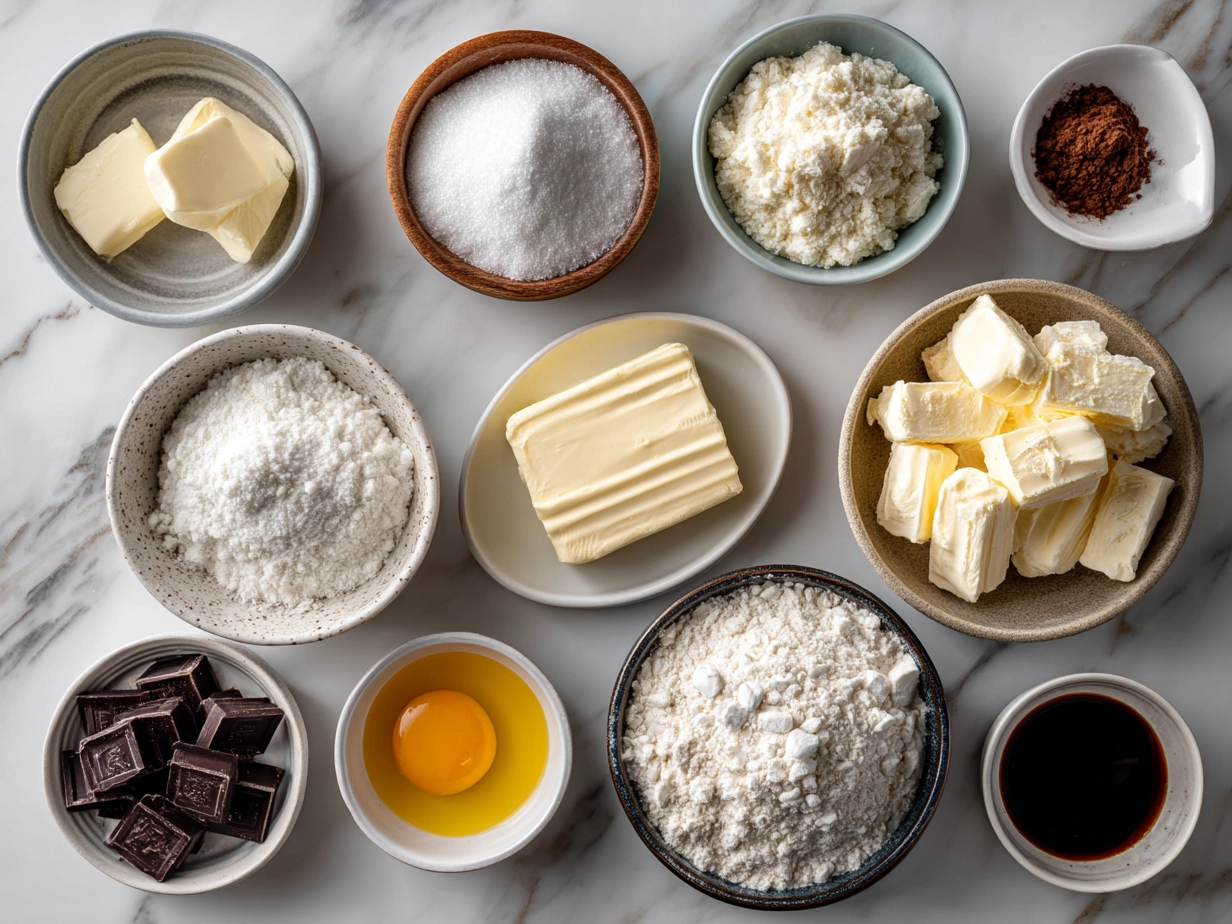
Cake base:
- 2 cups all-purpose flour (can swap for gluten-free flour if needed)
- 1 ½ cups granulated sugar (or coconut sugar as a budget-friendly, natural option)
- ¾ cup unsweetened cocoa powder (Dutch-processed for deep flavor)
- 1 ½ tsp baking powder
- 1 ½ tsp baking soda
- ½ tsp salt
- 1 cup whole milk (use almond or oat milk for dairy-free)
- ½ cup vegetable oil (or melted coconut oil for a fragrant twist)
- 2 large eggs (or flax eggs for vegan)
- 2 tsp pure vanilla extract
Frosting for binding cake balls:
- ¾ cup unsalted butter, room temperature (or vegan butter substitute)
- 2 cups powdered sugar
- 3 tbsp whole milk (or plant milk)
- 1 tsp vanilla extract
Decoration:
- 20 oz white candy melts or chocolate melts (add black or gray food coloring to get Death Star hues)
- Black and silver edible markers or icing gels
- Lollipop sticks
- Sprinkles or edible glitter (optional, for galaxy shimmer effect)
Swapping ingredients like the milk or butter not only adapts the recipe to dietary needs but also brings different layers of flavor and texture. Using coconut sugar or plant-based milks can save a bit on budget while keeping the cake moist and rich. The key is balancing softness and firmness so the cake balls hold their shape perfectly for pop decoration.
How to Make Star Wars Death Star Cake Pops – Step-By-Step Guide
1. Bake the cake:
Preheat oven to 350°F (175°C). Grease and flour two 8-inch round cake pans. In a large bowl, sift together flour, cocoa powder, baking powder, baking soda, and salt. In another bowl, whisk the sugar, milk, oil, eggs, and vanilla until smooth. Combine wet and dry ingredients, mixing just until blended. Pour batter evenly into pans and bake for 30-35 minutes. Use a toothpick to test doneness—it should come out with a few moist crumbs. Let the cakes cool completely.
2. Prepare the frosting:
Beat the butter until fluffy. Gradually add powdered sugar, alternating with milk and vanilla. Mix until creamy but firm—a good consistency to bind cake crumbs.
3. Make the cake balls:
Crumble cooled cake into a fine texture in a large bowl. Add a little frosting, about 1/4 cup at a time, mixing gently until the mixture holds together but isn’t greasy or too sticky. Taste and adjust if needed.
4. Shape the Death Stars:
Roll the cake mixture into balls about 1 to 1.5 inches in diameter. A steady hand helps! Place the balls onto a parchment-lined tray and refrigerate for at least 2 hours or freeze for 30 minutes until firm.
5. Dip & decorate:
Melt candy melts in the microwave, stirring every 30 seconds until smooth. Add drops of black or gray gel color to get the signature Death Star look. Dip the tip of a lollipop stick into the melted candy, then insert it halfway into each cake ball. Dip the entire cake ball into the candy coating, gently tap off excess. Let the coating set for a minute.
6. Add final Death Star details:
Using edible markers or fine-tipped icing gels, draw the Death Star’s iconic trenches and superlaser dish. This detail requires patience—they bring the pops to life. Add edible glitter or sprinkles for that galaxy shimmer.
7. Dry and serve:
Place cake pops upright to dry completely, about 1-2 hours at room temperature or chill to speed up the set.
Mistakes to avoid: Don’t over-mix the cake during baking or frosting blending to keep crumb soft. If the cake balls fall apart, add a touch more frosting. Overheating candy melts makes them thick and hard to work with—keep stirring and melting in intervals. And for detail work, use a light hand; precision is key for those Star Wars pop cake decoration ideas.
Presenting Your Star Wars Death Star Cake Pops
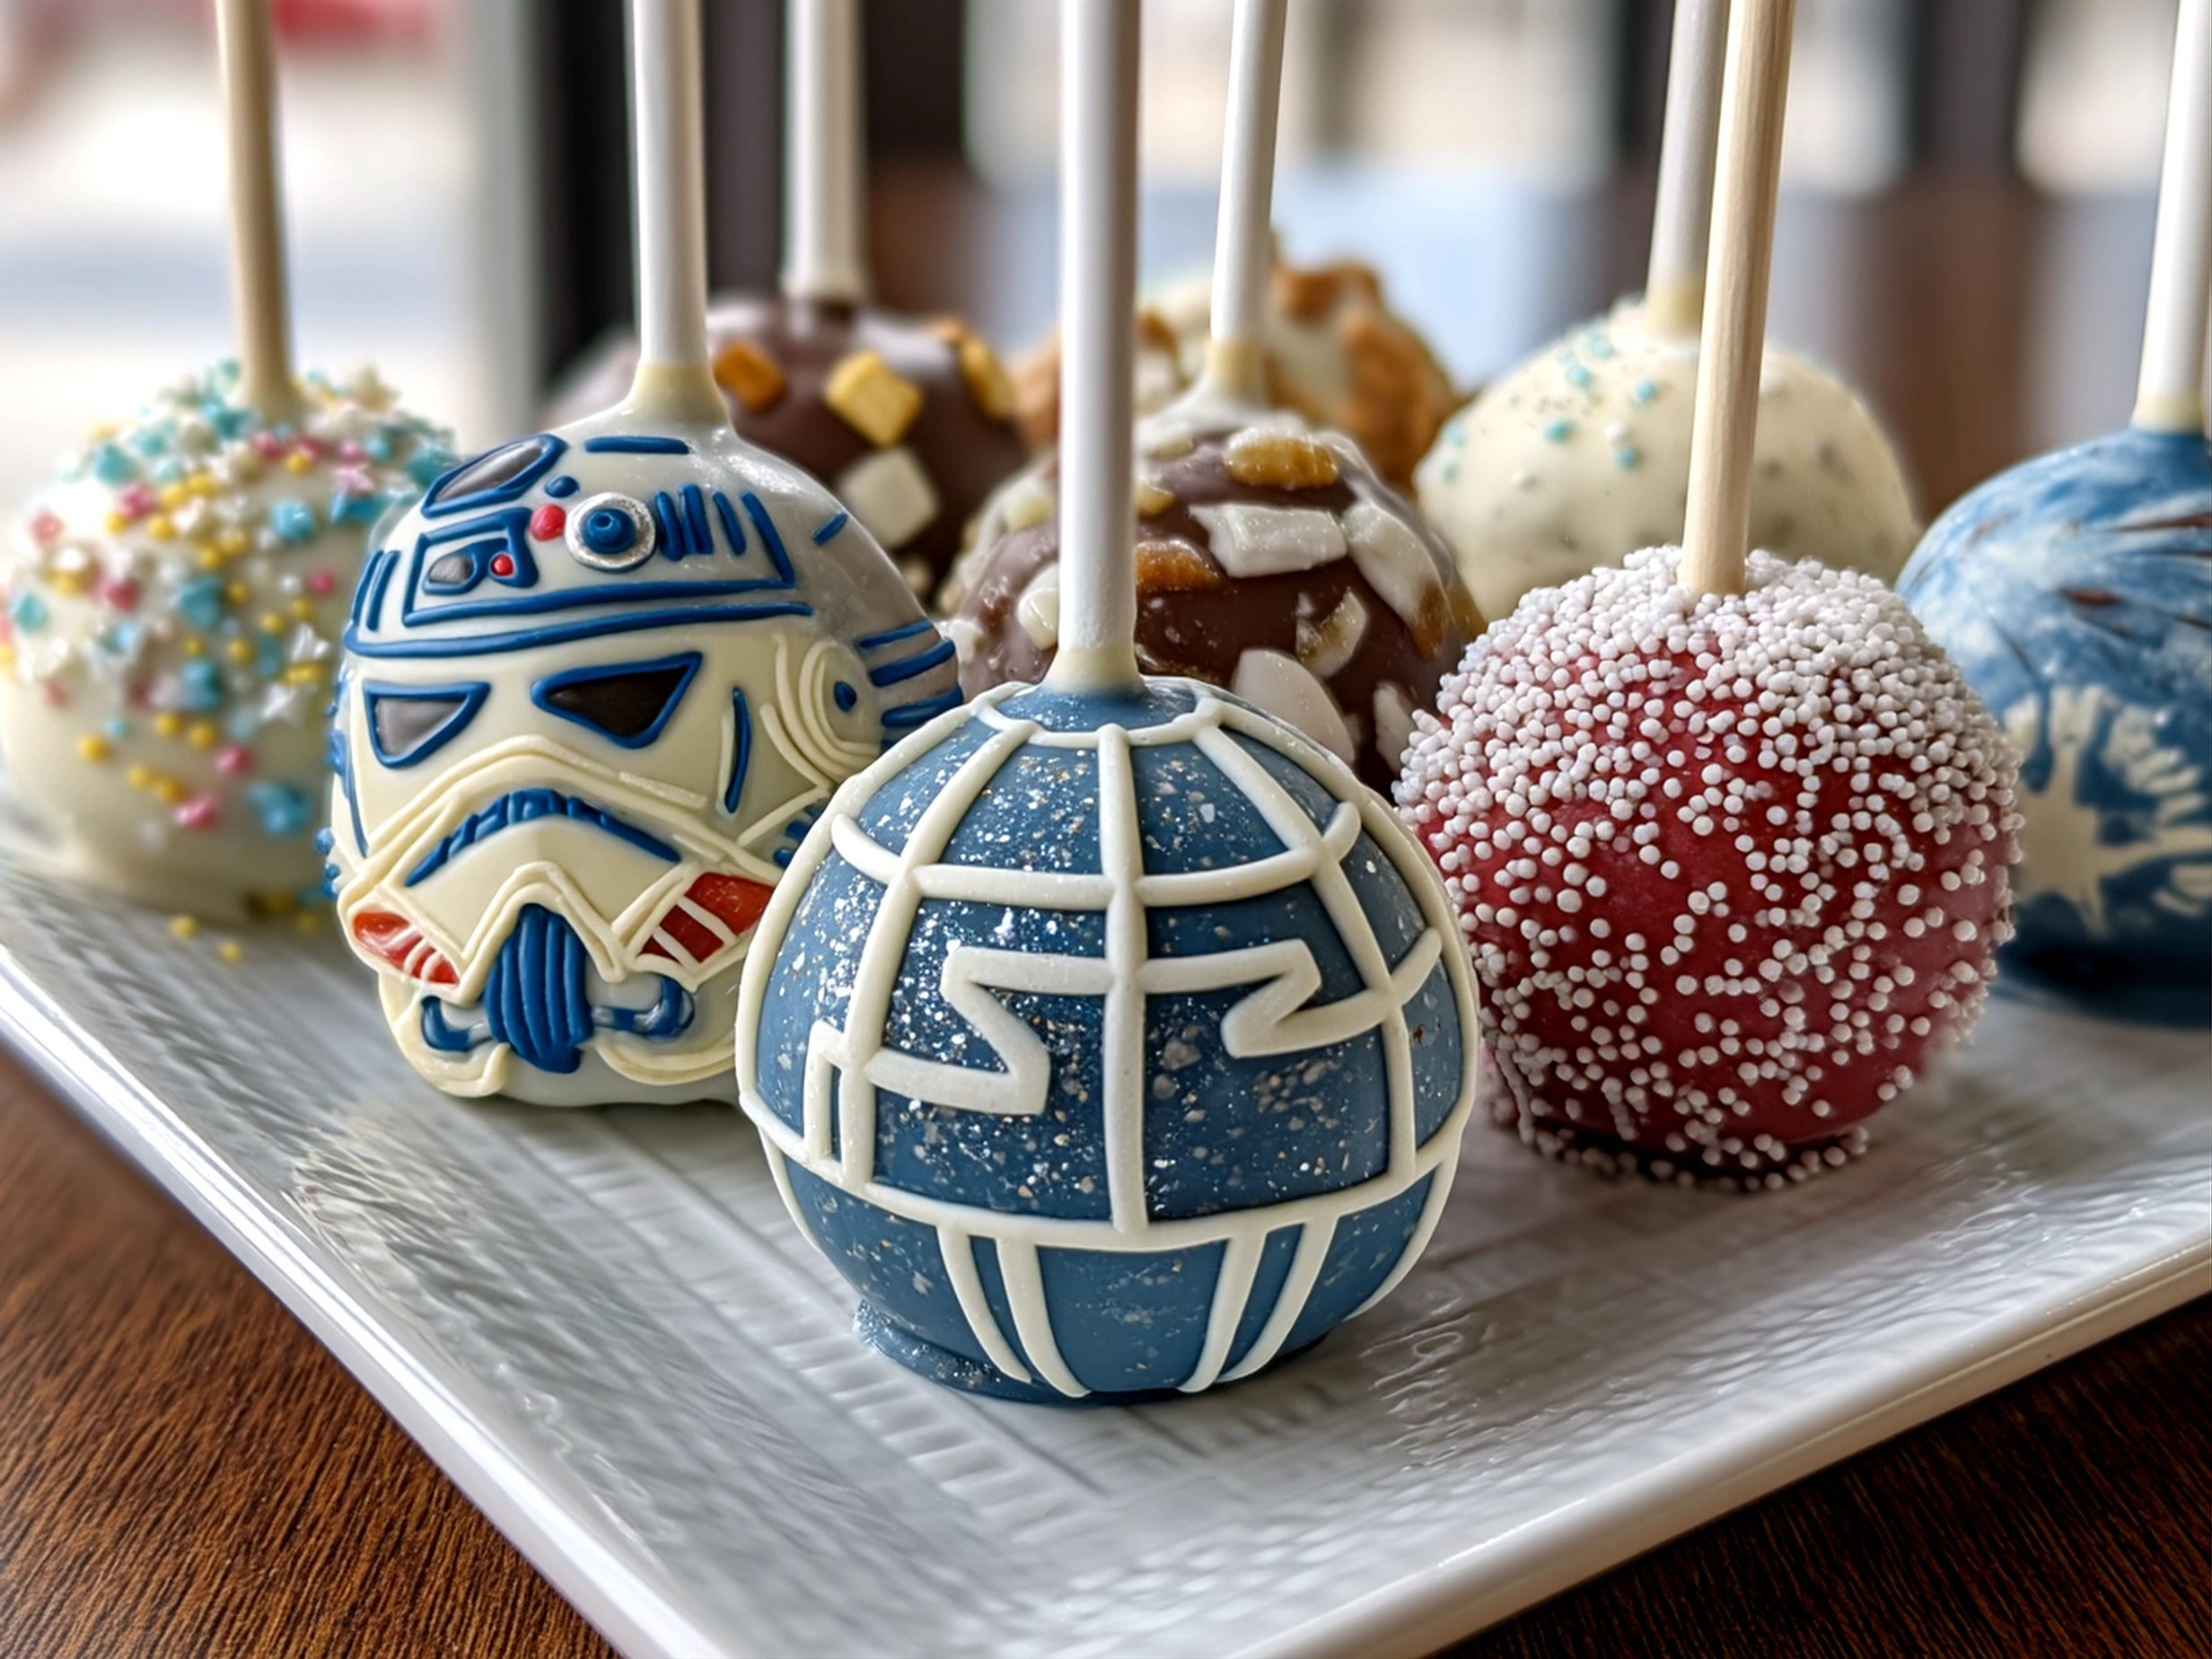
Setting your Death Star cake pops on a sleek black platter with small LED lights beneath gives that authentic space station glow. Arrange them with fun sci-fi themed cake pops or your favorite Star Wars cookies for a diverse galaxy dessert table. Pair with a creamy vanilla or chocolate milkshake, labeled “Yoda’s Green Potion” or “Darth Vader’s Dark Brew,” to deepen the immersive feel.
These cake pops shine brightest at themed events—May the 4th celebrations, kids’ birthdays, or movie marathons. You might even use them as party favors, wrapped in clear bags tied with silver ribbon and a tiny Star Wars tag. They’re conversation starters, just as much as treats.
Because of their size and rich flavor, these are great served alongside lighter Star Wars dessert treats—think fruit skewers with star-shaped melon or simple butter cookies decorated with edible stars. The contrasts add freshness and keep everyone coming back for more.
Frequently Asked Questions about Star Wars Death Star Cake Pops
Q1: How can I make the cake pops ahead of time?
You can prepare cake balls and freeze them before dipping. Keep them frozen in an airtight container up to 2 weeks. Dip and decorate once you’re ready to serve for best texture.
Q2: My cake balls fall apart after chilling. What’s wrong?
Probably not enough frosting; add a little more and mix gently until mixture holds but isn’t greasy. Also, chilling too long in the freezer could cause condensation—store in the fridge after shaping.
Q3: Can I use chocolate cake instead?
Absolutely. Chocolate cake with chocolate frosting yields rich cake pops, but white or yellow cake offers a nice balance if you want brighter colors for the coating.
Q4: How do I get the fine details on the Death Star?
Use edible markers or very fine icing piping tips. Practice on parchment paper to get comfortable, and aim for light, precise strokes.
Q5: Can I use lollipop sticks made from other materials?
Yes, but sturdy sticks are best. Wooden or plastic lollipop sticks work well to support the weight.
Q6: What if my candy melts are too thick?
Add a small amount of vegetable oil or shortening and stir until smooth. Re-melt in short bursts if needed.
Q7: How do I store the finished cake pops?
Keep them in an airtight container at room temperature for 1-2 days. Refrigerate longer storage, but bring them to room temp before serving to avoid condensation.
Wrapping Up Your Star Wars Death Star Cake Pops Experience
Making these Star Wars Death Star Cake Pops is a wonderful way to celebrate with family, blending classic baking comfort with the thrill of sci-fi fantasy. Remember, the key tips for success are to keep the cake moist, the frosting just right for binding, and the decoration focused on clean, recognizable details. Don’t rush the dipping and decorating stages—they’re where your craftsmanship truly shines.
Feel free to experiment with color shades, even trying galaxy-inspired swirls or glow-in-the-dark edible dust for unique effects. If you want to add variety, create some TIE fighter or lightsaber pops alongside to expand your Star Wars dessert treats lineup.
Most importantly, have fun! These cake pops are about sharing joy, bringing stories into your kitchen, and making family or friends smile with every bite.
Ready to tackle your galaxy goodies? After these Star Wars Death Star Cake Pops, don’t miss out on other themed delights like Lemon Custard Cake Delight or Star Wars Lightsaber Pretzels for more inspiring home-cooked magic!
For more inspiration on crafting Star Wars Death Star Cake Pops, check out the Candy-Filled Death Star Cake Tutorial with Tie Fighter, or see creative takes in DeathStar inspired Cake-pops! Made these for May the 4th. You might also enjoy this impressive Death Star cake with cake pop TIE fighters for your next event.
Star Wars Death Star Cake Pops

These Star Wars Death Star Cake Pops are a fun and festive dessert, perfect for fans of the saga looking to impress at any party with a galactic twist.
- Prep Time: 20 minutes
- Cook Time: 30 minutes
- Total Time: 2 hours 50 minutes
- Yield: 24 cake pops
- Category: Dessert
- Method: No-Cook
- Cuisine: American
Ingredients
- 1 box white cake mix
- Ingredients needed for cake mix (eggs, oil, water)
- 1 can white frosting
- White candy melts
- Black candy melts
- Gray food coloring
- Black edible marker or gel icing
- Cake pop sticks
- Styrofoam block (for drying)
Instructions
- Prepare cake according to package directions and bake in a 9×13 inch pan. Let cool completely.
- Crumble cooled cake into a large bowl and mix in white frosting a little at a time until mixture is moist and can hold its shape.
- Shape the mixture into small balls about 1 inch in diameter and place on a baking sheet lined with parchment paper.
- Insert a cake pop stick into each ball and chill in the refrigerator for at least 2 hours.
- Melt white candy melts and tint with gray food coloring to achieve the Death Star color.
- Dip each cake pop into the gray candy melt coating until fully covered, allowing excess to drip off.
- While wet, use black candy melts or edible markers to draw the Death Star’s iconic surface patterns and details.
- Insert the pop sticks into a Styrofoam block and allow the coating to fully set and harden.
Notes
For an extra fun touch, serve these cake pops with a side of star-shaped sprinkles or inside a clear dome decorated like a space helmet.