
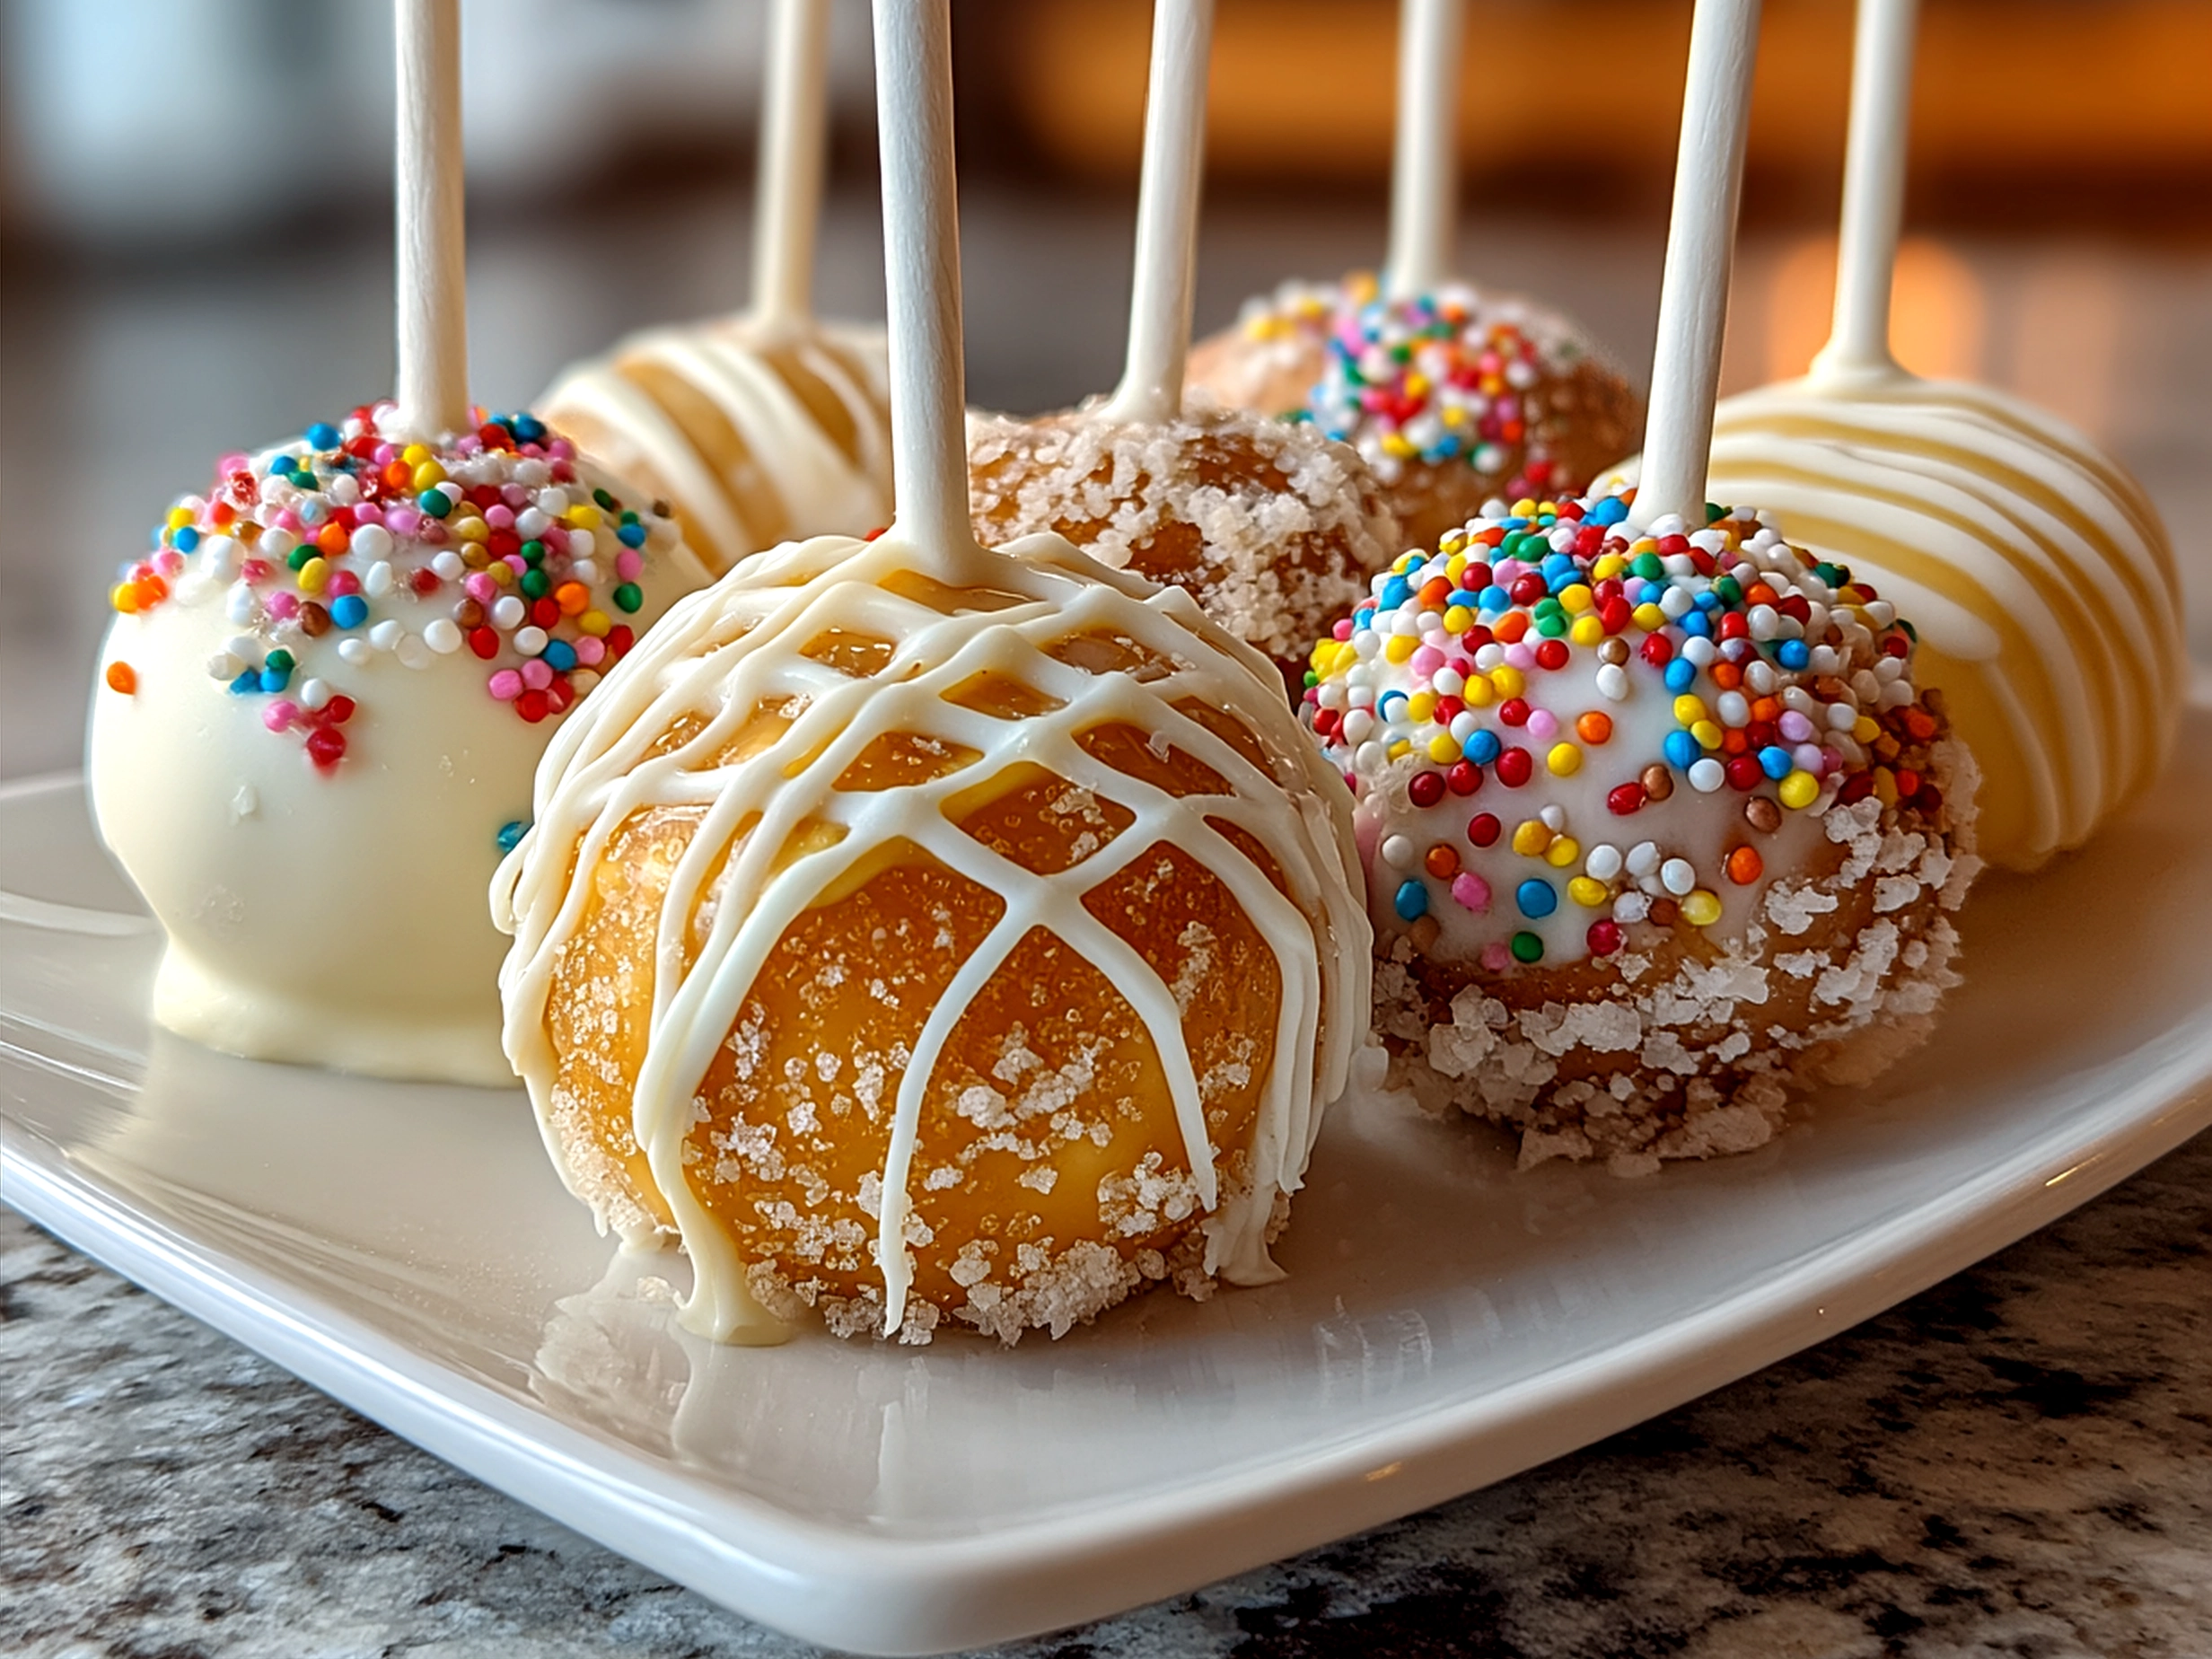
Have you ever watched a crowd gather around a brightly decorated treat table at a graduation party, eyes lighting up with eager anticipation? There’s something magically joyful about those small, colorful bites that promise a perfect blend of sweetness and celebration. Graduation cake pops have that very magic—they capture the spirit of achievement and fun in every bite-sized sphere. Imagine biting into a rich, moist chocolate cake coated in glossy chocolate, adorned with tiny edible decorations that echo caps, diplomas, or even the graduate’s school colors. These aren’t just desserts; they’re tiny trophies of triumph, perfect for marking milestones with family and friends.
Graduation cake pops are more than just party treats; they’re a way to bring everyone together, young and old, to savor a moment of shared pride. Crafting them is a labor of love that combines baking and artistry—turning leftover cake crumbs into elegant spheres covered in chocolate and embellished with fondant decorations or edible glitter. It’s not just about the dessert itself but how those cake pops become a centerpiece of celebration, conversation starters, and keepsakes in memory albums. Whether you’re an experienced baker or a home cook looking for an accessible yet impressive dessert, this cake pop recipe is designed to bring joy and ease into your graduation party desserts lineup. Let’s dive into the rich flavors, colors, and textures that make graduation cake pops unforgettable, and I promise you’ll find this mix of tradition and creativity as rewarding as sharing them with your loved ones.
Ingredients for Graduation Cake Pops
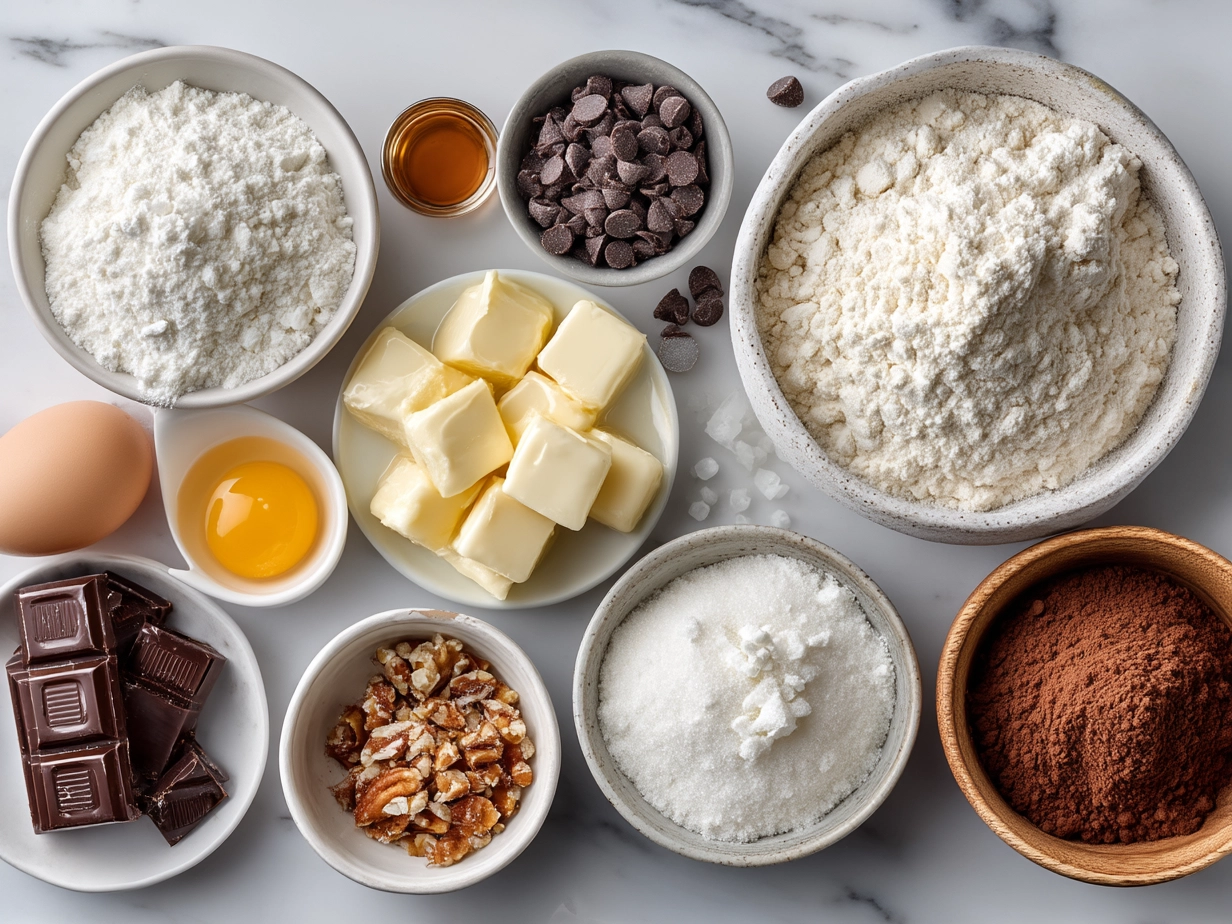
To create delectable and festive graduation cake pops, you’ll need a blend of quality ingredients that offer both flavor and structure. Here’s what I recommend:
- Cake crumbs: 3 cups, any flavor (chocolate or vanilla works best)
Swap: Use store-bought cake or cake mix if short on time. - Cream cheese frosting: ½ cup (softened, for binding cake crumbs)
Budget option: Use buttercream frosting or homemade icing. - White chocolate melts: 12 oz (for coating)
Swap: Dark or milk chocolate melts for richer flavor. - Food coloring: Gel-based, school colors preferred
- Fondant: ½ cup, for decorations like hats and diplomas
Alternate: Use edible markers or candy melts. - Edible glitter or sprinkles: For extra sparkle and graduation theme accents
- Lollipop sticks: 20-25 pieces (standard size)
- Wax paper or parchment: To set the cake pops on after dipping
This ingredient list balances budget-friendly options and authentic flavor, ensuring your graduation cake pops turn out moist, delicious, and stunningly festive.
Steps to Make Graduation Cake Pops
- Prepare the cake crumbs
Start by baking your favorite cake or use a pre-made cake. Once completely cool, crumble the cake finely in a large bowl. The texture should be sandy, without large chunks. This is essential for smooth, moldable cake pops. Time: 10 minutes. - Bind with frosting
Add the softened cream cheese frosting a little at a time. Start with ¼ cup and mix thoroughly. The mixture should stick together when pressed but not be wet or sticky. Add more frosting if needed, but too much will make dipping difficult. Time: 5 minutes.
Sensory tip: The batter feels slightly tacky but holds its shape like a soft dough. - Shape into balls
Roll the mixture into even balls about 1 to 1½ inches in diameter. Place them on a baking sheet lined with parchment paper. Chill in the fridge for 30 minutes or in the freezer for 15 minutes to firm up.
Mistake alert: Don’t skip chilling or the cake pops will fall apart during dipping. - Melt and color chocolate
Melt your white chocolate melts gently in a double boiler or microwave in 20-second bursts, stirring each time. Add gel food coloring carefully, stirring until fully blended. Remember, chocolate can seize if water sneaks in! Time: 10 minutes. - Attach sticks
Dip the tip of each lollipop stick into the melted chocolate, then insert it halfway into each chilled cake ball. This acts as glue to secure the stick to the cake pop. Chill 10 more minutes. - Dip cake pops
Holding the stick, dip each cake pop into the melted chocolate. Tap off excess gently. Place on parchment paper to dry completely at room temperature. This coating should set firm and glossy. Time: 15-20 minutes per batch. - Decorate
Use the fondant decorations and edible cake decorations—like tiny caps or diplomas. Attach with a dab of melted chocolate. Sprinkle edible glitter or sprinkles to add flair.
Presentation Ideas for Graduation Cake Pops
Graduation cake pops are showstoppers on any dessert table and deserve a presentation as special as the occasion itself. Arrange them upright in a styrofoam block or a decorative vase with festive wrapping paper to keep sticks steady. Using a color-coordinated cake pop stand creates a mini bouquet effect, making each pop look like a little celebration bloom. Pair them alongside tall glasses filled with colorful candies or surround with miniature cupcakes for a dessert spread that’s both eye-catching and inviting.
Serve your cake pops at graduation parties as part of a dessert buffet where guests can grab and go—perfect for mingling and celebrating. These treats also pair well with sparkling fruit punch or coffee, balancing their sweet richness with light, refreshing beverages. For outdoor celebrations, keep them shaded and chilled in small batches to avoid melting.
Special occasions call for memorable desserts, and these cake pops fit perfectly into milestones beyond graduation: anniversaries, birthday parties, or festive holidays. The fondant decorations can be customized for any event, while the chocolate and cake flavor allow you to play with layers of taste and texture, bringing a warm, traditional touch to every bite.

FAQs About Graduation Cake Pops
Q1: Can I use a boxed cake mix for cake pops?
Absolutely, boxed cake mix works well and saves time. Just ensure the cake is fully cooled before crumbling for best results.
Q2: How do I avoid cake pops cracking during dipping?
Make sure your cake balls are cold and firm before dipping. Warm cake balls are more likely to crumble or crack.
Q3: What if my chocolate seizes or becomes grainy?
Chocolate seizes when even a drop of water gets in. Avoid adding liquids. If it happens, add a small spoon of vegetable oil to smooth it out.
Q4: Can I refrigerate cake pops after decorating?
Yes, but keep them in an airtight container to prevent condensation, which can ruin the chocolate shell.
Q5: How long do cake pops stay fresh?
They’re best eaten within 3-5 days. Store at room temperature in a cool place, or refrigerate for longer freshness.
Q6: What alternatives are there to fondant decorations?
Use edible markers, candy melts, or sprinkles. Some simple piped icing designs also work nicely.
Q7: How do I achieve school colors without staining the chocolate?
Use gel food coloring in white chocolate to match school colors. Avoid liquid dyes that thin the chocolate.
Conclusion: Celebrate with Graduation Cake Pops
Creating graduation cake pops is more than a recipe; it’s a love letter to tradition and joyful moments shared with family. The combination of moist cake, creamy frosting, and rich chocolate coating offers a multi-sensory delight that’s as pleasing to the palate as it is to the eyes. Once you master the recipe, don’t hesitate to experiment—use different cake flavors, try colorful coatings, or create unique fondant shapes to reflect your graduate’s personality.
Remember, patience and attention to detail are your best allies here: chilling properly, tempering the chocolate gently, and decorating with care transforms simple ingredients into a celebration centerpiece. I encourage you to make this graduation season special with homemade cake pops that carry sweetness, pride, and tradition in every bite. You’re not just baking a treat—you’re crafting memories.
For more inspiration, try these related recipes:
Don’t forget to check out some fun video ideas featuring graduation cake pops:
Graduation Cake Pops

Delightful Graduation Cake Pops that combine moist cake crumbs with creamy frosting, coated in colorful chocolate for a festive celebration treat.
- Prep Time: 20 minutes
- Cook Time: 30 minutes
- Total Time: 2 hours 50 minutes
- Yield: 20 servings
- Category: Dessert
- Method: No-Cook
- Cuisine: American
Ingredients
- 1 box white cake mix (plus ingredients to prepare cake)
- 1 cup vanilla frosting
- 20 oz white chocolate melts
- Food coloring (blue, black, and gold)
- 20 lollipop sticks
- Black edible marker
- Sprinkles or edible glitter (optional)
Instructions
- Prepare the white cake mix according to package instructions and bake in a 9×13 inch pan. Let cool completely.
- Crumble the cooled cake into a large bowl. Add vanilla frosting and mix until well combined and dough-like.
- Roll mixture into 1 ½ inch balls and place on a baking sheet lined with parchment paper. Insert lollipop sticks into each ball, then chill in the fridge for at least 2 hours.
- Melt white chocolate melts in separate bowls, coloring portions with blue, black, and gold food coloring.
- Dip each cake pop into the colored chocolate coating, tap off excess, and stand upright to dry.
- Once dry, use black edible marker to draw graduation cap details and gold coating for tassels. Add sprinkles or edible glitter if desired.
- Allow all decorations to set before serving. Store cake pops in an airtight container at room temperature or in the fridge.
Notes
For extra flair, personalize cake pops with the graduate’s initials using edible markers or add mini diploma accents using fondant.