
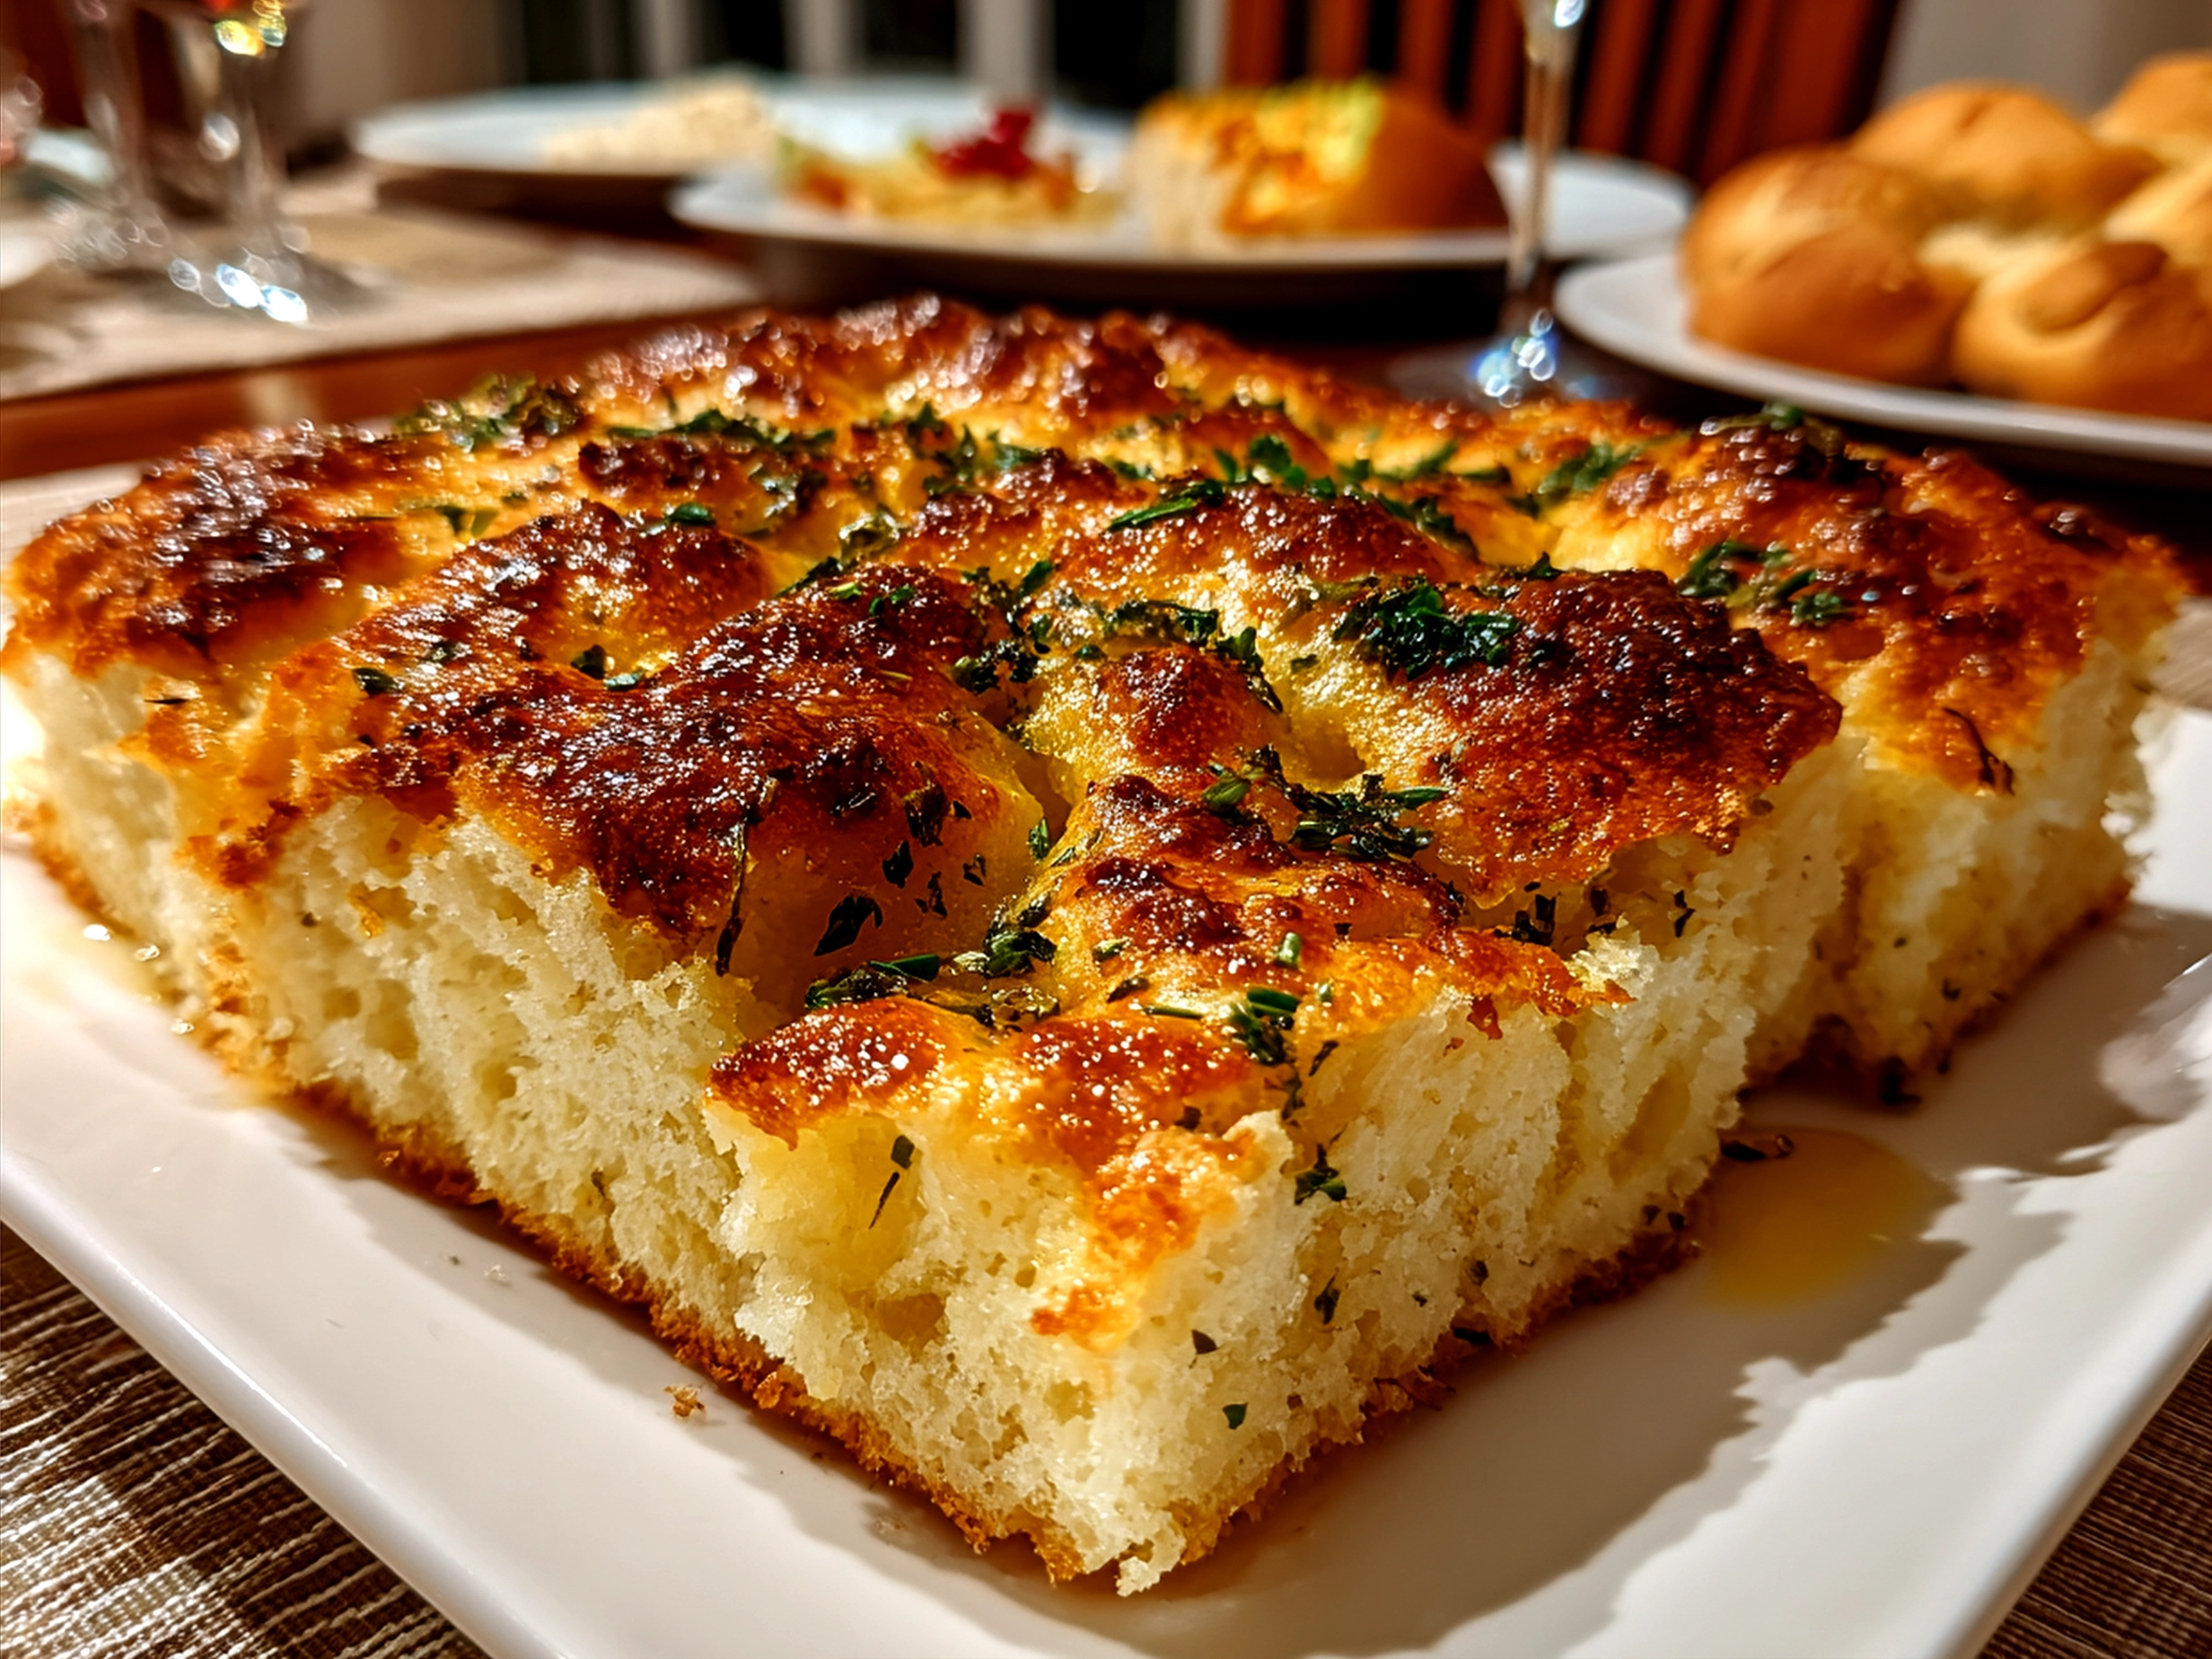
When I first brought the idea of a focaccia decorative loaf to my kitchen, I never imagined it would become such a beloved staple for family meals. Early on, balancing that perfect olive oil focaccia with just the right herbs and decorative focaccia patterns felt like a tall order. I remember my partner’s curious smile the first time I presented this herbed focaccia loaf—it was simple but dressed up with those artistic bread baking touches that caught everyone’s eye. That moment was my kitchen turning point. From then on, this focaccia decorative loaf wasn’t just bread; it was a centerpiece that brought us to the table.
My cooking journey with this focaccia decorative loaf taught me that great family food isn’t about complexity. It’s about good ingredients, layered flavors, and a bit of creativity in how you present the food. This olive oil focaccia carries authentic flavors that speak to everyone around the table. Whether it’s a quiet weekday dinner or a weekend gathering, it creates a warm connection through its inviting aroma and rich, herbed crumb.
Fellow flavor seekers, if you’re looking for something that blends artistry with genuine family taste, this focaccia decorative loaf recipe will become your new kitchen ally. It’s approachable, rewarding, and full of heart—where rustic meets refined with everyday ingredients.
Ingredients You’ll Need:
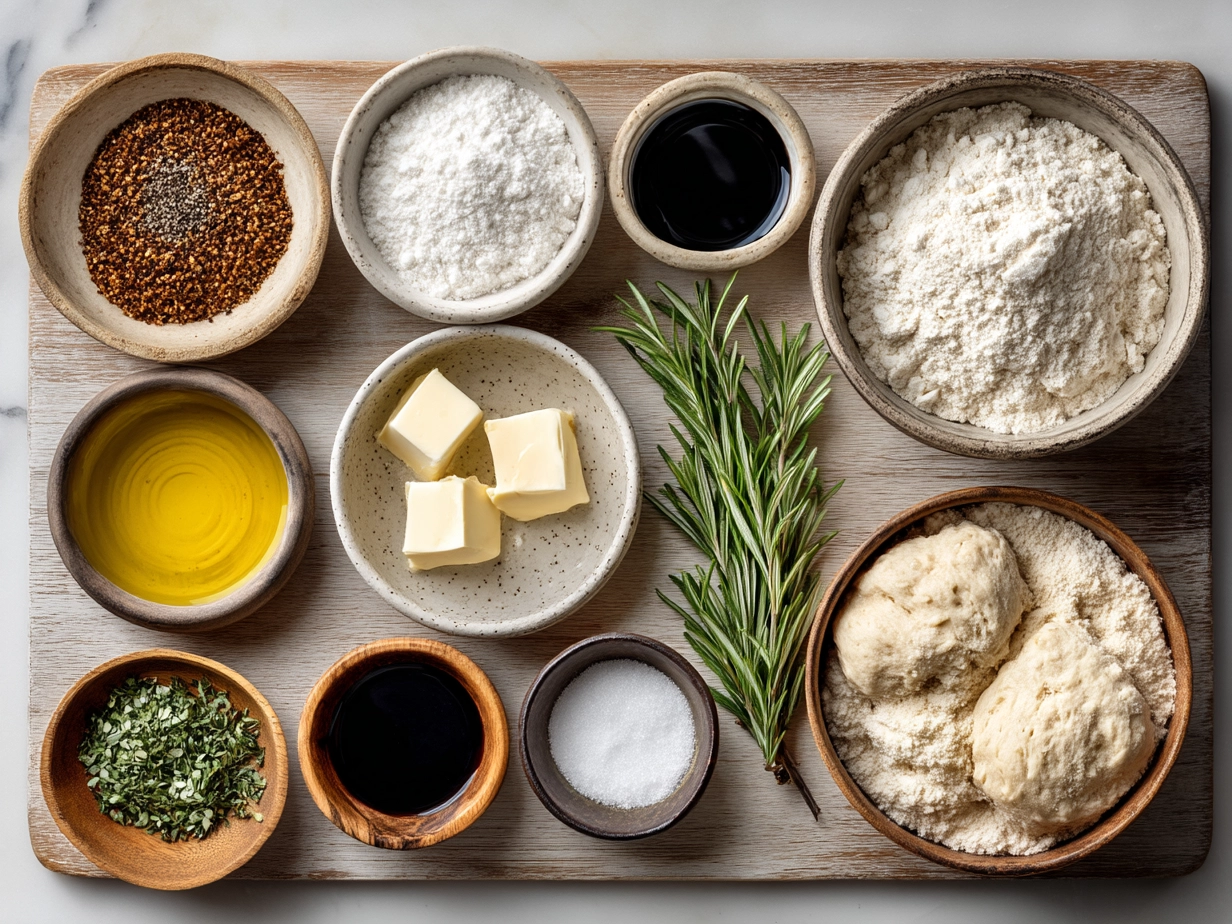
- 4 cups (480g) bread flour – For the best flavor in your focaccia decorative loaf, find flour from a local mill or a quality organic source. This boosts dough flavor and texture.
- 1 tablespoon sea salt – A good sea salt adds a subtle crunch and brings out the herby notes beautifully. I suggest checking out the 1,8% salt – 19% sourdough starter mix guide for inspiration on salt proportions.
- 1 tablespoon sugar – This little touch helps yeast do its magic without overpowering the bread’s savory character.
- 1 packet (2 1/4 teaspoons) active dry yeast – Fresh yeast can work too, just adjust amounts accordingly.
- 1 3/4 cups warm water (110°F/45°C) – Warm but not hot, to wake up the yeast gently.
- 1/4 cup (60ml) extra virgin olive oil, plus more for drizzling – Your olive oil focaccia’s backbone. Use a fruity, fresh-tasting oil for the best depth of flavor.
- 2 tablespoons fresh rosemary, chopped – This herb’s aroma is classic focaccia magic. You can substitute with thyme or oregano for variation.
- 2 tablespoons fresh thyme leaves – A complement to rosemary, adding herbal complexity.
- Flaky sea salt, for finishing – Adds texture and pop.
- Optional: cherry tomatoes, olives, or garlic cloves for decorative focaccia patterns.
Trust me, this focaccia decorative loaf ingredient list focuses on quality over quantity for authentic flavors. Many times I’ve found that visiting local markets or specialty shops is worth the trip—our family loves the impact it makes on flavor. One recent kitchen adventure involved tasting different olive oils to choose the perfect one for this bread; the difference is a real game-changer for your focaccia decorative loaf.
Let’s Create This Together!
- First, find a large mixing bowl and combine the warm water, sugar, and yeast. Stir gently and set aside for about 5-10 minutes. You’ll see bubbles starting to form; this means your yeast is waking up. A lively start always means a flavorful focaccia decorative loaf.
- Next, add your bread flour, salt, and 1/4 cup of olive oil into the bowl with the yeast mix. Begin stirring with a wooden spoon or your hand until a shaggy dough forms. This part feels messy but trust me, it’s where the magic begins.
- Transfer dough to a lightly floured surface. Knead it for around 8-10 minutes. Your dough should become smooth and elastic but not sticky. If it’s too sticky, add a sprinkle of flour, but keep it minimal for a light crumb in your focaccia decorative loaf.
- Place the dough in a clean bowl brushed with olive oil and cover it with a damp towel or plastic wrap. Let it rise in a warm spot until doubled in size, about 1 to 1.5 hours. In my kitchen, timing can vary depending on the season, but you’ll see that beautiful puffiness as your dough develops its character.
- Tip your dough out gently onto a large, oiled baking sheet. Using your fingertips, spread and press it out to your desired thickness (usually about 1-inch). Here’s where artistic bread baking starts: it’s time to create your decorative focaccia patterns.
- Press fingers into the dough creating dimples all over. Drizzle a generous 2 tablespoons of olive oil over the surface, encouraging it to pool in some of the dimples. Then scatter your chopped rosemary, thyme, and any other decorative ingredients like olives or garlic cloves pressed into the dough.
- Sprinkle flaky sea salt across the top. These crunchy salt flakes will bring bursts of flavor with every bite of your focaccia decorative loaf.
- Cover the dough again and let it rise for another 20-30 minutes. Your kitchen should start filling with an aromatic perfume that hints at the buttery, herbed goodness soon to come.
- Preheat your oven to 425°F (220°C). Bake the focaccia for about 20-25 minutes or until it turns golden brown around the edges and the bottom sounds hollow when tapped. Don’t be surprised if your focaccia decorative loaf develops some tantalizing dark spots on the crust. Those charred blisters are a hallmark of deep flavor.
- Let it cool slightly before slicing. This resting time allows the crumb to set and flavors to settle. While your focaccia decorative loaf is cooling, you might want to check out some ideas on focaccia bread art to get inspired for your next loaf.
Here’s where I used to miss a key step—letting the dough rise sufficiently after shaping. Rushing this step robbed my focaccia decorative loaf of those beautiful airy pockets that make everyone reach for another slice.
How We Love to Enjoy This!
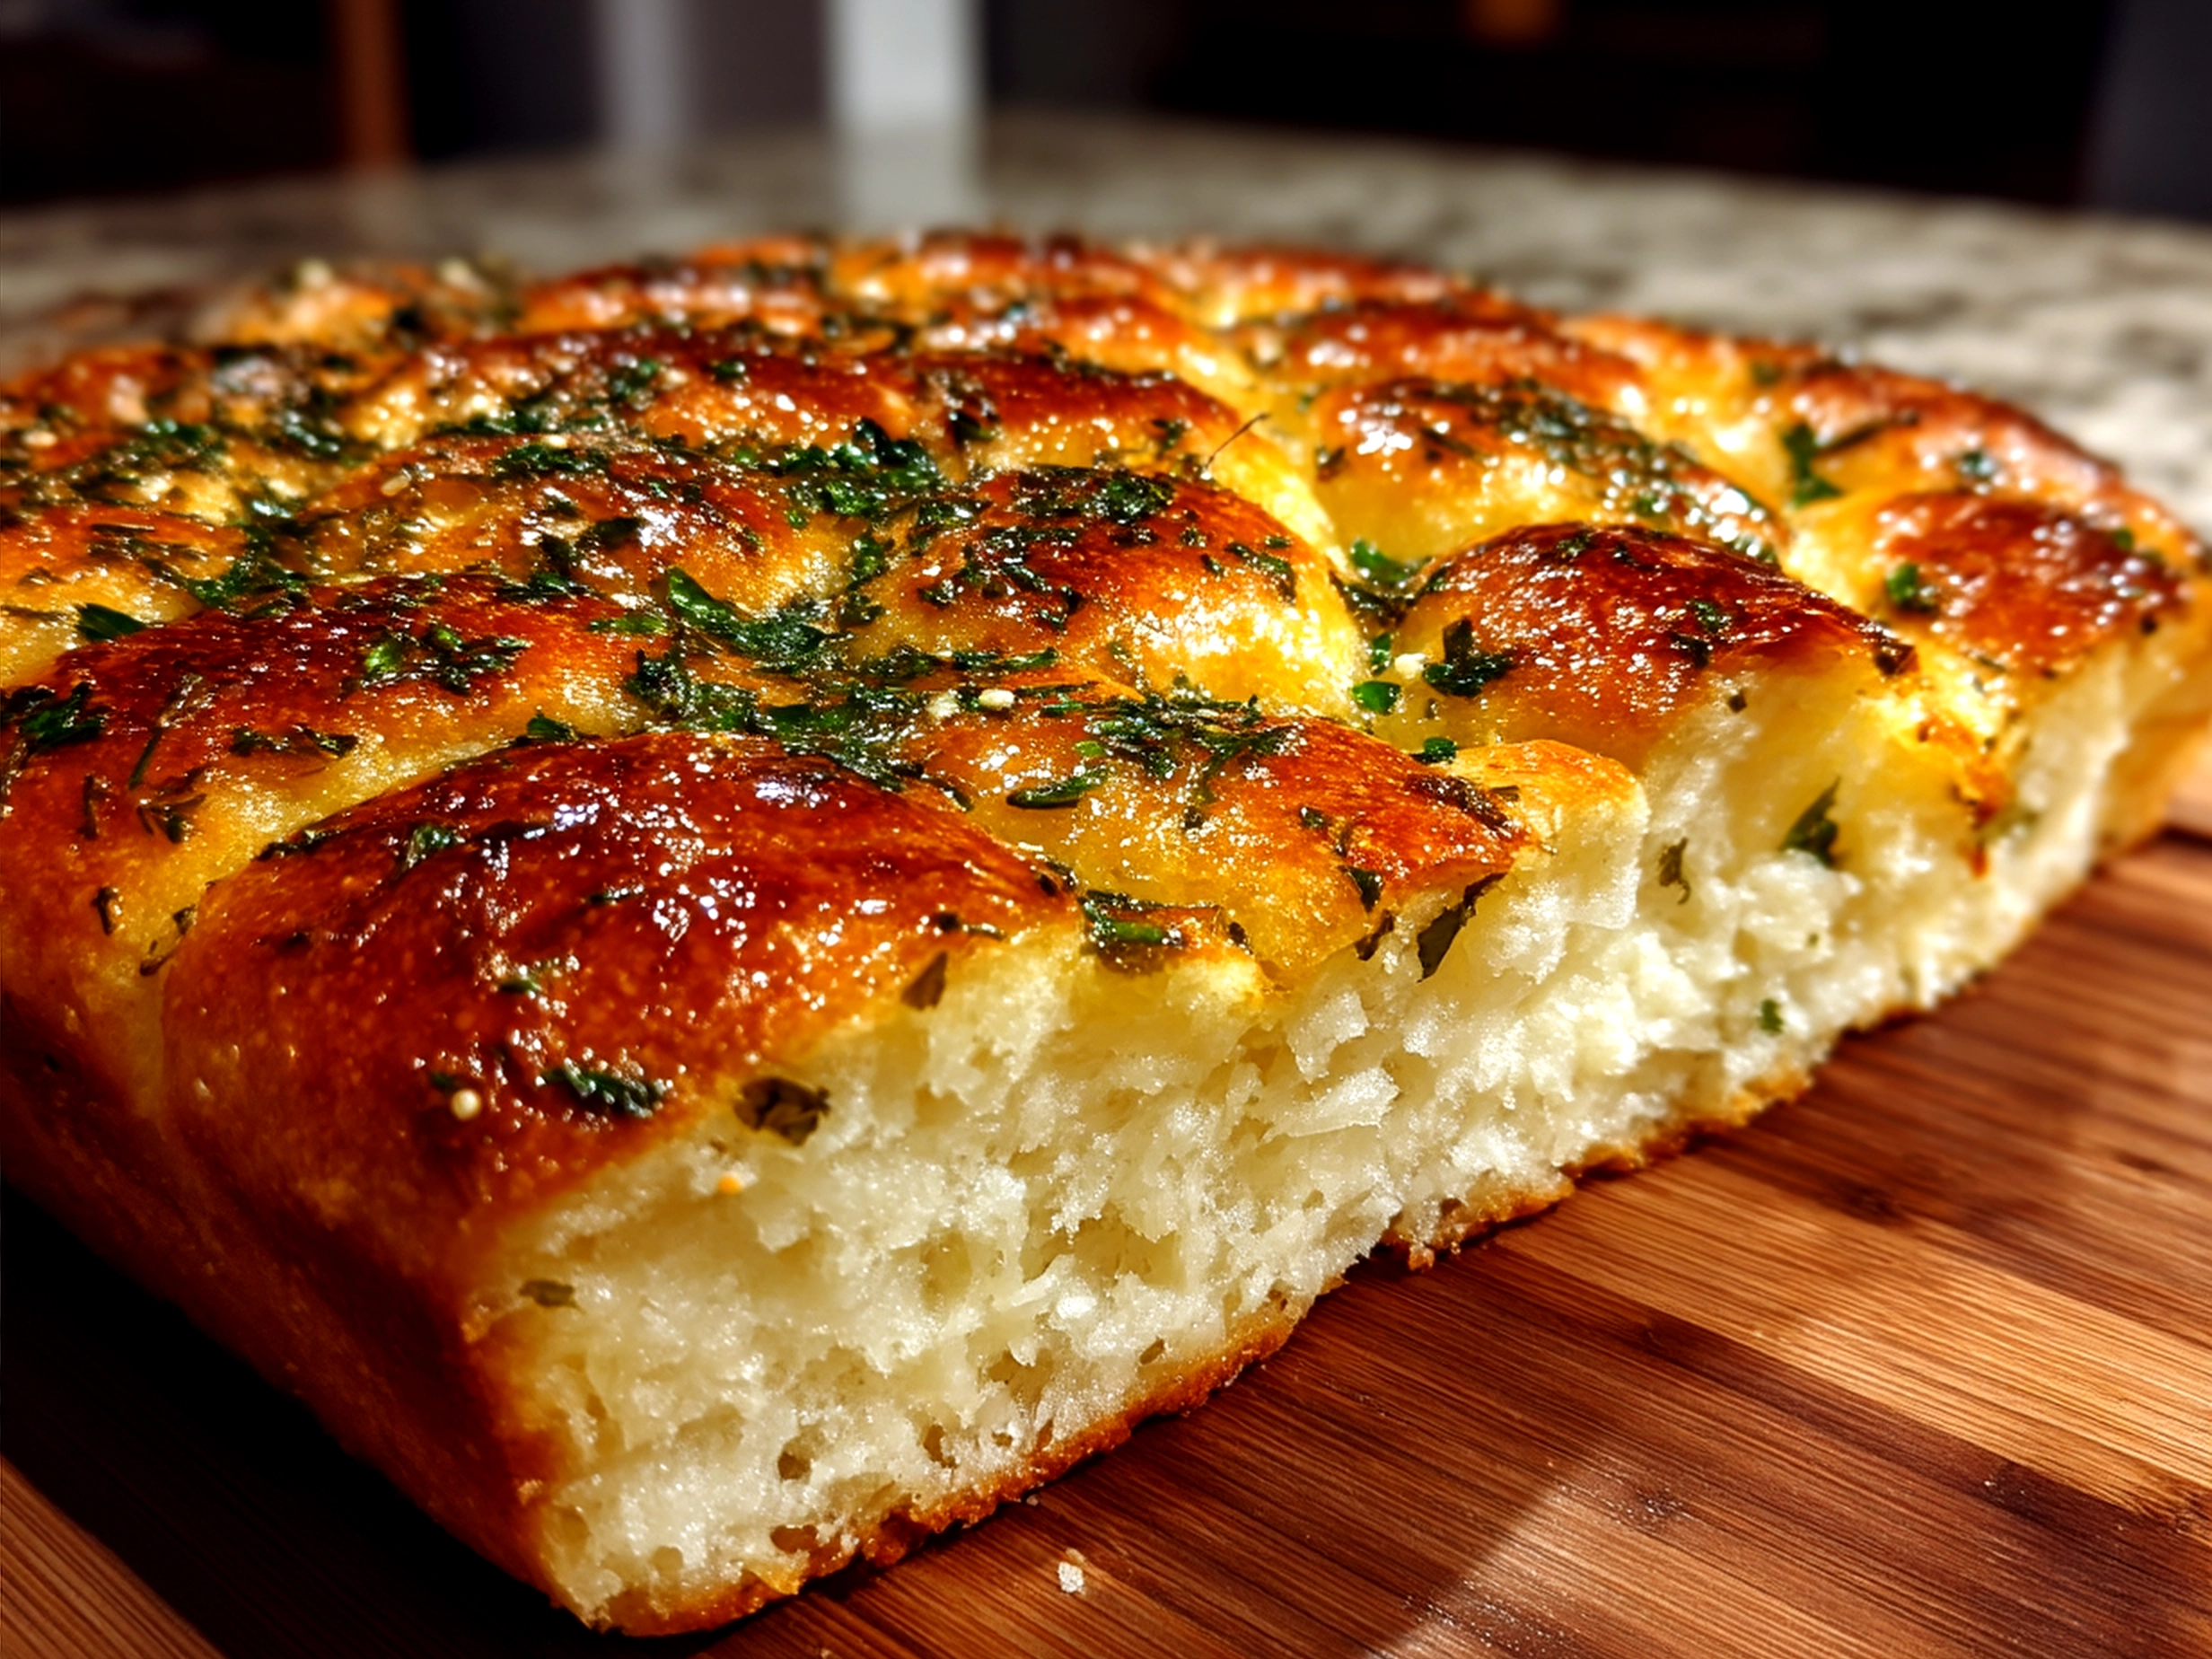
Our family quickly gathers when this aromatic focaccia decorative loaf appears on the table, especially alongside rustic meals like a hearty meatloaf or a fresh garden salad. I often pair it with the loaded potato meatloaf recipe that is another crowd-pleaser in our home.
This focaccia decorative loaf shines at casual dinners, weekend brunches, or even when guests pop over unexpectedly. Its fresh herb smell fills the kitchen and promises comfort in every bite.
For presentation, I love slicing it thick with a slightly charred edge. A drizzle of more olive oil and a sprinkle of sea salt fresh from the grinder finishes the loaf beautifully. If you want to impress guests, try some playful decorative focaccia patterns like floral or leaf shapes—a technique I found delightfully demonstrated on Focaccia Bread Art – Sugar Geek Show.
Leftover focaccia is never wasted around here. I repurpose slices as crunchy bases for bruschetta or toast them for flavorful sandwiches the next day. Sometimes I warm a slice on the stove and top it with avocado and a pinch of chili flakes—a quick snack with soul.
Seasonal variations also keep this herb-infused focaccia decorative loaf lively. In summer, adding sun-dried tomatoes or fresh basil turns it into a vibrant companion for grilled veggies or salads. Your family will notice the difference in authentic flavor and freshness.
FAQs: Your Questions Answered
Q: Does this focaccia decorative loaf really satisfy hearty appetites?
A: Absolutely! The olive oil focaccia has a satisfying chew and richness that fills plates well. Our family finds it just right alongside protein-rich mains or crisp salads.
Q: What if someone in my family prefers milder flavors in their focaccia decorative loaf?
A: You can easily adjust the herbs. Using just rosemary or substituting with parsley keeps it mild but aromatic. Fresh thyme is subtle and works wonders too.
Q: Can I prepare this focaccia decorative loaf ahead for busy weeks?
A: Yes! Shape the dough and refrigerate it overnight. Bring it out in the morning to warm and rise a bit before baking. This method gives the flour time to develop flavor and saves time on baking day.
Q: What are some creative decorative focaccia patterns beginners can try?
A: Simple leaf shapes, gentle spirals, or dot patterns made with olives or cherry tomatoes are great ways to welcome artistic bread baking into your kitchen. Check out How to Decorate Focaccia Bread Like a Work of Edible Art – Allrecipes for inspiration.
Q: Can I make this focaccia decorative loaf with sourdough starter?
A: Yes, you can! Adjust the yeast amount accordingly and expect a longer fermentation. The 1,8% salt – 19% sourdough starter Mix by hand flour, water and … guide gives excellent details on balancing sourdough focaccia recipes.
Q: Does using extra virgin olive oil make a big difference?
A: Definitely. It infuses the loaf with fruity, peppery notes that cheaper oils can’t provide. This one small swap boosted our family’s love for this focaccia decorative loaf.
Q: What’s the best way to store leftover focaccia decorative loaf?
A: Keep it wrapped at room temperature for up to 2 days. For longer storage, freeze slices wrapped tightly. Reheat before serving for a fresh-baked feel.
Final Kitchen Wisdom:
This focaccia decorative loaf supports our family’s culinary values because it combines simple ingredients with authentic flavor. It’s a loaf that invites conversation and connection around the table.
My Focaccia Decorative Loaf Flavor Secrets:
- Using fresh rosemary and thyme picked the same day elevates the aroma wonderfully
- Generous olive oil layering during and after baking creates the perfect moist crumb
- Patience during the proofing stages gives that airy, dimpled texture everyone loves
We enjoy variations like rosemary and sea salt for traditional flair, cherry tomato and basil for brightness, and garlic and olive for rich depth. My kids prefer the plain herbed focaccia decorative loaf, while my partner loves the ones with bold toppings.
Your kitchen adventures with this focaccia decorative loaf will bring authentic flavor victories and warm family moments. Make it your signature recipe—it’s approachable, stunning, and above all, filled with love.
For more genuine cooking ideas for family meals, explore this loaded potato meatloaf recipe or revisit our jam donut focaccia delicious recipe for a sweet change. And if you’re in the mood for a treat afterward, our hidden heart chocolate loaf cake never disappoints.
Happy baking, fellow flavor seekers! May your kitchen shine with the spirit of simple, authentic meals that bring everyone close.
Focaccia Decorative Loaf
This Focaccia Decorative Loaf is a beautifully crafted Italian bread featuring a soft, airy texture and an eye-catching design, perfect for impressing guests at any meal.
- Prep Time: 15 minutes
- Cook Time: 25 minutes
- Total Time: 1 hour 40 minutes
- Yield: 8 servings
- Category: Dinner
- Method: Baked
- Cuisine: Italian
Ingredients
- 3 ½ cups all-purpose flour
- 1 packet (2 ¼ tsp) active dry yeast
- 1 ¼ cups warm water (110°F/45°C)
- 2 tbsp olive oil, plus extra for drizzling
- 1 tsp sugar
- 2 tsp sea salt
- Fresh rosemary sprigs, for decoration
- Coarse sea salt, for sprinkling
Instructions
- In a bowl, dissolve sugar and yeast in warm water. Let stand for 5–10 minutes until foamy.
- In a large mixing bowl, combine flour and sea salt. Add the yeast mixture and 2 tbsp olive oil.
- Knead the dough on a floured surface for 8–10 minutes until smooth and elastic.
- Place the dough in a greased bowl, cover with a clean towel, and let rise in a warm place for 1 hour or until doubled in size.
- Punch down the dough and transfer to an oiled baking sheet. Press out to desired rectangular shape about 1-inch thick.
- Create decorative patterns by gently pressing fresh rosemary sprigs and using your fingers to make dimples across the dough surface.
- Drizzle olive oil over the top and sprinkle with coarse sea salt.
- Cover and let rise for another 20 minutes.
- Preheat oven to 425°F (220°C). Bake the focaccia for 20–25 minutes or until golden brown.
- Remove from oven, cool slightly, then slice and serve warm or at room temperature.
Notes
For extra flavor, consider adding thinly sliced garlic or cherry tomatoes to the decorative patterns before baking.