
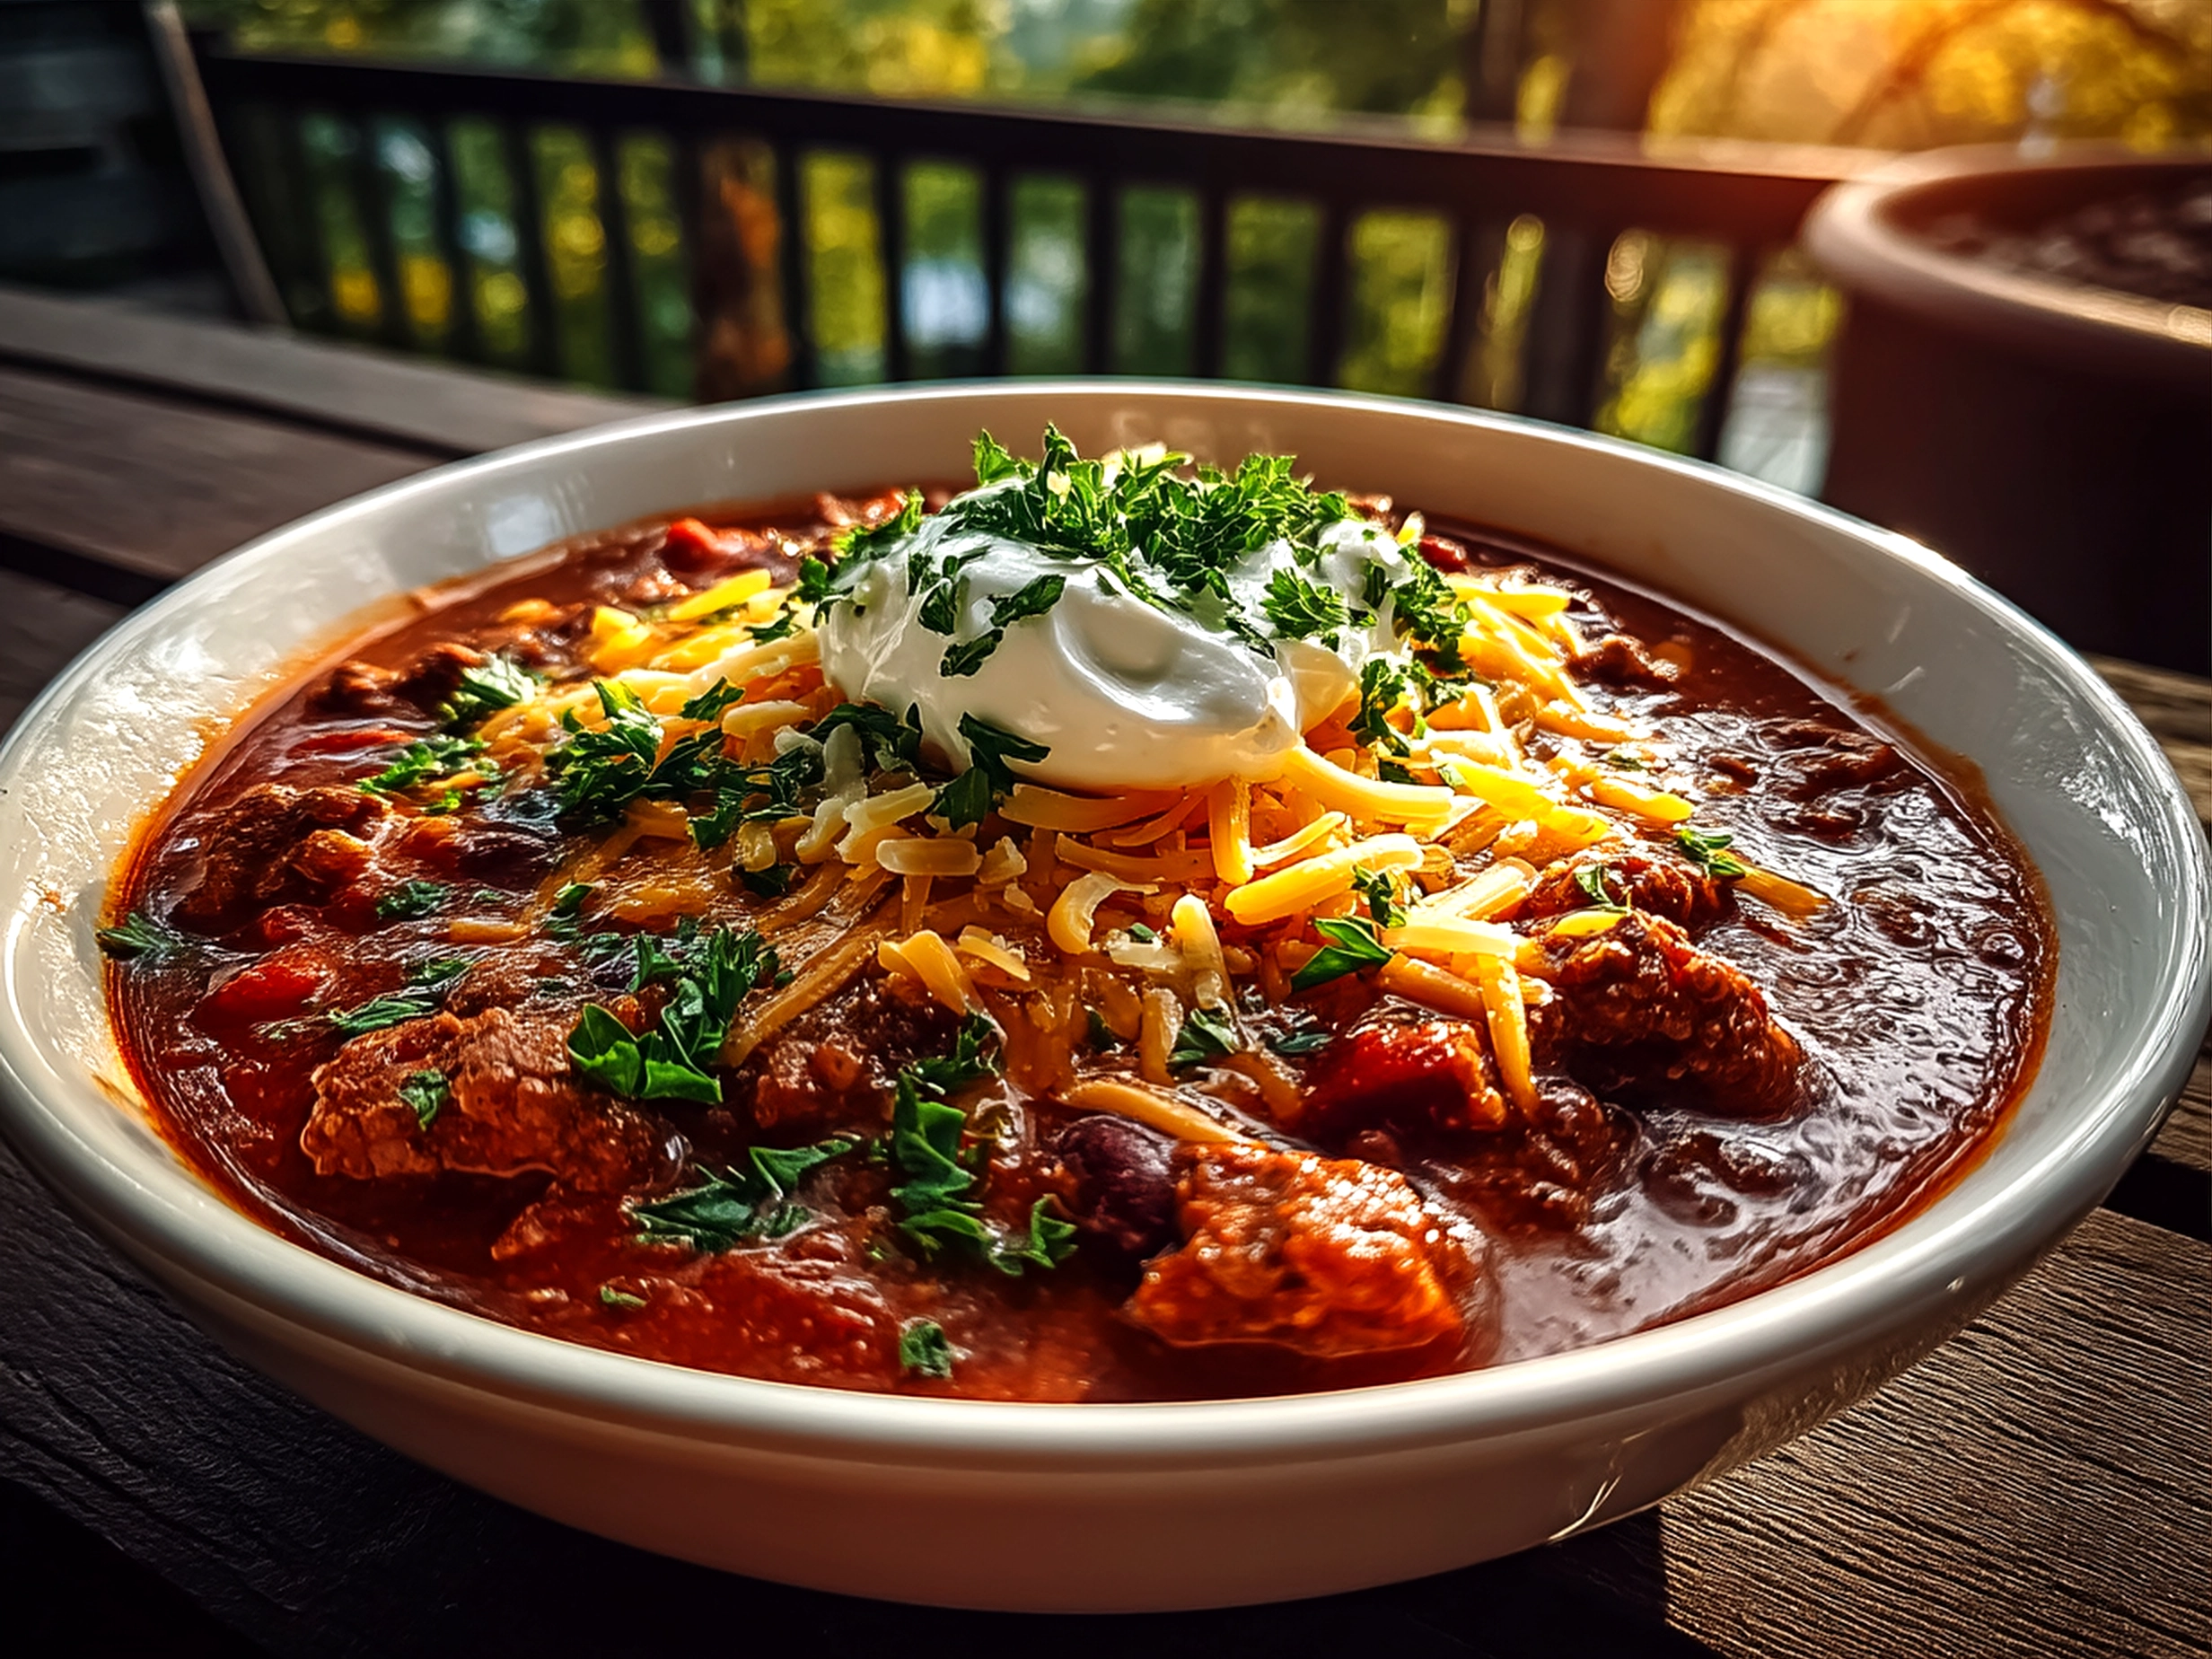
Close your eyes and imagine the sizzling sound of diced onions meeting hot oil in a heavy Dutch oven, the rich aroma of smoked paprika and cumin swirling through crisp, pine-scented air. The campfire crackles nearby, and the gentle bubbling of thick chili promises warmth on a brisk evening. Have you ever wondered how to make a hearty Dutch Oven Camping Chili that tastes like home, even miles away from your kitchen? This isn’t just any chili recipe for camping; it’s an outdoor cooking chili masterpiece that blends tradition and flavor in one cast iron pot.
Dutch ovens are the unsung heroes of outdoor cooking chili. Their heavy lids and thick walls trap heat perfectly, giving every bean and spice the time it needs to settle into a soul-warming stew. Whether you’re nestled under the stars or gathered with family around a roaring campfire, this Dutch Oven Camping Chili recipe turns simple ingredients into a savory celebration.
Choosing the right ingredients is key. You want a robust chili that’s easy to cook slowly over coals or a low flame without the fuss. This campfire chili recipe starts with ground beef or turkey, but don’t hesitate to swap in beans, or even canned vegetables when packing light. The beauty of cast iron chili lies in its flexibility—it’s forgiving, rewarding patience and attention with deep, smoky flavor and perfectly tender chunks of meat and beans.
Cooking chili outdoors is an experience in itself. Time moves a little slower, senses heighten, and you learn to read the cues—when the aroma deepens, when the sauce thickens to a perfect rich coat, and when the flavors meld into that unforgettable campfire hug in a bowl. This is the comfort of slow cooker chili, but enhanced by the open air and anticipation. Let’s walk through this satisfying journey step by step.
Ingredients for Dutch Oven Camping Chili
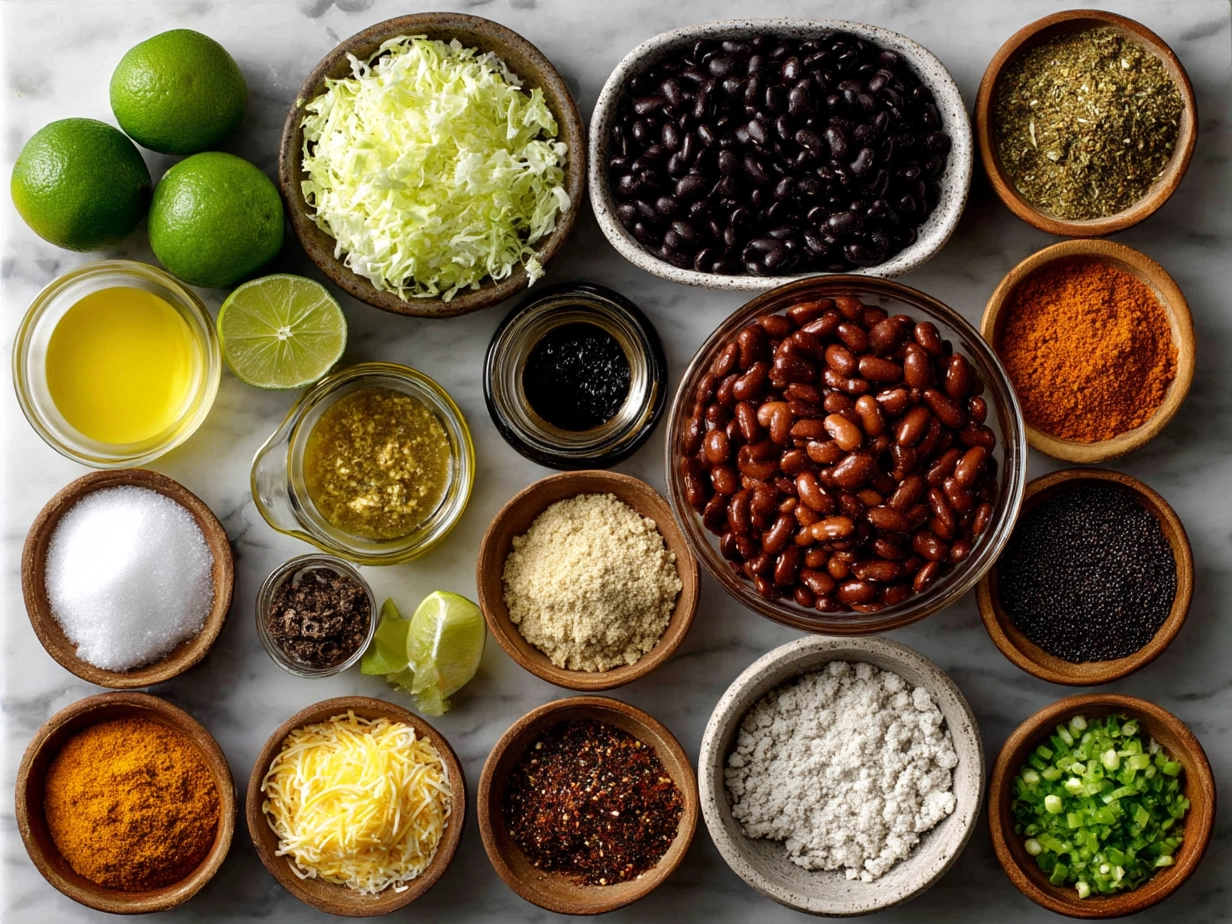
- 1 lb ground beef or turkey: Choose lean ground beef for richness or turkey for a lighter, budget-friendly option. Swap with 1.5 cups cooked beans for a vegetarian twist.
- 1 can (15 oz) kidney beans, drained and rinsed: Pinto or black beans work well too.
- 1 can (14.5 oz) diced tomatoes: Fire-roasted cans add a smoky edge.
- 1 small onion, finely chopped: Yellow onion offers sweet depth; swap with smoked onion powder if packing light.
- 3 cloves garlic, minced: Garlic powder is a handy substitute.
- 2 tbsp tomato paste: Adds thickness and richness.
- 2 cups beef or vegetable broth: Opt for low-sodium broth to control salt.
- 2 tbsp chili powder: Look for fragrant blends with smoky undertones.
- 1 tsp cumin: Ground cumin injects warmth.
- 1 tsp smoked paprika: Essential for that campfire flavor.
- ½ tsp cayenne pepper: Adjust based on your heat tolerance.
- Salt and black pepper to taste
- 2 tbsp vegetable oil or bacon grease: For authentic cast iron seasoning and flavor.
- Optional toppings: shredded cheddar, chopped green onions, sour cream, fresh cilantro, jalapeño slices.
Budget swaps: Ground turkey is often more affordable than beef. Use dried beans soaked overnight if fresh cans aren’t available nearby.
Steps to Make Dutch Oven Camping Chili
- Heat your Dutch oven over the campfire or coals, adding oil or bacon grease. The cast iron needs a good medium-high heat surface before you start. You’ll know it’s ready when the oil shimmers but doesn’t smoke.
- Add chopped onions and sauté for 5 minutes until translucent and fragrant. The smell of onions softening fills the air—your first sensory cue this chili is on its way.
- Stir in minced garlic and cook for another 1-2 minutes. Be careful not to let garlic burn; it should smell sweet and aromatic.
- Add ground meat and break it up with a wooden spoon. Cook until browned all over, about 8-10 minutes. Keep turning the meat so it cooks evenly; raw patches mean longer cooking and uneven flavor.
- Drain excess fat if too greasy, leaving some for flavor. This step prevents a greasy chili while maintaining richness.
- Mix in tomato paste and cook for 2 minutes to deepen flavor. The paste will thicken the mixture and develop umami.
- Pour in diced tomatoes and broth, stirring to combine. The mixture should be just covered by the liquid; add broth carefully if you want thicker chili.
- Add beans, chili powder, cumin, smoked paprika, cayenne, salt, and pepper. Stir well, making sure the spices are evenly distributed.
- Cover the Dutch oven with its lid. Adjust coals so the heat is gentle and consistent. Too high heat can burn the bottom; aim for a slow simmer. Check every 20 minutes.
- Simmer for 60-90 minutes, stirring occasionally. You’ll notice the sauce thickens, flavors meld, and the chili develops that signature rich aroma.
- Taste test near the end to adjust seasoning. Add more salt, cayenne, or even a pinch of sugar to balance acidity if desired.
- Remove from heat and let rest for 5 minutes before serving. This allows chili to settle and thicken further.
Common mistakes: Overcooking without stirring can scorch the bottom; too much liquid leads to watery chili. Use your nose and eyes—the smell and consistency guide you better than timers alone.
Serving and Presentation Ideas
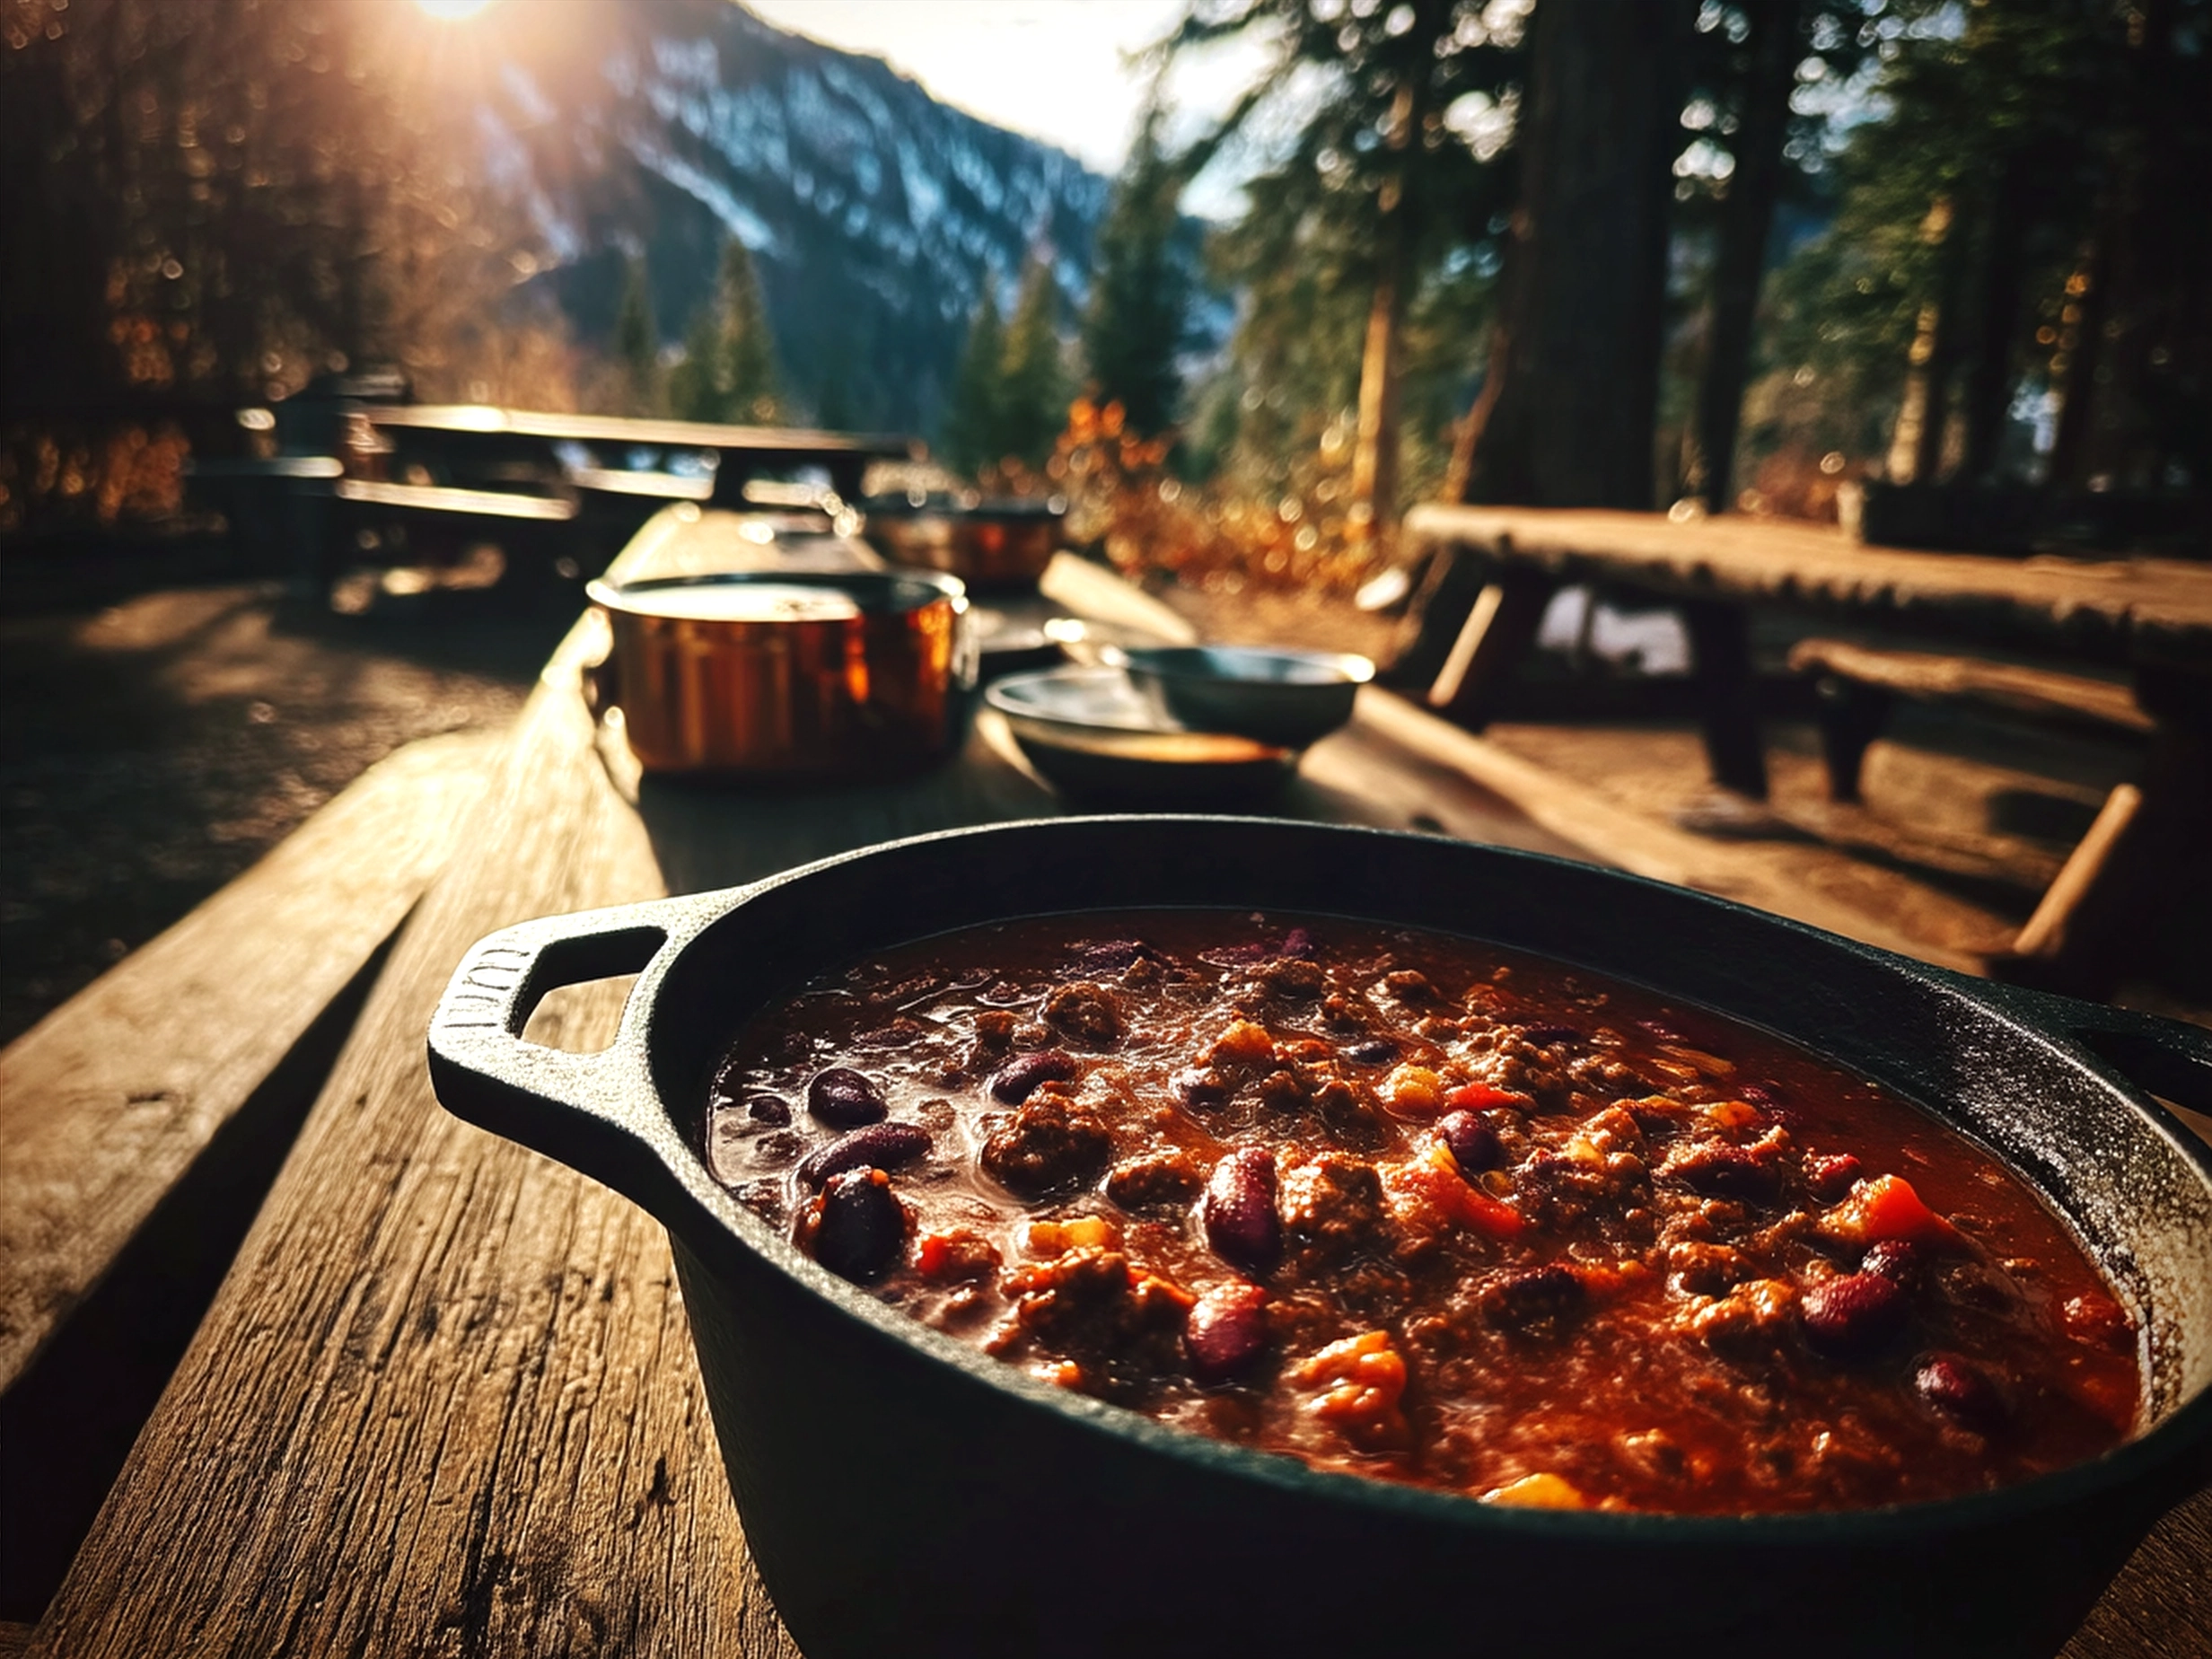
Serve your Dutch Oven Camping Chili straight from the pot, scooping steaming portions into sturdy bowls. The deep, robust red and chunky texture invite hungry campers to dig in. For a true campfire feast, offer cornbread or warm flour tortillas on the side to sop up every spicy drop.
Add fresh toppings like shredded cheddar, dollops of sour cream, chopped green onions, and jalapeño slices for heat and color contrast. Bright cilantro sprigs add a fresh punch that balances the smoky southwest flavors.
Pair your chili with cool drinks—iced lemonade, cold beer, or a crisp cider to refresh your palate after bites of spicy, savory chili. This makes a perfect meal for fall camping trips, backyard fire pit evenings, or anytime you crave comfort with the great outdoors.
Dutch Oven Camping Chili also shines in group settings. Serve buffet-style for friends and family, letting everyone customize their bowls.
For meal prep, leftovers store beautifully and taste even better reheated the next day—a reassuring bonus for long camping weekends or quick home dinners.
FAQs About Dutch Oven Camping Chili
- Q1: Can I make this chili without ground meat?
Absolutely! Double or triple the beans or add textured vegetable protein for a filling vegetarian version. - Q2: How do I avoid burning the chili in the Dutch oven?
Keep the heat moderate. If you’re cooking over coals, move the pot to indirect heat or raise it slightly using a tripod to prevent scorching. - Q3: Can I use dried beans?
Yes, soak them overnight then add them early in cooking to ensure tenderness. - Q4: How do I control the chili’s spiciness?
Adjust cayenne pepper and chili powder quantities. Start smaller and add more after tasting. - Q5: What if I don’t have a Dutch oven?
Heavy cast iron skillets or slow cookers can substitute, but you’ll miss some of that authentic campfire flavor. - Q6: How long will leftovers keep?
Store chili in airtight containers in the fridge for up to 4 days or freeze for up to 3 months. - Q7: Can I prep ingredients at home to save time camping?
Definitely! Chop onions, pre-mix spices, and brown meat in advance. Then just cook and simmer at camp.
Final Thoughts on Dutch Oven Camping Chili
This Dutch Oven Camping Chili is more than a recipe; it’s a ritual connecting you to flavors, family, and fireside memories. Take your time with the seasoning, trust your senses, and embrace the rustic charm of Dutch oven cooking. Try variations like adding a splash of beer, stirring in dark chocolate for depth, or swapping beans for chunks of sweet potato.
Next camping trip, bring this trusty recipe along and watch it spark smiles and full bellies. Your cast iron pot becomes a storyteller, simmering and bubbling slow-cooked magic under the open sky. Happy cooking!
For more hearty and comforting chili ideas, check out my Chili’s Chicken Enchilada Soup Recipe, Turkey Burger Chili, and Butternut Squash and Turkey Chili. Your next indoor or outdoor chili adventure awaits!
For further inspiration on Dutch oven cooking, you might enjoy these mom-friendly resources: Dutch Oven Camping Chili ideas, Campfire Cooking with Dutch Oven Texas Chili, and Dutch Oven Chili with Cornbread Tips.
Dutch Oven Camping Chili

This hearty Dutch Oven Camping Chili is a delicious, smoky stew perfect for outdoor adventures, combining tender meat, beans, and spices cooked to perfection over a campfire.
- Prep Time: 15 minutes
- Cook Time: 60 minutes
- Total Time: 75 minutes
- Yield: 6 servings
- Category: Dinner
- Method: Baked
- Cuisine: American
Ingredients
- 1 lb ground beef
- 1/2 lb smoked sausage, sliced
- 1 medium onion, diced
- 3 cloves garlic, minced
- 1 can (14 oz) diced tomatoes
- 1 can (15 oz) kidney beans, drained and rinsed
- 1 can (15 oz) pinto beans, drained and rinsed
- 2 cups beef broth
- 2 tbsp chili powder
- 1 tsp ground cumin
- 1 tsp smoked paprika
- 1/2 tsp cayenne pepper (optional)
- Salt and black pepper to taste
- 2 tbsp vegetable oil
Instructions
- Heat vegetable oil in a Dutch oven over medium heat.
- Add diced onions and cook until translucent, about 5 minutes.
- Add minced garlic and cook for 1 minute until fragrant.
- Add ground beef and sliced smoked sausage; cook until browned, breaking up the beef with a spoon.
- Stir in chili powder, cumin, smoked paprika, cayenne pepper, salt, and black pepper.
- Add diced tomatoes, kidney beans, pinto beans, and beef broth; stir to combine.
- Bring the chili to a simmer, then reduce heat to low and cover the Dutch oven.
- Cook for 45 minutes to 1 hour over low heat or campfire coals, stirring occasionally.
- Adjust seasoning as needed before serving.
Notes
For an extra smoky flavor, cook chili over hardwood charcoal or add a chipotle pepper in adobo sauce. Serve with shredded cheese and cornbread for a complete meal.