I remember the moment my journey with this Cheesecake Slab truly began. It was during a family gathering when I realized a simple dessert could hold such power in bringing everyone together. The idea of a slab cake—a big, shareable slice—felt just right for our lively get-togethers. My challenge was finding the perfect balance of flavors to suit every family member. It was a kitchen adventure, trying to marry that rich, creamy texture with just the right touch of sweetness and spice.
What surprised me most was how this Cheesecake Slab sparked conversations across the dinner table. The kids loved its smooth cream cheese slab cake layers, while the grown-ups appreciated that subtle hint of vanilla and a hint of zesty lemon. It soon became our go-to dessert when we wanted something effortless yet full of authentic flavor.
Through this cooking journey, I learned that a no-bake cheesecake slab could be straightforward without sacrificing any soul. The result? A crowd-pleasing layered cheesecake slab that felt homemade, genuine, and just right for all kinds of family gatherings.
If you’re a fellow flavor seeker looking to create this charming Cheesecake Slab dessert in your kitchen, this guide is for you! Let’s share the simple secrets and flavor-building wisdom I discovered, so you can make your own authentic family favorite.
Ingredients You’ll Need:
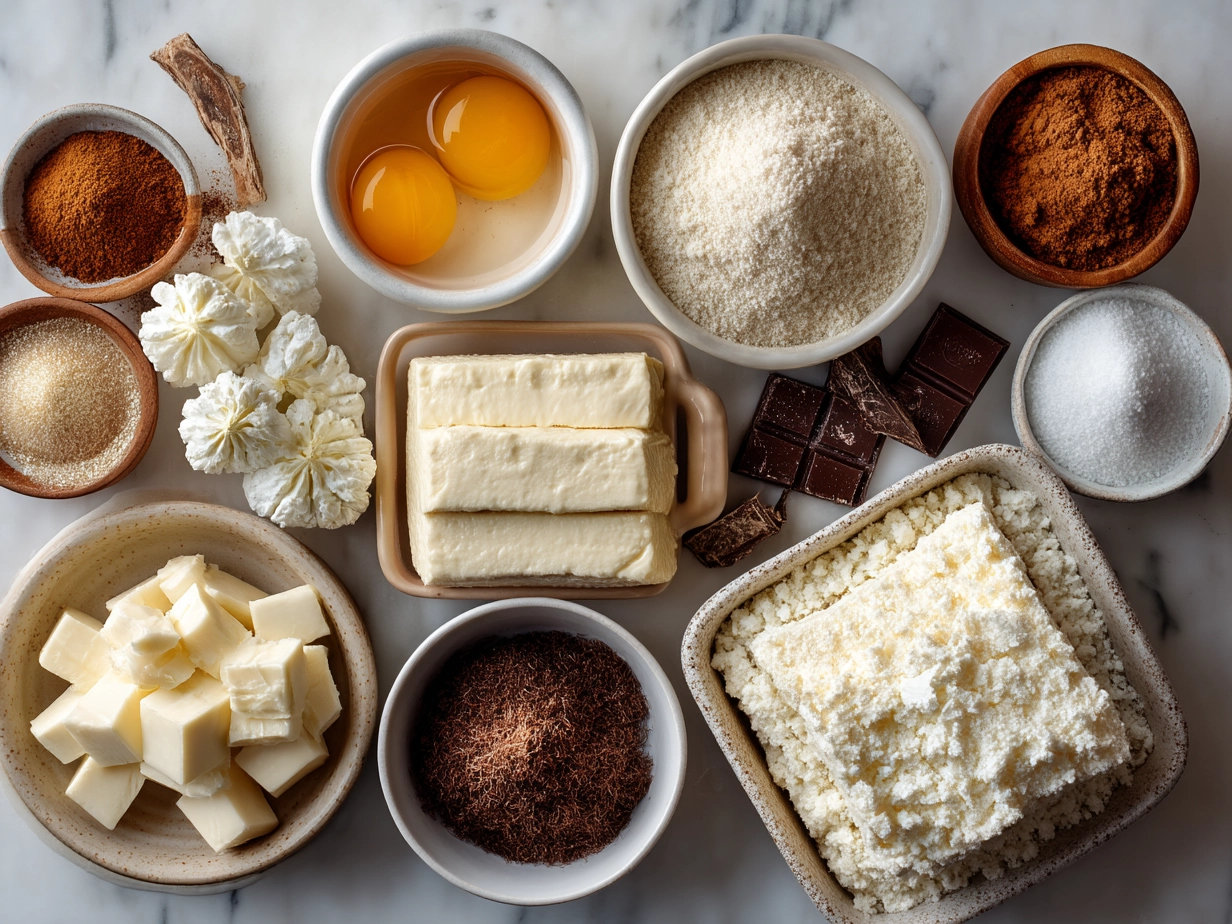
For this Cheesecake Slab, quality ingredients are key to developing authentic flavor without fuss. Here’s what I trust:
- 500g full-fat cream cheese (room temperature for smooth blending)
- 300ml thickened cream (fresh cream adds richness and lightness)
- 1 cup (200g) caster sugar (balances the tang of cream cheese)
- 1 tsp vanilla extract (choose pure for the best aroma)
- 1 tbsp lemon juice (freshly squeezed lemon juice brings brightness)
- 250g digestive biscuits or graham crackers (crumbled finely for the base)
- 125g unsalted butter (melted, helps bind the base perfectly)
- Optional topping: fresh berries or passionfruit pulp
For the best flavor in your Cheesecake Slab, I recommend sourcing your cream cheese from a local dairy farm or high-quality store brand known for creamy texture. The difference in taste and melt-factor is noticeable in the final cream cheese slab cake.
When it comes to spices, even this no-bake cheesecake slab benefits from a small pinch of cinnamon in the crumb base for warmth and depth. You’ll find the freshest biscuits and cream at farmers’ markets or your trusted grocer, which always improves the flavor impact.
This Cheesecake Slab recipe shows that authentic flavor comes from thoughtful ingredient choices, not complicated steps. My family loves it when I add a splash of lemon juice—it wakes up the cream cheese layers beautifully.
Let’s Create This Together!
Ready for some kitchen adventures? Making this Cheesecake Slab is easier than you might think. Here’s how I do it, step-by-step.
- Prepare the Base: Start by finely crushing your digestive biscuits until they are almost powdery. I like to do this in a sturdy plastic bag with a rolling pin—simple and mess-free. Mix in the melted butter and a pinch of cinnamon if you’re using it. Press this mixture firmly into a lined rectangular pan to form an even base for your cheesecake slab.
- Whip the Cream: In a large bowl, whip your thickened cream to soft peaks. It’s important not to overbeat here; you want the cream fluffy but not stiff. This will give your no-bake cheesecake slab that light texture.
- Blend the Cream Cheese Mixture: In a separate bowl, combine room temperature cream cheese, caster sugar, lemon juice, and vanilla extract. Beat gently until smooth and creamy. This cream cheese slab cake batter forms the heart of your dessert, so take your time creating a lump-free mix.
- Fold Together: Carefully fold the whipped cream into the cream cheese mixture, using a spatula with slow, gentle motions. This folding keeps the air in, giving the layered cheesecake slab its delicate lightness.
- Layer and Chill: Pour your cream cheese mixture over the biscuit base, spreading it evenly with a spatula. Smooth the top, cover with cling wrap, and refrigerate for at least 4 hours—overnight is best. This chilling allows flavors to meld and sets the cheesecake slab dessert perfectly.
By this point, your kitchen should be filling with the rich, tangy aroma of your cheesecake slab, promising a real flavor victory to come.
For extra kitchen wisdom, take a peek at this no-bake classic Woolworth cheesecake guide which helped refine my technique in keeping the slab cake just right.
How We Love to Enjoy This!
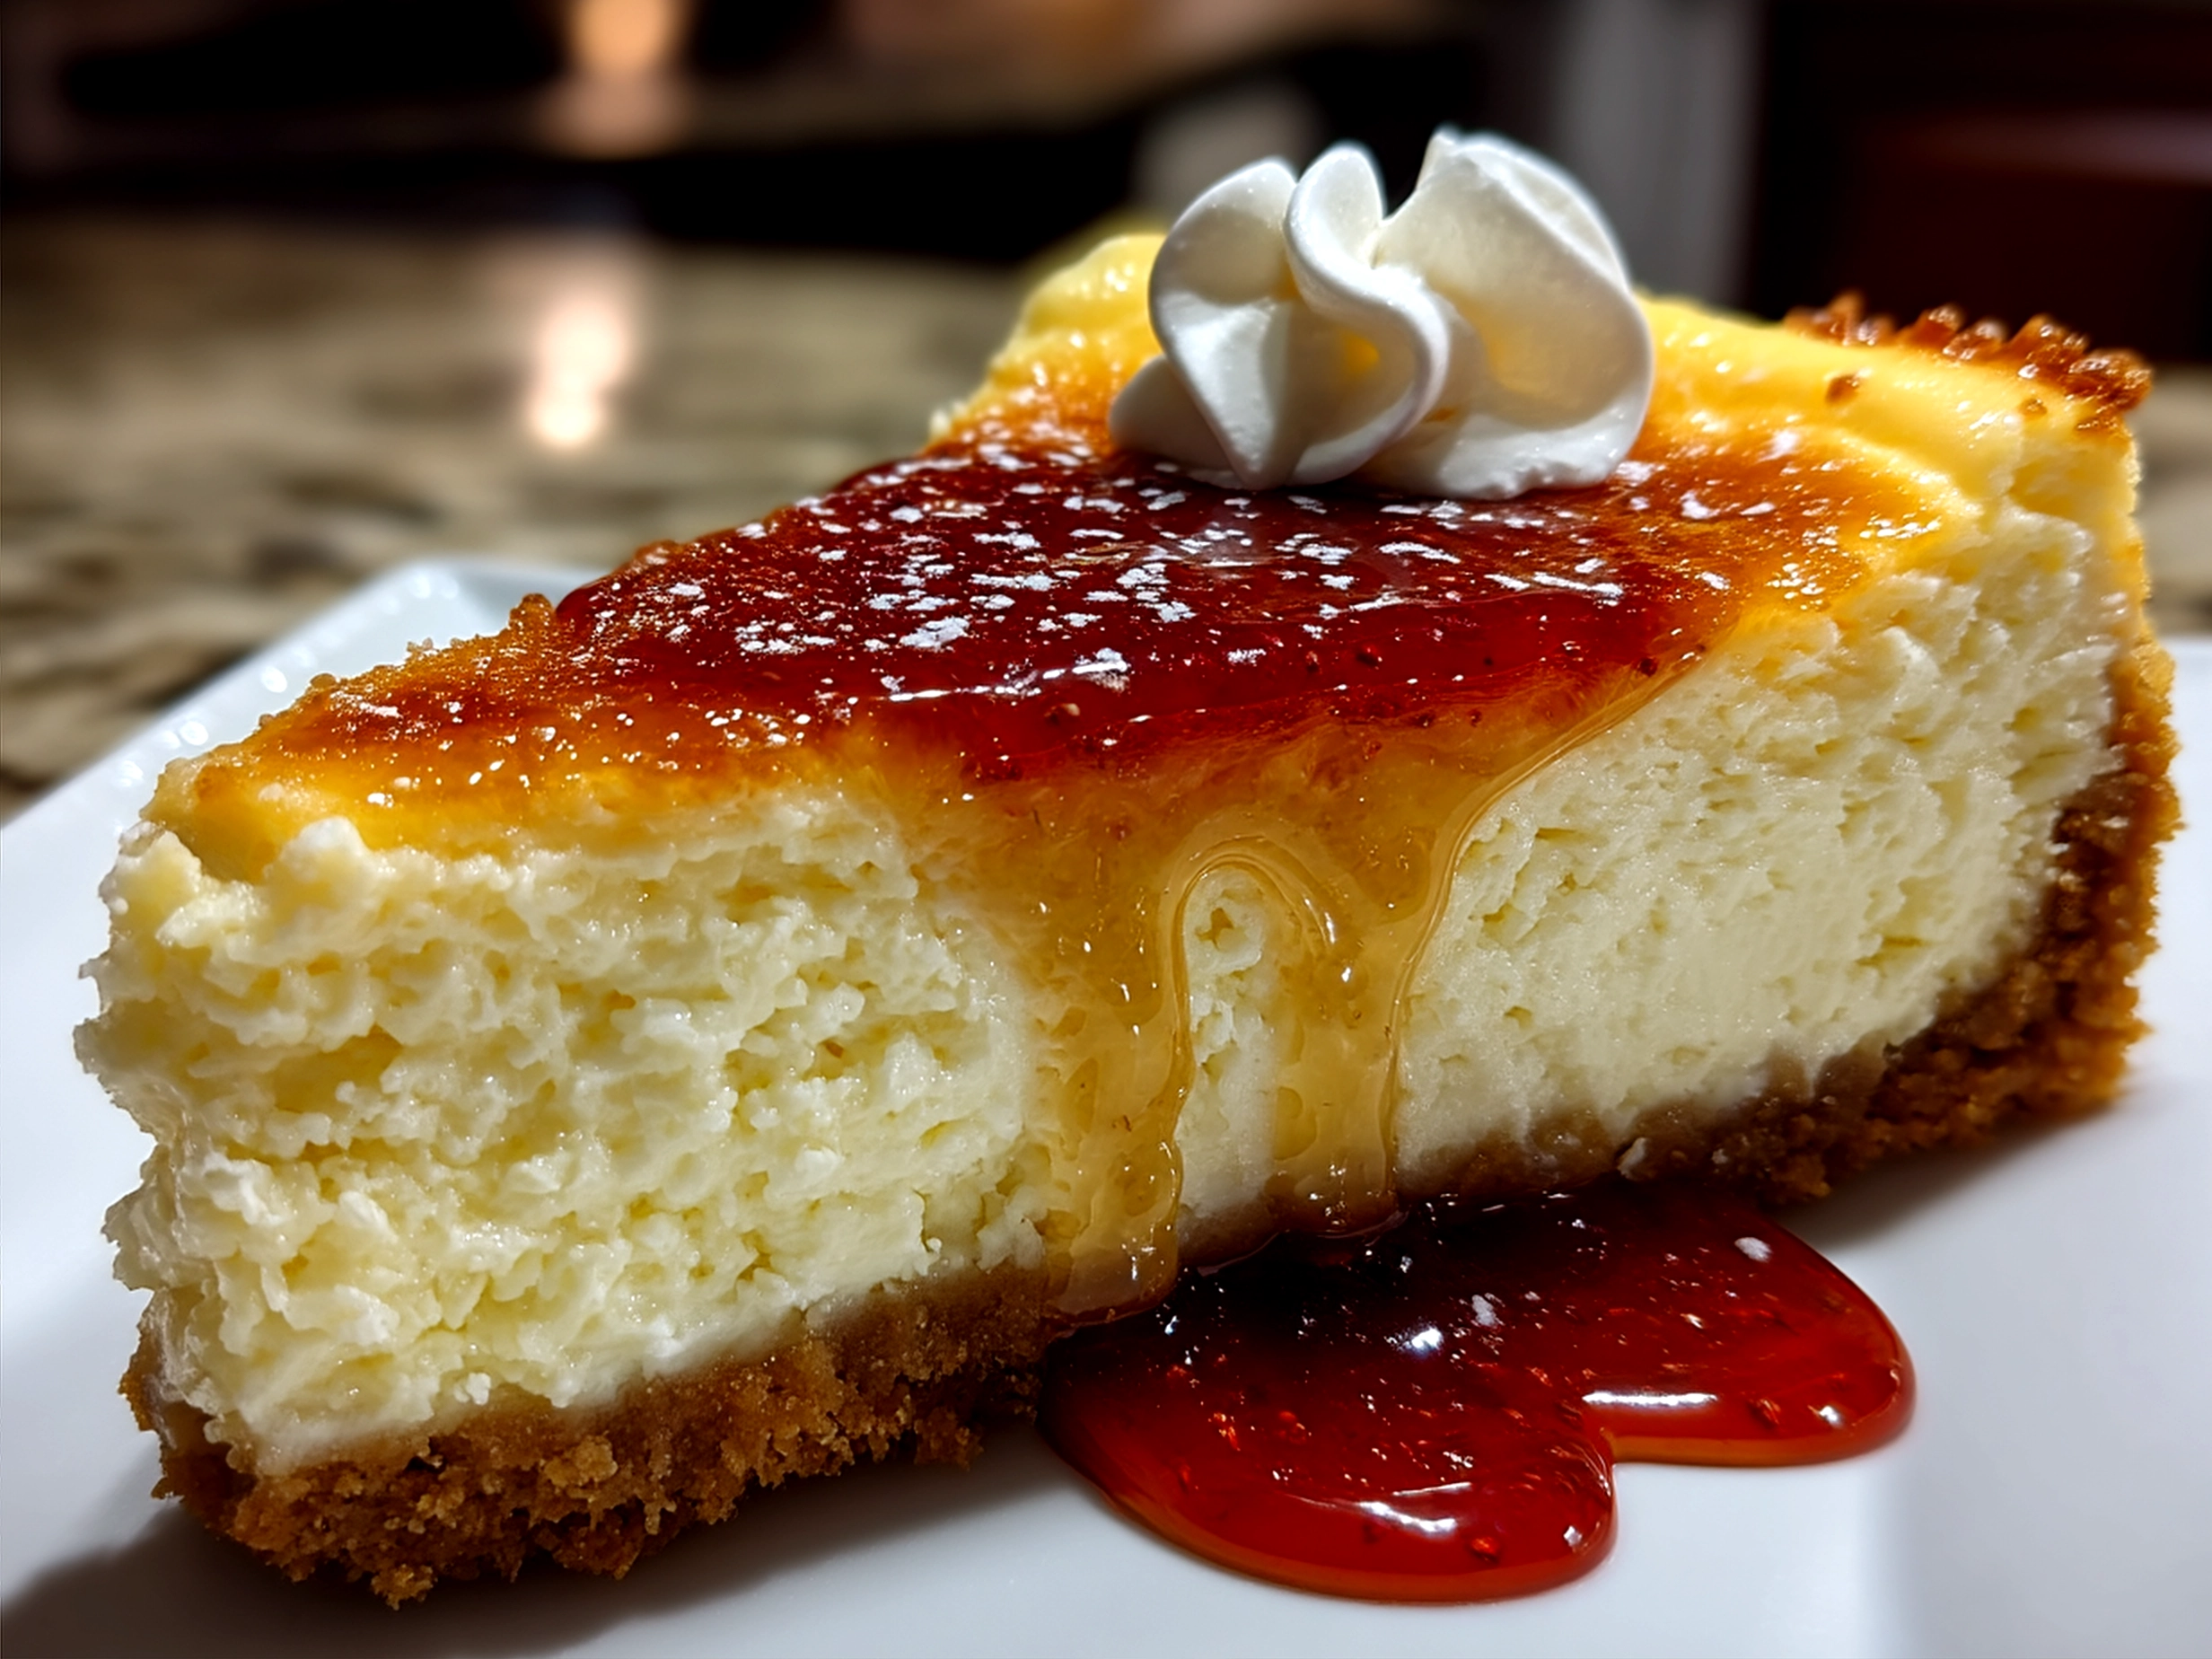
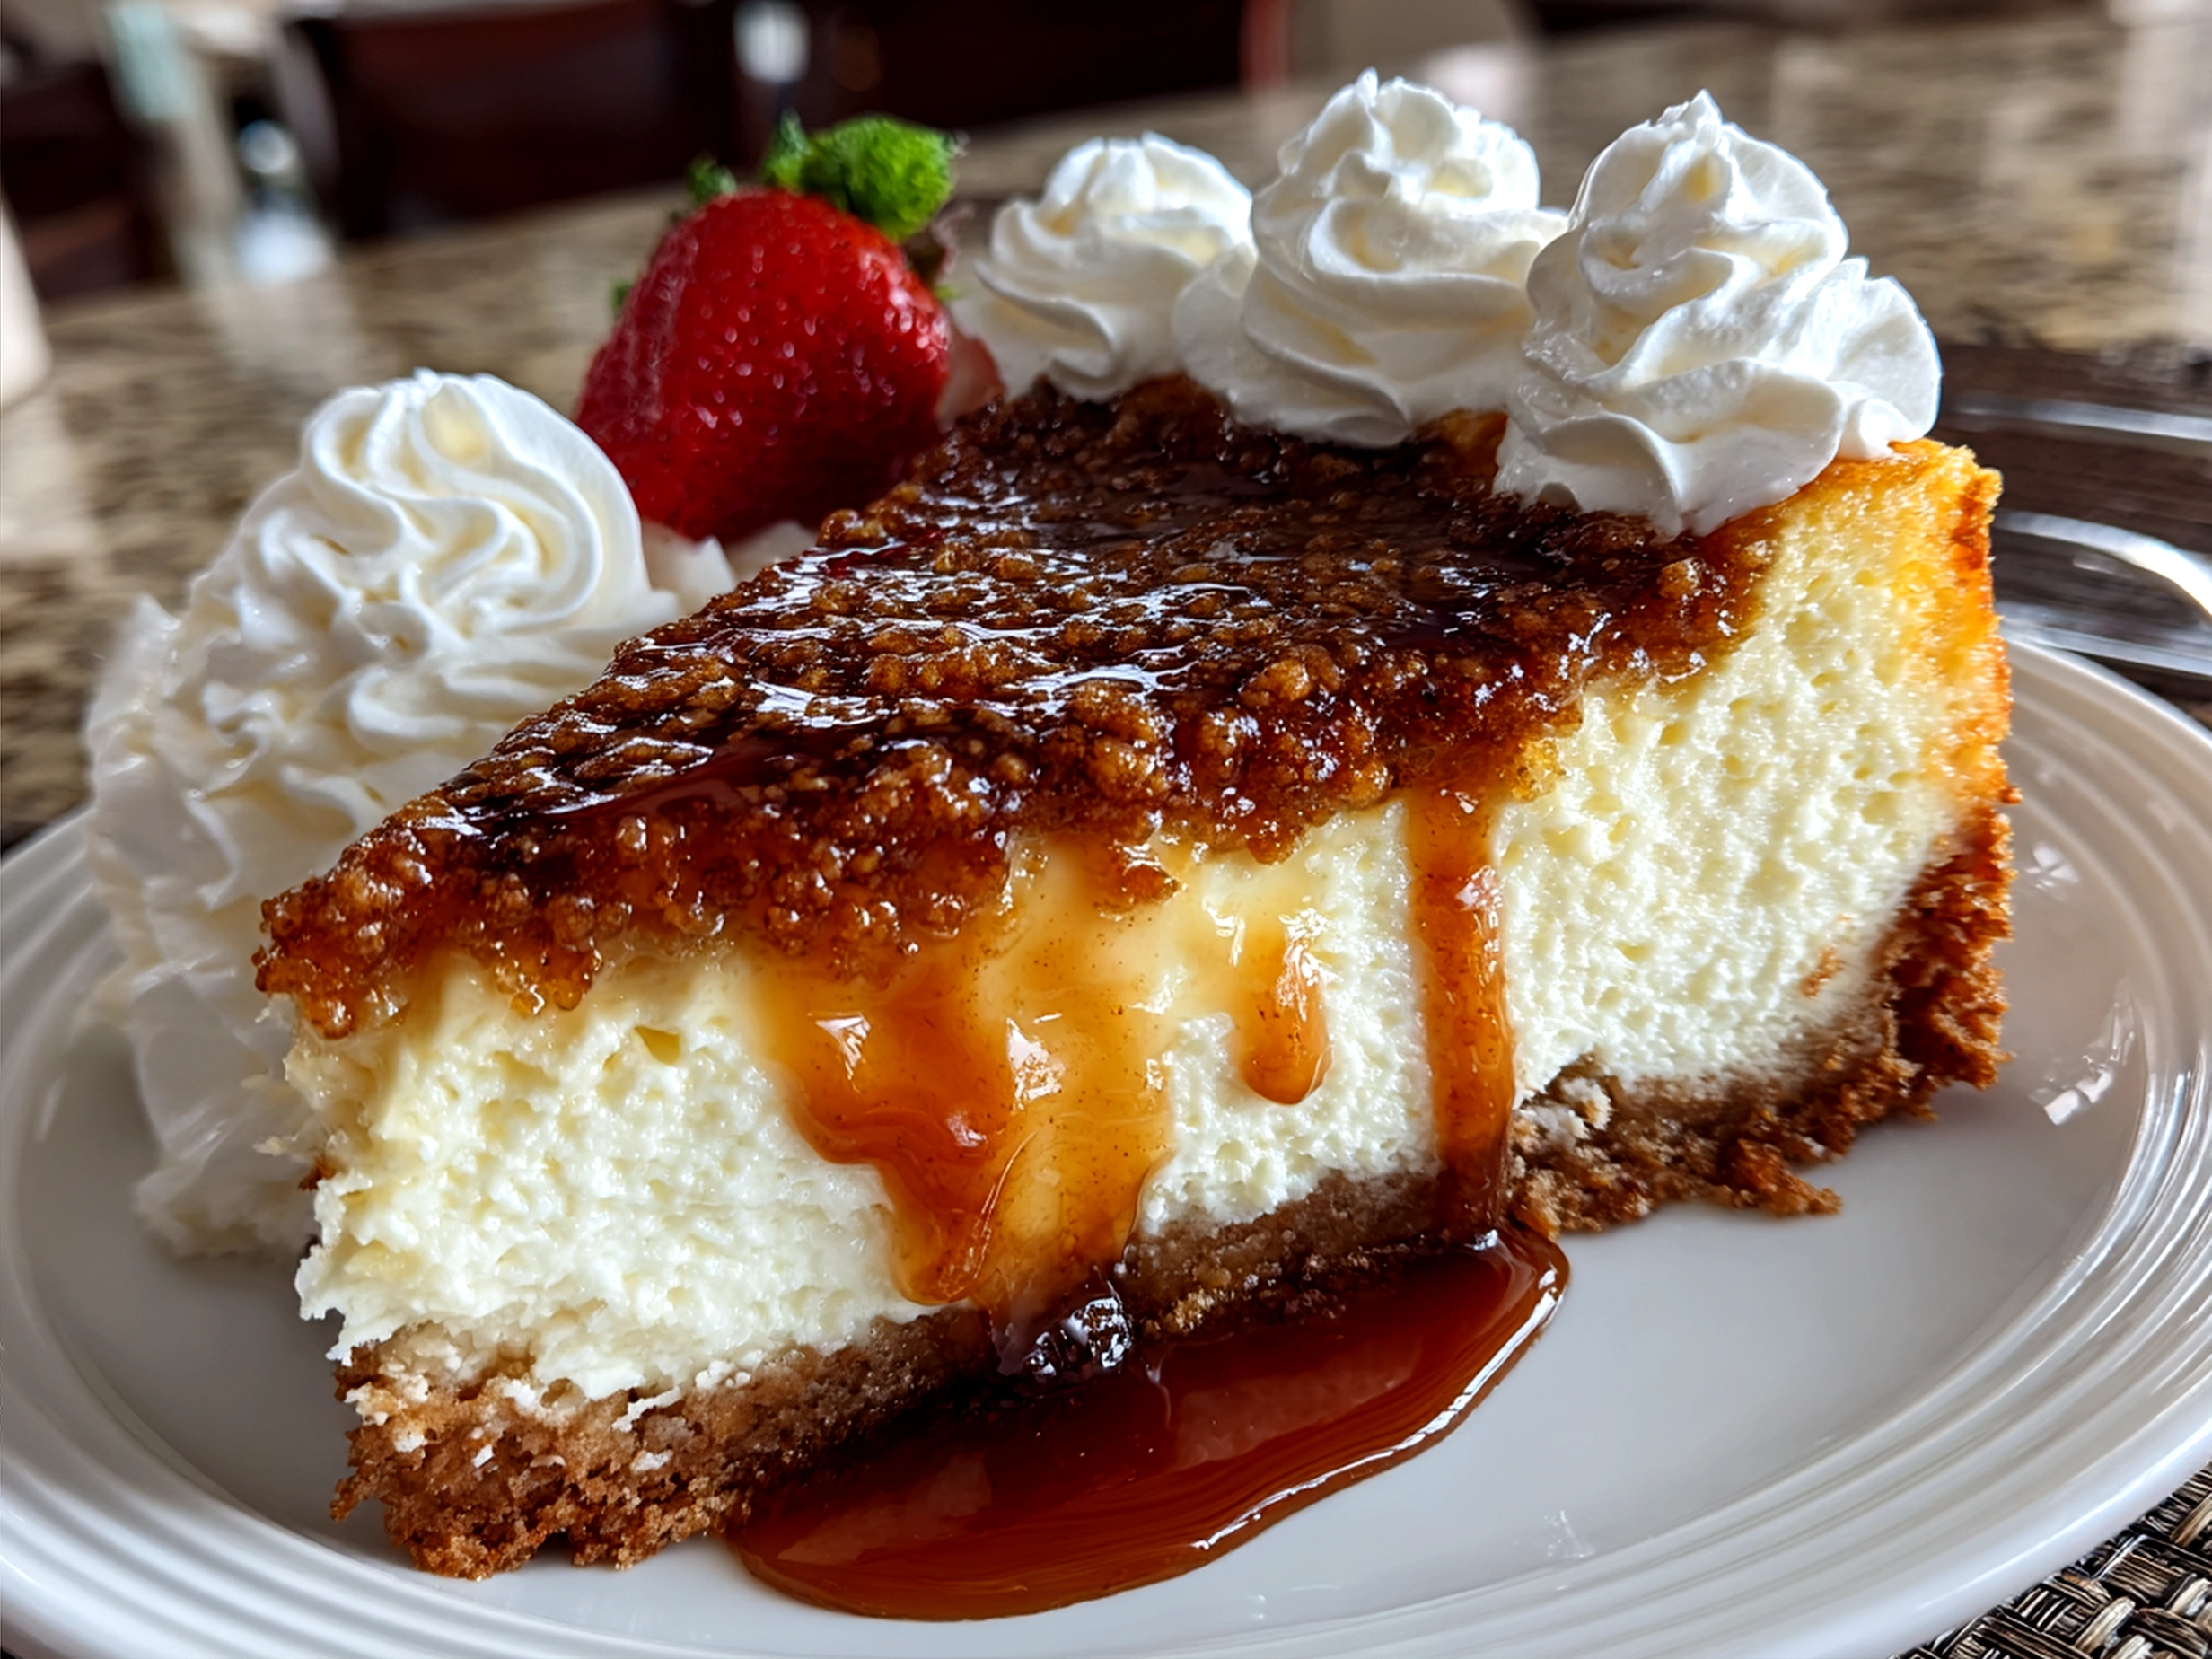
This Cheesecake Slab turns any family gathering into something special. The first time I served it with fresh berries and a drizzle of passionfruit pulp, my family’s eyes lit up. The natural tartness complements the creamy, sweet slab, making it a perfect summer dessert.
We often serve this cheesecake slab dessert alongside a cup of strong coffee or a lightly brewed tea. The creamy texture pairs perfectly with warm beverages, creating a cozy finish to the meal.
For holidays or casual get-togethers, this cheesecake slab is a crowd-pleaser because it’s easy to slice and serve, making it ideal for sharing.
Sometimes, I cut leftovers into smaller squares and freeze them for midday treats when the kids need a pick-me-up. They thaw quickly and keep their smooth texture, which feels like a win in my busy kitchen.
I’ve also tried layering this slab cake recipe with thin layers of raspberry jam between the biscuit crust and cream cheese slab. This layered cheesecake slab variation adds a fruity punch that guests have raved about—definitely worth the extra step!
Pro tip: For a festive touch, lightly dust with edible rose petals or crushed pistachios right before serving. It not only looks beautiful but highlights those authentic flavors beautifully.
If your family enjoys this, you might also like this brown butter cheesecake, which shares that same rich cream cheese magic but with a nutty twist.
FAQs: Your Questions Answered
Does this Cheesecake Slab satisfy hearty appetites?
Absolutely! The creamy layers and biscuit base create a filling dessert that leaves everyone content. My big eaters often ask for seconds, which tells you how well it stands up to hungry family members.
What if someone prefers milder flavors in their Cheesecake Slab?
You can easily decrease the lemon juice or vanilla to keep the slab cake more neutral. Another trick is folding in a little extra whipped cream to soften the tang without losing creaminess. My niece prefers it this way, and it still tastes fantastic.
Can I prepare the Cheesecake Slab ahead of time?
Definitely. This no-bake cheesecake slab benefits from chilling overnight. It saves time on busy weeks and enhances the flavors. Just cover it well so it doesn’t absorb fridge odors.
What’s the best pan size for making this Cheesecake Slab?
I use a rectangular slab pan roughly 25×35 cm, but you can find helpful ideas for pans in this rectangle shape cheesecake pan discussion.
Are there easy variations for flavor?
Yes! Adding a swirl of passionfruit or raspberry between the layers works wonderfully. I’ve also tried dusting cinnamon on top before chilling for a cozy note.
Is this Cheesecake Slab gluten-free?
If you swap the digestive biscuits for gluten-free crumbly biscuits, yes! The cream cheese slab cake layers stay the same, preserving flavor and texture.
How do I keep the biscuit base from getting soggy?
Press it firmly and chill the base before adding the cream cheese mixture. Also, avoid over-wetting the cream cheese layers. These little flavor-building steps keep the no-bake cheesecake slab fresh and crisp.
If you want a helpful no-bake recipe for inspiration, this Easy No-Bake Cheesecake Recipe from Serious Eats offers nice insight into technique.
Final Kitchen Wisdom:
This Cheesecake Slab stands out in my kitchen because it supports what I want most: authentic meals that bring my family together with simple flavors and straightforward prep. It’s proof you don’t need complicated or fancy to impress your loved ones.
My Cheesecake Slab Flavor Secrets:
1. Use fresh lemon juice—it brightens the cream cheese slab cake layers in a way nothing else does.
2. Whip your cream to soft peaks only; air is your ally in keeping the texture light.
3. Press your biscuit base firmly and chill before layering—small step, big difference!
My family’s favorite variations include a passionfruit-top cheesecake slab, a cinnamon-touched base, and a layered cheesecake slab with raspberry jam. My kids love the sweeter, fruity versions, while my husband favors the classic cream cheese slab cake richness.
I encourage you to make this Cheesecake Slab your own. Play with flavors, toppings, and textures to match your family’s tastes. I’m hopeful this becomes a dessert that sparks the same warmth and connection in your kitchen as it did in mine.
Ready for more cheesecake inspiration? Try Sugar Cookie Cheesecake Delight next for a festive twist your guests will adore!
Here’s to many flavor victories and joyful family moments with your Cheesecake Slab dessert. Keep cooking with heart!
Cheesecake Slab
This creamy and indulgent Cheesecake Slab offers a rich, smooth texture with a buttery graham cracker crust, perfect for sharing at any gathering or celebration.
- Prep Time: 20 minutes
- Cook Time: 60 minutes
- Total Time: 5 hours 20 minutes
- Yield: 12 servings
- Category: Dessert
- Method: Baked
- Cuisine: American
Ingredients
- 2 ½ cups graham cracker crumbs
- ½ cup unsalted butter, melted
- ¼ cup granulated sugar
- 4 packages (8 oz each) cream cheese, softened
- 1 ¼ cups granulated sugar
- 1 teaspoon vanilla extract
- 4 large eggs
- 1 cup sour cream
- 2 tablespoons all-purpose flour
Instructions
- Preheat the oven to 325°F (160°C). Line a 9×13-inch baking pan with parchment paper, leaving overhang for easy removal.
- In a medium bowl, combine graham cracker crumbs, melted butter, and ¼ cup sugar until evenly moistened. Press the mixture firmly into the bottom of the prepared pan to form the crust.
- Bake the crust for 10 minutes, then remove from the oven and set aside to cool slightly.
- In a large bowl, beat cream cheese with an electric mixer until smooth. Gradually add 1 ¼ cups sugar and vanilla extract, beating until creamy.
- Add eggs one at a time, mixing just until combined after each addition. Avoid overmixing.
- Mix in sour cream and flour until fully incorporated.
- Pour the cheesecake batter over the baked crust and spread evenly.
- Bake for 55-60 minutes or until the center is almost set but still slightly jiggly.
- Turn off the oven, crack the door open, and let the cheesecake cool inside for 1 hour.
- Remove from oven, chill in refrigerator for at least 4 hours or overnight to set completely before slicing into slabs.
Notes
For an extra touch, top the cheesecake slab with fresh berries or a drizzle of fruit compote before serving.