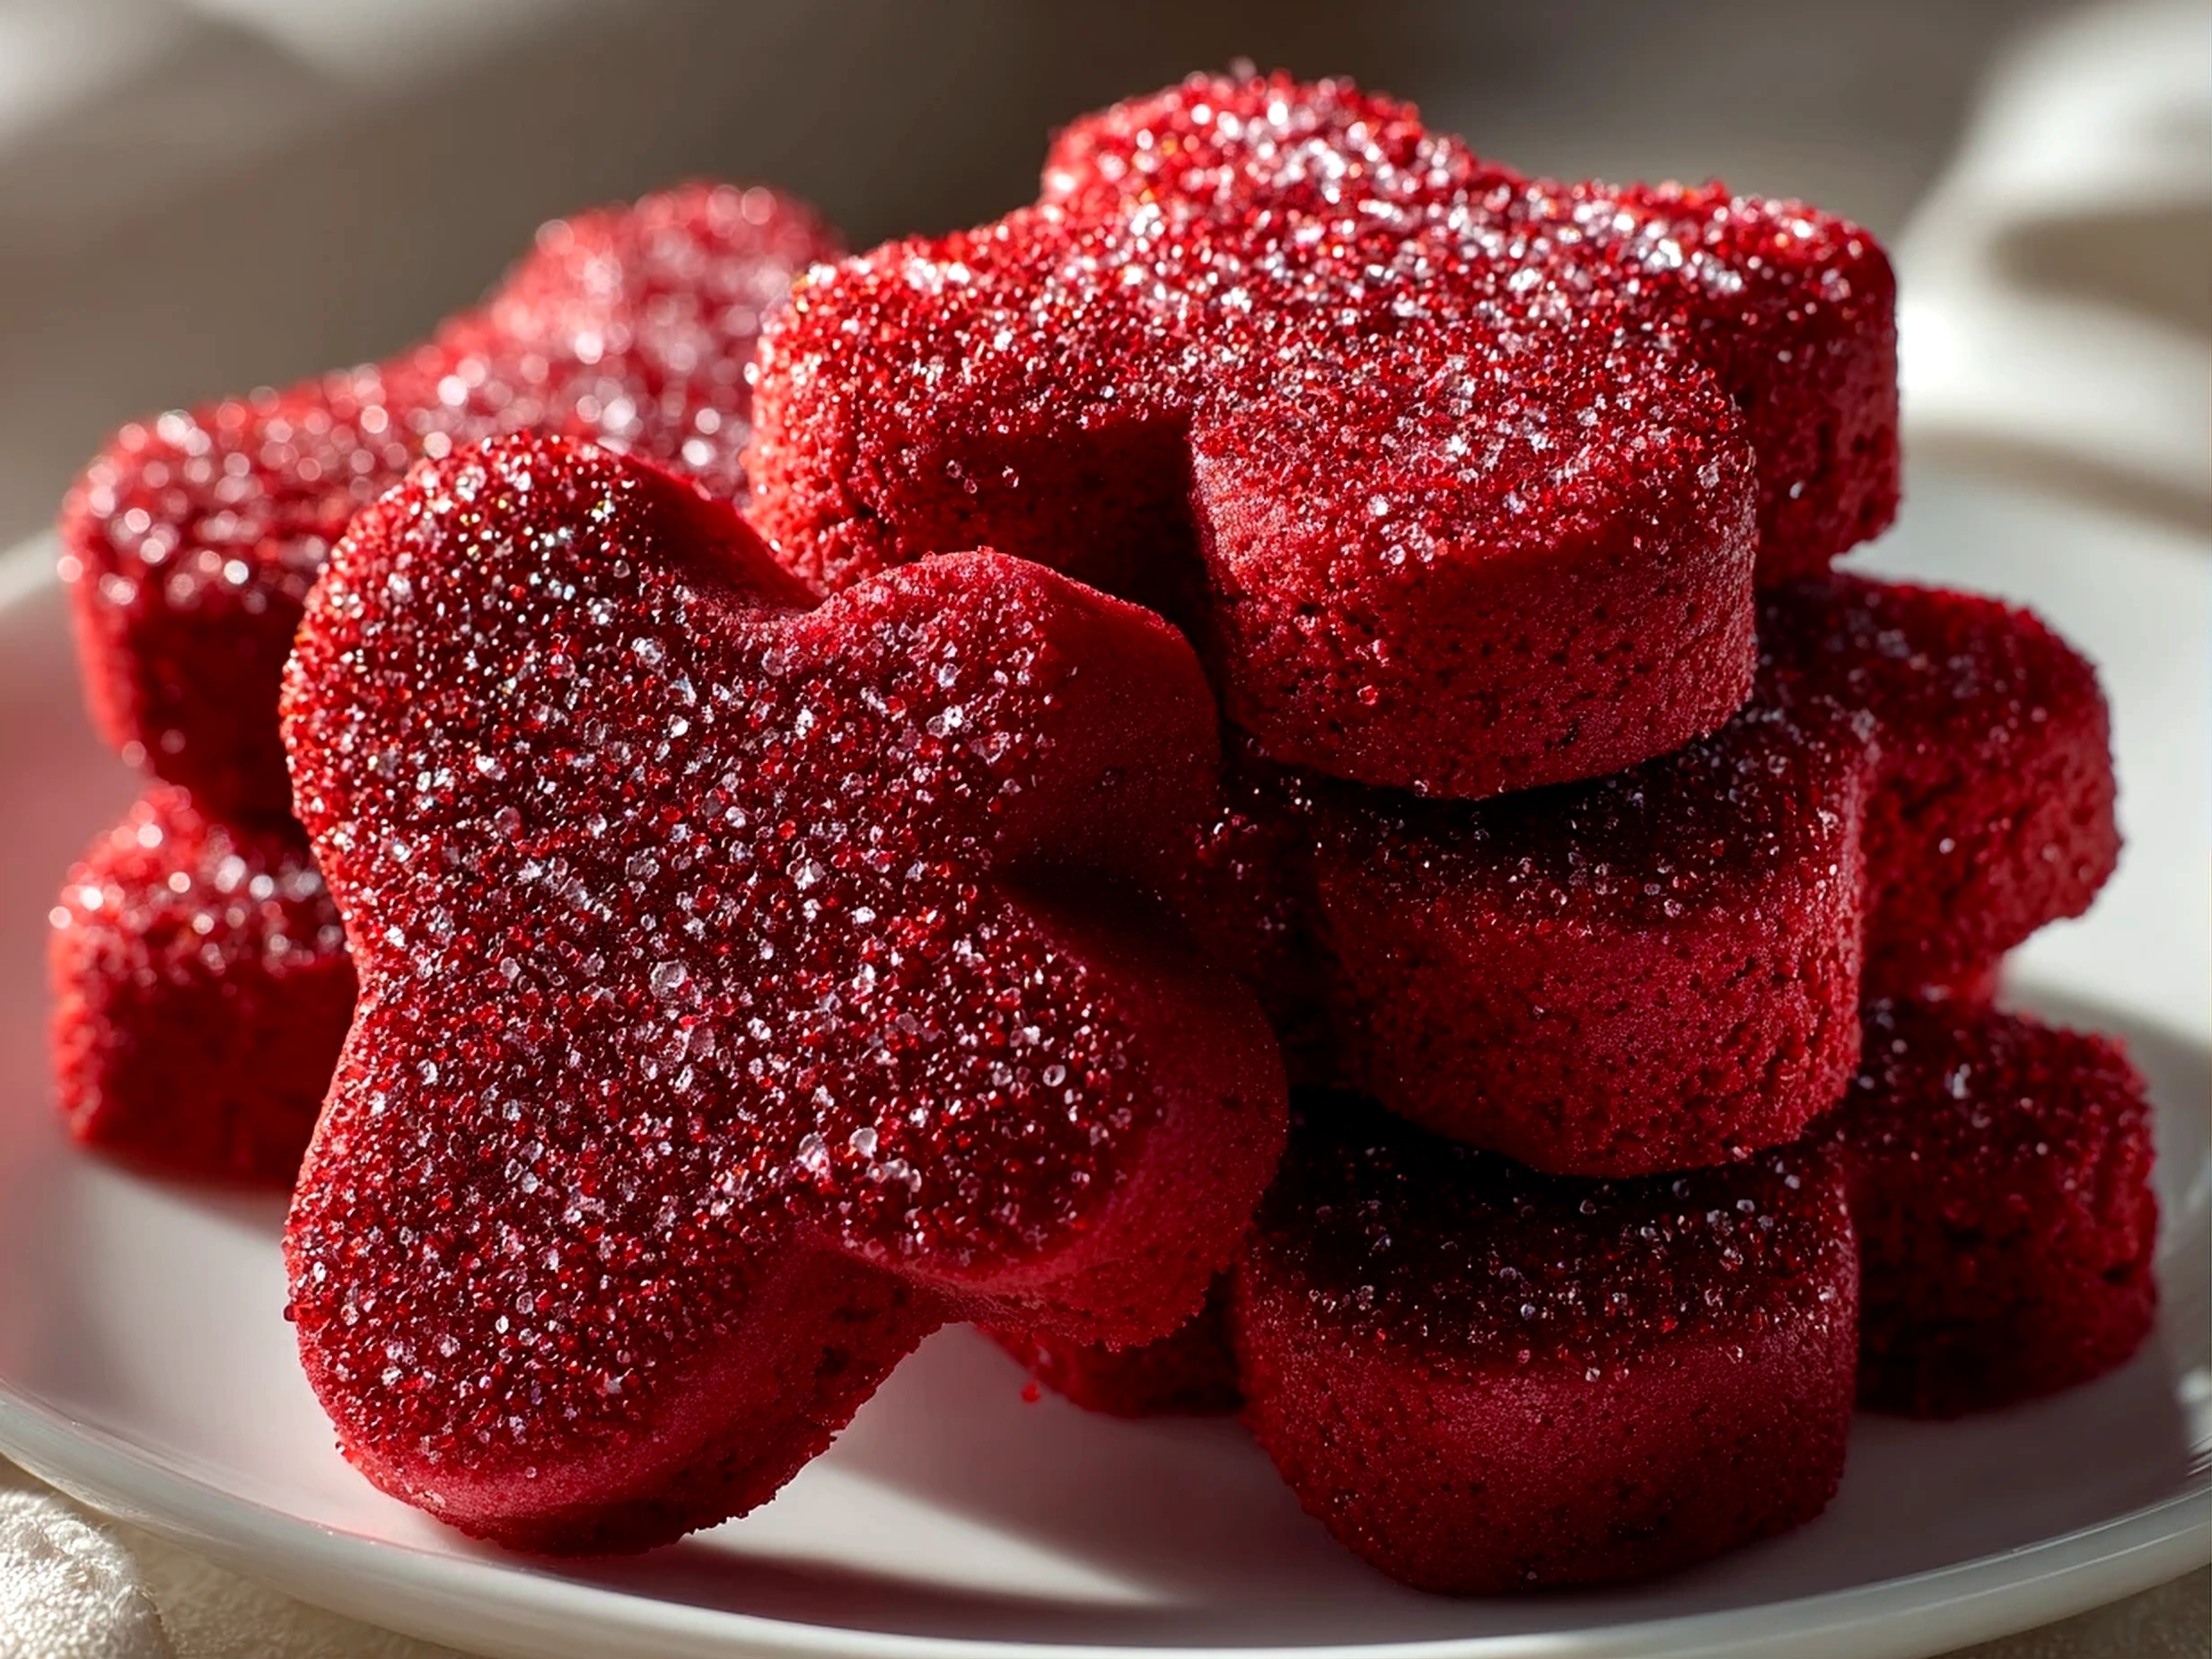
Whenever I first baked these Red Velvet Bear Cookies, my kitchen was filled with the kind of warmth that only comes from recipes that quickly become family favorites. Right from that initial bite, my little ones couldn’t stop talking about the buttery red velvet dough and the soft cream cheese frosting cookies that coated each bear-shaped cookie with just the right touch of sweetness. This Red Velvet Bear Cookies recipe is more than just a sweet treat—it’s the connection point where authentic flavor meets kitchen memories with my family.
My journey with these Red Velvet Bear Cookies began when I was trying to find a Valentine’s Day treat that felt both special and real. I wanted the flavors to speak for themselves without relying on complicated steps or store-bought shortcuts. The buttery red velvet dough has a gentle cocoa richness mixed with just a hint of tanginess that pairs perfectly with the cream cheese frosting cookies topping. It took several kitchen adventures to find the right balance so everyone at home would smile with each bite.
What surprised me most was how these bear-shaped cookies turned into a little family tradition, especially during holiday gatherings and casual weekend bake-offs. They’re charming yet inviting — something that feels made with love and can be shared as an authentic connection between loved ones. If you’re a fellow flavor seeker aiming to create soul-satisfying, quality meals and treats alike, this Red Velvet Bear Cookies recipe is a simple pleasure worth making your own.
Ingredients You’ll Need:
Quality ingredients make all the difference in your Red Velvet Bear Cookies. I always recommend sourcing your cocoa powder from a trusted brand with deep, rich flavor, and fresh cream cheese straight from your local dairy or farmer’s market for that creamy frosting goodness. For the best flavor in your Red Velvet Bear Cookies, organic unsalted butter melts smoother and gives the dough a lovely richness that your family will taste right away.
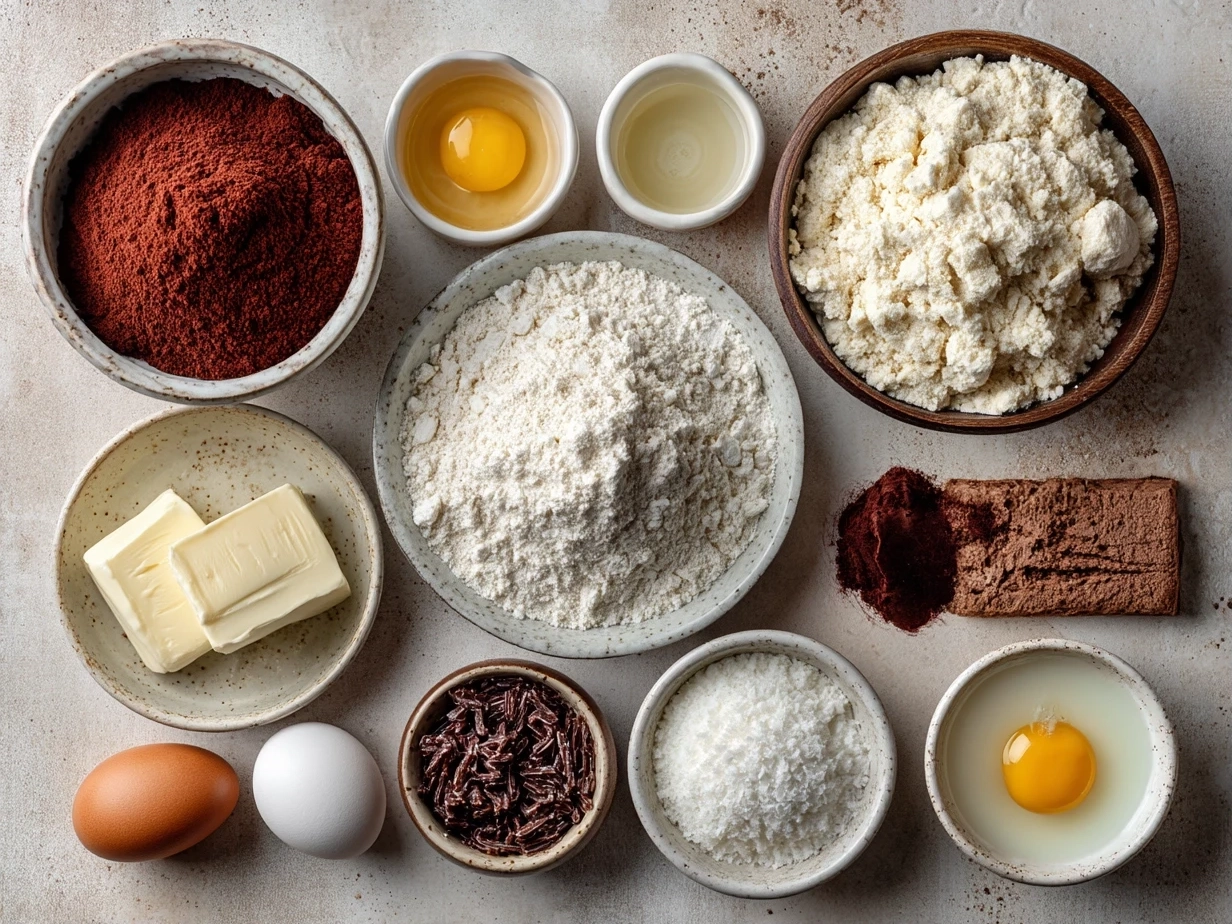
- 1 cup unsalted butter, softened (choose grass-fed for the best buttery notes)
- 1 1/4 cups granulated sugar
- 2 large eggs, at room temperature
- 2 teaspoons vanilla extract (freshly extracted if possible)
- 2 1/2 cups all-purpose flour, sifted
- 1/4 cup unsweetened cocoa powder (high-quality Dutch processed works wonders)
- 1 teaspoon baking soda
- 1/2 teaspoon salt
- 2 tablespoons red food coloring (natural alternatives like beet juice powder are a lovely option!)
- 1 cup cream cheese, softened (for the frosting)
- 1/2 cup powdered sugar (adjust sweetness to your liking)
- 1 teaspoon fresh lemon juice (brightens cream cheese frosting cookies beautifully)
This Red Velvet Bear Cookies recipe proves that authentic flavor comes from thoughtful ingredient choices, not buying into shortcuts. You’ll find the freshest ingredients for this Red Velvet Bear Cookies at your local markets or specialty baking shops. Preparing your ingredients beforehand—especially softening butter and cream cheese to the right temperature—makes all the difference when working with buttery red velvet dough. My family loves when I add a little extra vanilla in both dough and frosting; it gives a background warmth that really brings the Red Velvet Bear Cookies to life.
Let’s Create This Together!
1. Preheat your oven to 350 degrees Fahrenheit. Line your baking sheets with parchment paper or silicone mats to keep your Red Velvet Bear Cookies perfectly tender and easy to remove.
2. In a large mixing bowl, cream the softened butter and sugar until fluffy and light. This step is crucial. Take your time; this is where flavor and texture start to build in your Red Velvet Bear Cookies.
3. Beat in the eggs one at a time, followed by the vanilla extract and red food coloring. Your dough should begin to turn that beautiful, vibrant red that tells you these bear-shaped cookies will have that signature appeal.
4. In a separate bowl, whisk together the flour, cocoa powder, baking soda, and salt. Slowly blend this dry mix into your wet ingredients. This buttery red velvet dough has to come together gently without overmixing—not too sticky but still soft to the touch.
5. Once your dough is ready, chill it in the refrigerator for at least 30 minutes. This step helps the Red Velvet Bear Cookies hold their shape while baking.
6. Roll out chilled dough on a floured surface to about 1/4 inch thick. Using a bear-shaped cookie cutter, carefully press out your bear-shaped cookies and place them onto your prepared baking sheets. Watch how the dough holds its color; these Red Velvet Bear Cookies fill your kitchen with that unmistakable cocoa and butter aroma.
7. Bake for 10 to 12 minutes. You’ll know they’re done when edges are just set but centers stay soft—a perfect balance for these tender Red Velvet Bear Cookies.
8. Let the cookies cool on the tray for a few minutes before transferring them to a wire rack. Cooling is vital to avoid frosting melting into the cookie.
9. For the cream cheese frosting cookies topping, whip together your softened cream cheese, powdered sugar, and lemon juice until smooth and fluffy. Spread generously once the cookies are fully cooled.
10. Assemble and enjoy that satisfying Red Velvet Bear Cookies flavor! Your kitchen adventure is rewarded with the perfect balance of soft dough and creamy frosting.
I’ve noticed with this Red Velvet Bear Cookies recipe, patience in chilling and gentle mixing makes all the difference. Don’t rush these steps, and you’ll end up with bear-shaped cookies that are as pretty as they are delicious. If you want to try a nearby flavor, check out my frosted heart sugar cookies for a Valentine’s Day treat that’s equally delightful and easy to make.
How We Love to Enjoy This!

Our family gathers quickly when a plate of these Red Velvet Bear Cookies appears on the table. The buttery red velvet dough paired with the tangy cream cheese frosting cookies balances sweetness with authentic depth, perfect for afternoon tea or after-school snacks.
These cookies shine especially on Valentine’s Day treats. Kids love the playful bear shapes, and adults appreciate the nostalgic cocoa richness. We often serve these alongside a cup of warm milk or your favorite black tea. To mix things up, I sometimes pair these with small batches of homemade ice cream; gummy bears or cinnamon hearts topping can add a fun twist—my family loves this playful pairing inspired by this or that tasty topping idea.
Leftovers? Don’t toss them! Turn your Red Velvet Bear Cookies into sandwich cookies by spreading extra cream cheese frosting cookies between two bears, or crumble them into yogurt for a special treat. During holiday seasons, adding festive-colored sprinkles or swapping the bear cookie cutter with themed shapes like hearts (similar to my heart-shaped chocolate chip cookies) keeps things fresh and fun.
Guest reactions? Always glowing. I remember once bringing a batch to a neighbor’s Christmas party—seeing everyone’s faces light up felt like a true flavor victory. It’s proof this uncomplicated, buttery red velvet dough carries remarkable, genuine warmth.
FAQs: Your Questions Answered
Q: Does this Red Velvet Bear Cookies really satisfy hearty appetites?
A: Absolutely. The rich buttery red velvet dough combined with the cream cheese frosting cookies gives enough substance to satisfy even the biggest sweet tooth. I find serving them along with a small protein-rich snack, like nuts or cheese cubes, rounds out the experience.
Q: What if someone in my family prefers milder flavors in their Red Velvet Bear Cookies?
A: Great question! You can dial down the cocoa powder slightly or reduce the cream cheese frosting cookies’ lemon juice to soften the tang without losing the signature taste. My youngest enjoys a version with less frosting and more subtle red velvet flavor—everyone’s happy!
Q: How can I prepare this Red Velvet Bear Cookies ahead for busy weeks?
A: You can make the buttery red velvet dough up to two days in advance and keep it wrapped tightly in the fridge. Bake fresh when ready for that perfect soft texture. The cream cheese frosting cookies are best made the same day or within 24 hours and stored in an airtight container.
Q: Can I substitute the red food coloring with something natural?
A: Definitely! Beet juice powder or pomegranate juice concentrate works well and adds a gentle red tint without flavor interference. Experimenting with natural colors brings fun flavor-building wisdom to your kitchen adventures.
Q: What makes the cream cheese frosting cookies so important here?
A: The cream cheese frosting cookies add a luscious tang and creaminess that balances the sweet, buttery red velvet dough. Without it, the Red Velvet Bear Cookies miss their signature soft, moist feel. My family insists on this element every time!
Q: Where did you find the bear-shaped cookie cutters?
A: Local craft and kitchen stores usually carry bear-shaped cutters around Valentine’s Day or holiday seasons. I also found quality ones at a baking specialty shop. This simple tool turns Red Velvet Bear Cookies into memorable treats for all ages, like the heart-shaped cutters I love, found in my frosted heart sugar cookies recipe.
Q: Can I try other Red Velvet Bear Cookies variations?
A: Most definitely! Some of my family tried a version with mini chocolate chips inside the dough, adding delightful texture. Others enjoy topping the cream cheese frosting cookies with crushed peppermint or adding a splash of almond extract to the dough for a subtle new flavor. If you want a quick bar-style twist, check out these creative red velvet sugar cookie bars.
Final Kitchen Wisdom:
This Red Velvet Bear Cookies supports my family’s goal of authentic, flavorful meals and treats without fuss or compromise. The soft, buttery red velvet dough coupled with tangy cream cheese frosting cookies creates a flavor that is homey yet special—a little joy in every bite.
My Red Velvet Bear Cookies Flavor Secrets:
- Always chill your buttery red velvet dough before cutting—it helps maintain those perfect bear shapes.
- Use high-quality Dutch processed cocoa for a richer, deeper red velvet base.
- Whip your cream cheese frosting cookies until light and fluffy with a touch of lemon juice to brighten the whole cookie.
For family-tested variations, try swapping the cream cheese frosting cookies with a simple vanilla glaze, add a dash of cinnamon to the dough for warmth, or mix in mini chocolate chips to the buttery red velvet dough for added texture. My kids lean toward the classic cream cheese frosting cookies topping, while my husband loves the chocolate chip variation. These options keep everyone excited around our kitchen table.
Feel encouraged to make this Red Velvet Bear Cookies recipe your signature in the family kitchen. It’s approachable, genuine, and turns simple ingredients into something that draws everyone together through authentic flavors. Keep sharing your cooking victories; I’m cheering for your next unforgettable meal and treat moment! For a perfect companion dessert, visit my red velvet cream cheese bundt cake recipe to round out your celebrations.
Every kitchen deserves treats like these Red Velvet Bear Cookies that carry heart and genuine flavor—your family will love the memories you bake alongside them.
Red Velvet Bear Cookies

Delightfully soft and festive, Red Velvet Bear Cookies combine classic red velvet flavors with a playful bear shape, perfect for holiday treats or any special occasion.
- Prep Time: 20 minutes
- Cook Time: 12 minutes
- Total Time: 32 minutes
- Yield: 24 cookies
- Category: Dessert
- Method: Baked
- Cuisine: American
Ingredients
- 1 cup unsalted butter, softened
- 1 cup granulated sugar
- 1 large egg
- 2 tablespoons cocoa powder
- 2 tablespoons red food coloring
- 1 teaspoon vanilla extract
- 2 ½ cups all-purpose flour
- 1 teaspoon baking powder
- ½ teaspoon baking soda
- ½ teaspoon salt
- ½ cup buttermilk
- Decorative chocolate chips or icing for eyes and nose
Instructions
- Preheat oven to 350°F (175°C) and line a baking sheet with parchment paper.
- In a large bowl, cream together the butter and sugar until light and fluffy.
- Add the egg, vanilla extract, and red food coloring; mix until well combined.
- In a separate bowl, whisk together the flour, cocoa powder, baking powder, baking soda, and salt.
- Gradually add the dry ingredients to the wet mixture alternately with the buttermilk, mixing until just combined.
- Roll out the dough on a floured surface to about ¼ inch thickness and use a bear-shaped cookie cutter to cut out cookies.
- Place cookies on the prepared baking sheet about 2 inches apart.
- Bake for 10-12 minutes or until the edges are set.
- Allow cookies to cool on the baking sheet for 5 minutes, then transfer to a wire rack to cool completely.
- Decorate with chocolate chips or icing to create bear eyes and nose.
Notes
For extra festive flair, try using white chocolate chips or colored icing to decorate your bears. These cookies also pair beautifully with a glass of cold milk or a cup of hot cocoa.